Photo copyright 2014 by Egils Zarins
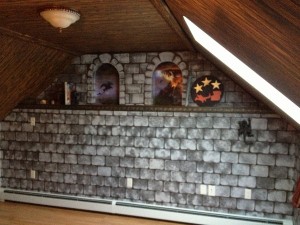
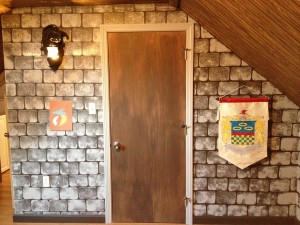
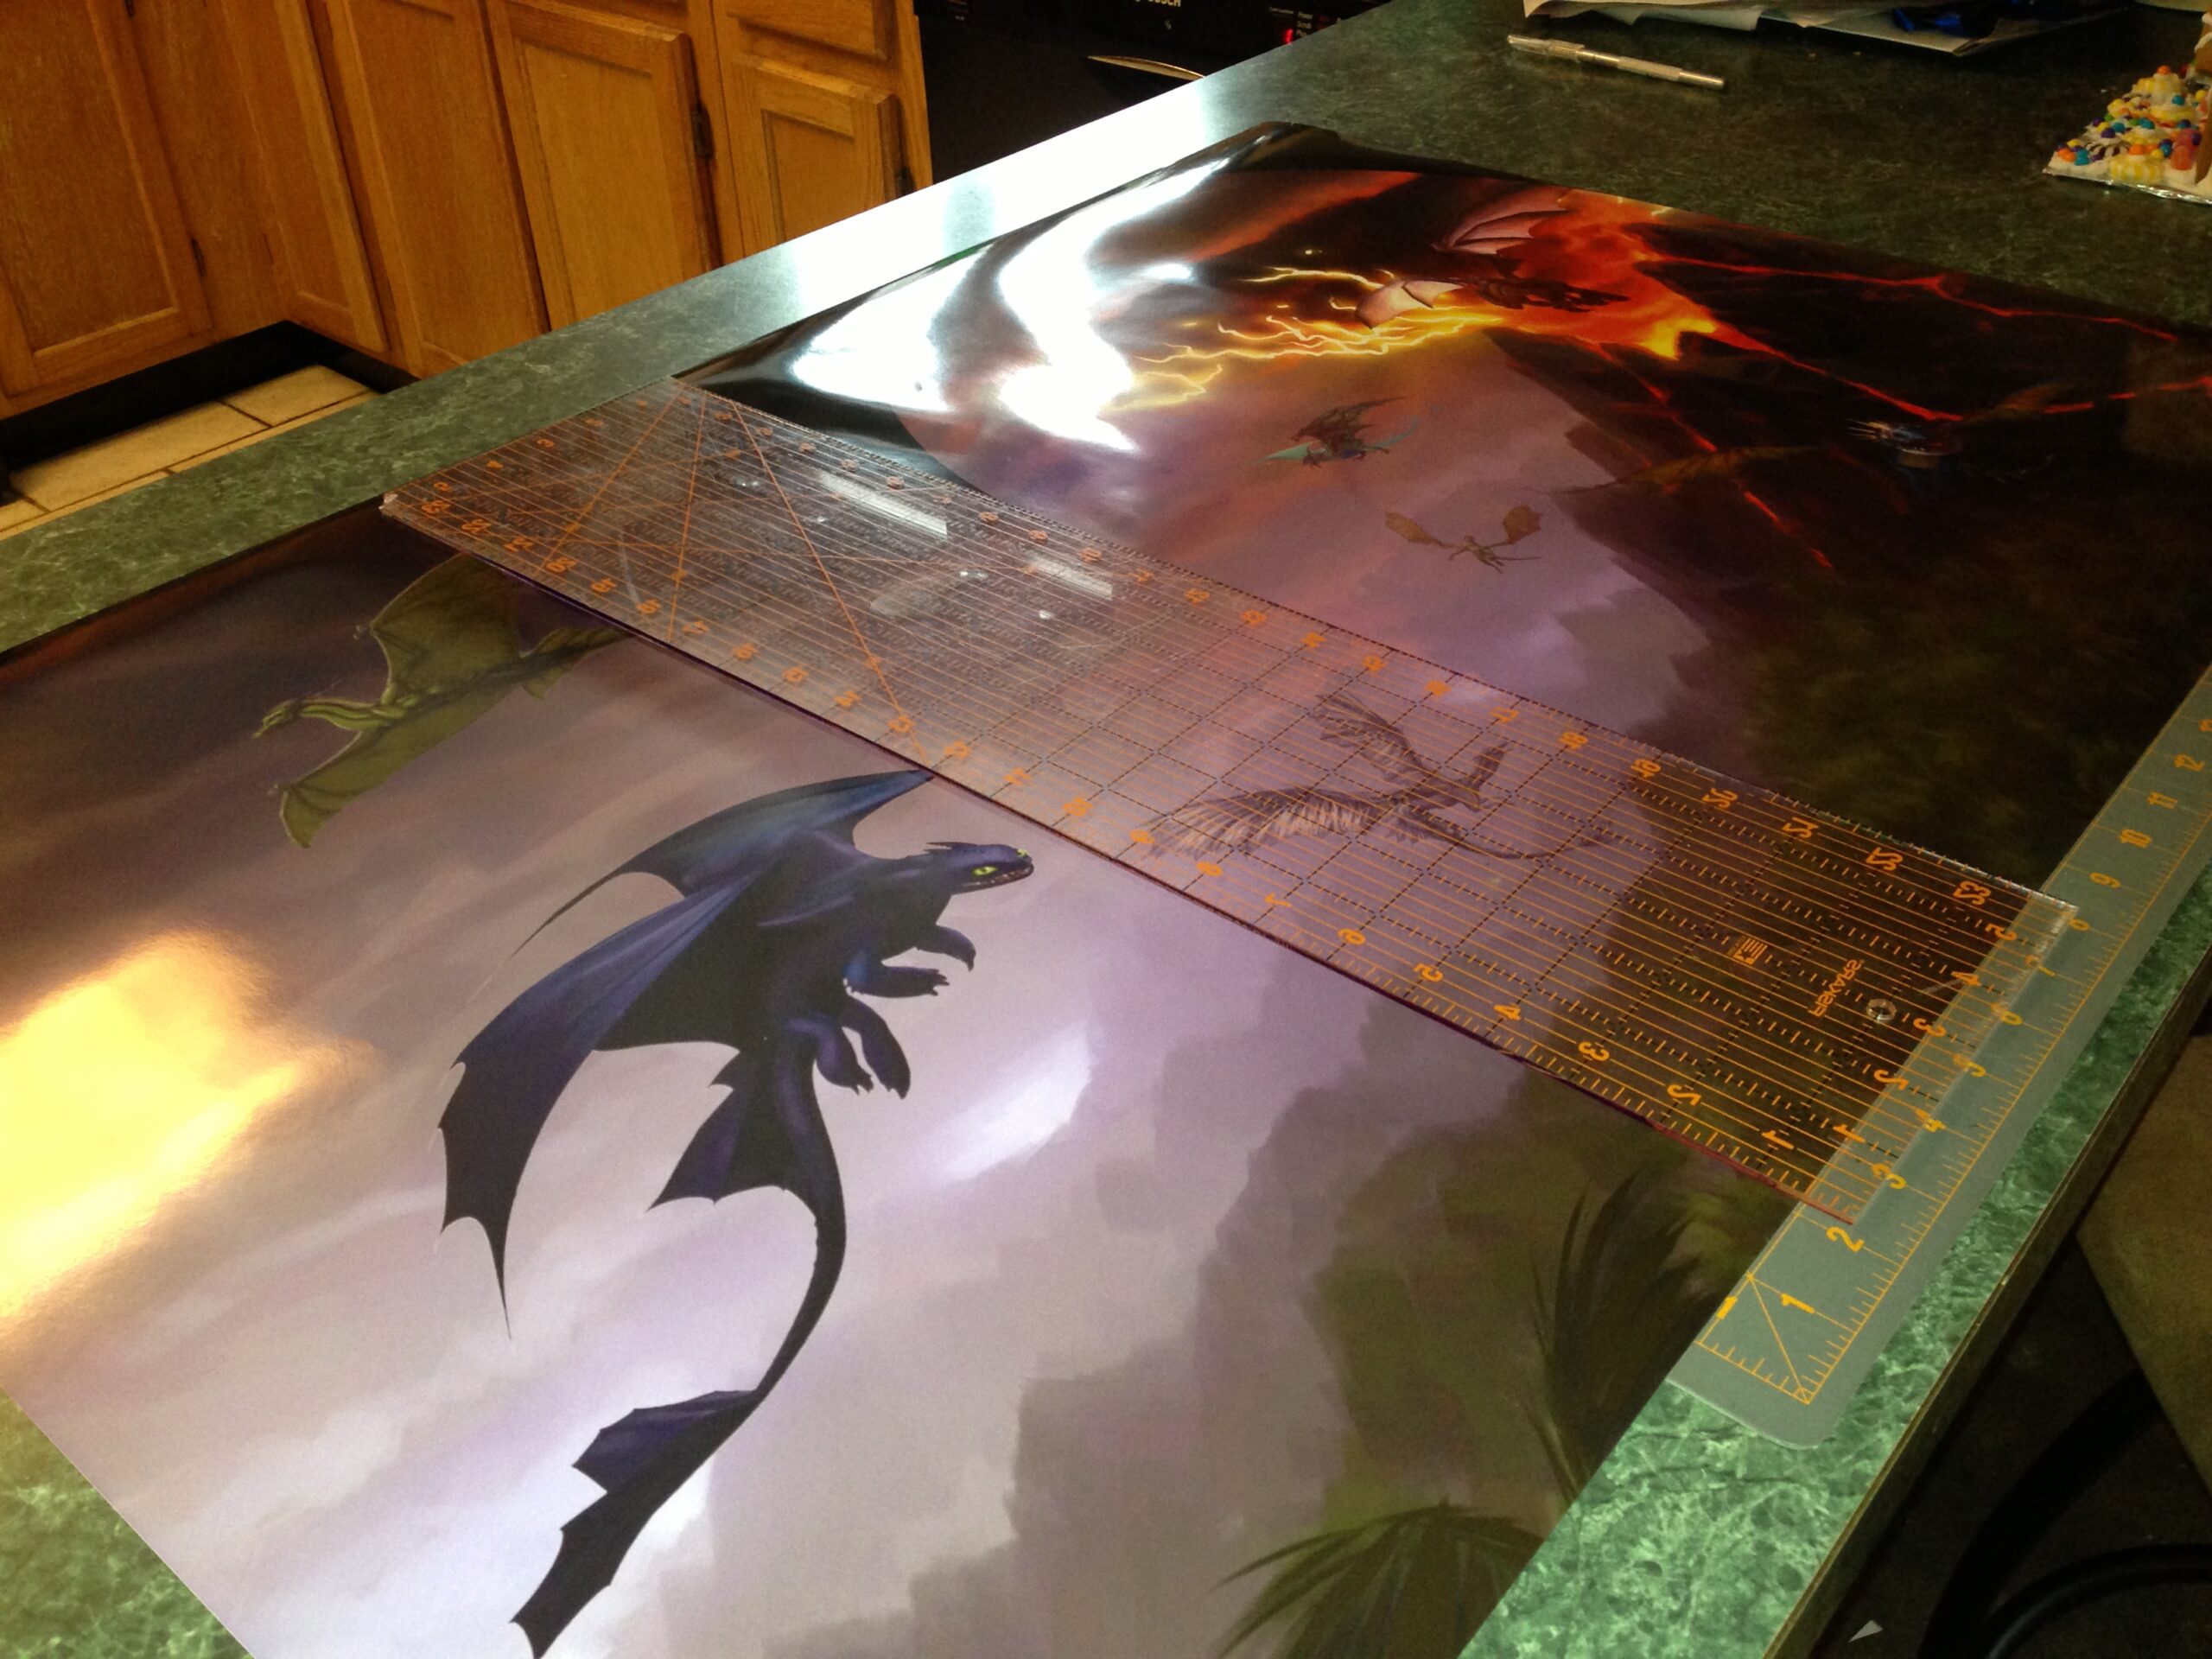
Last year we redid my son’s room. This year we decided to do my daughter’s. My wife spent quite a bit of time working with her to determine what she wanted. That was quite a challenge but in the end they came up with a theme that is a cross between what a vampire princess might want and what a Hollywood starlet might want. They named it Transylwood.
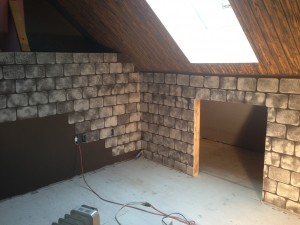
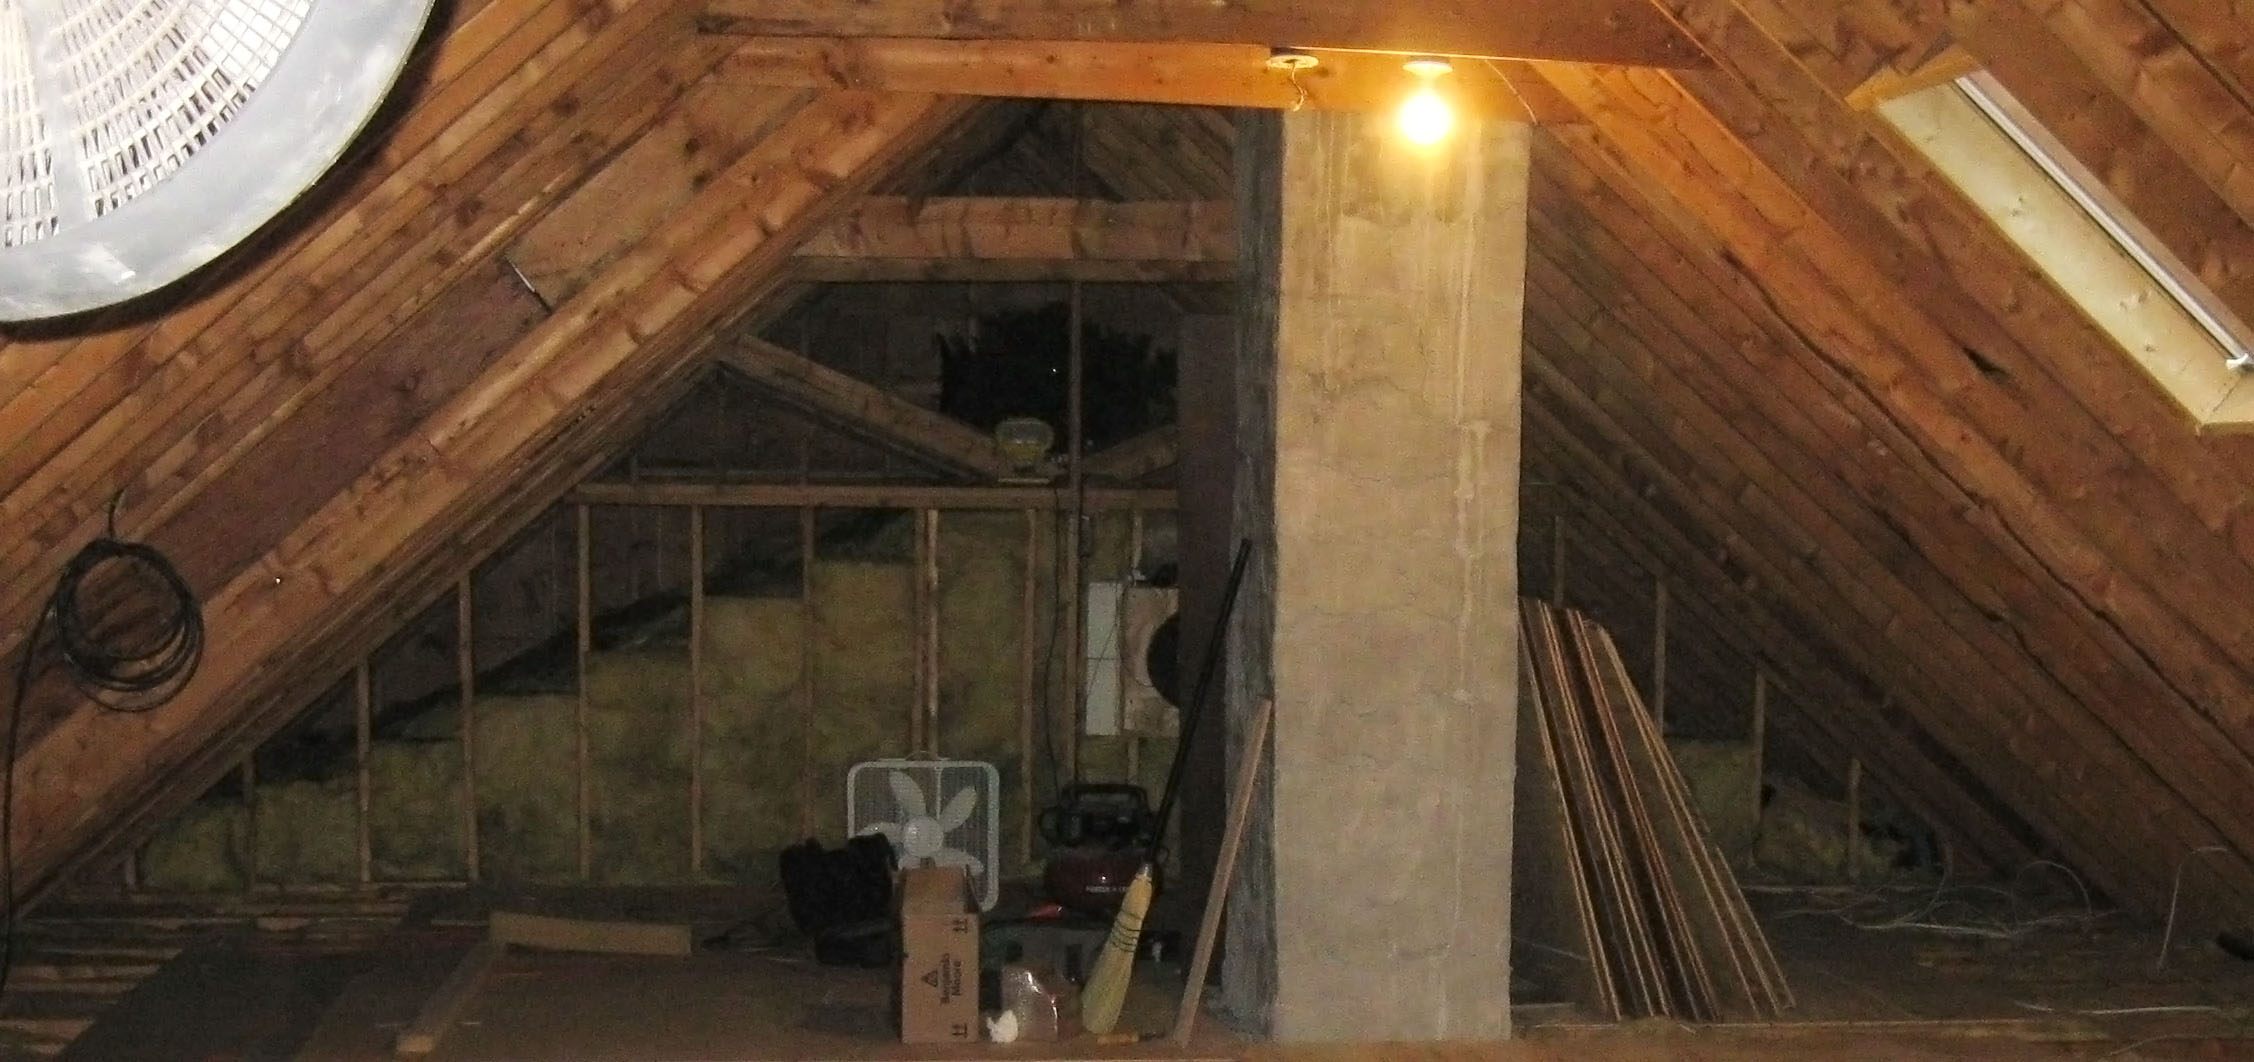
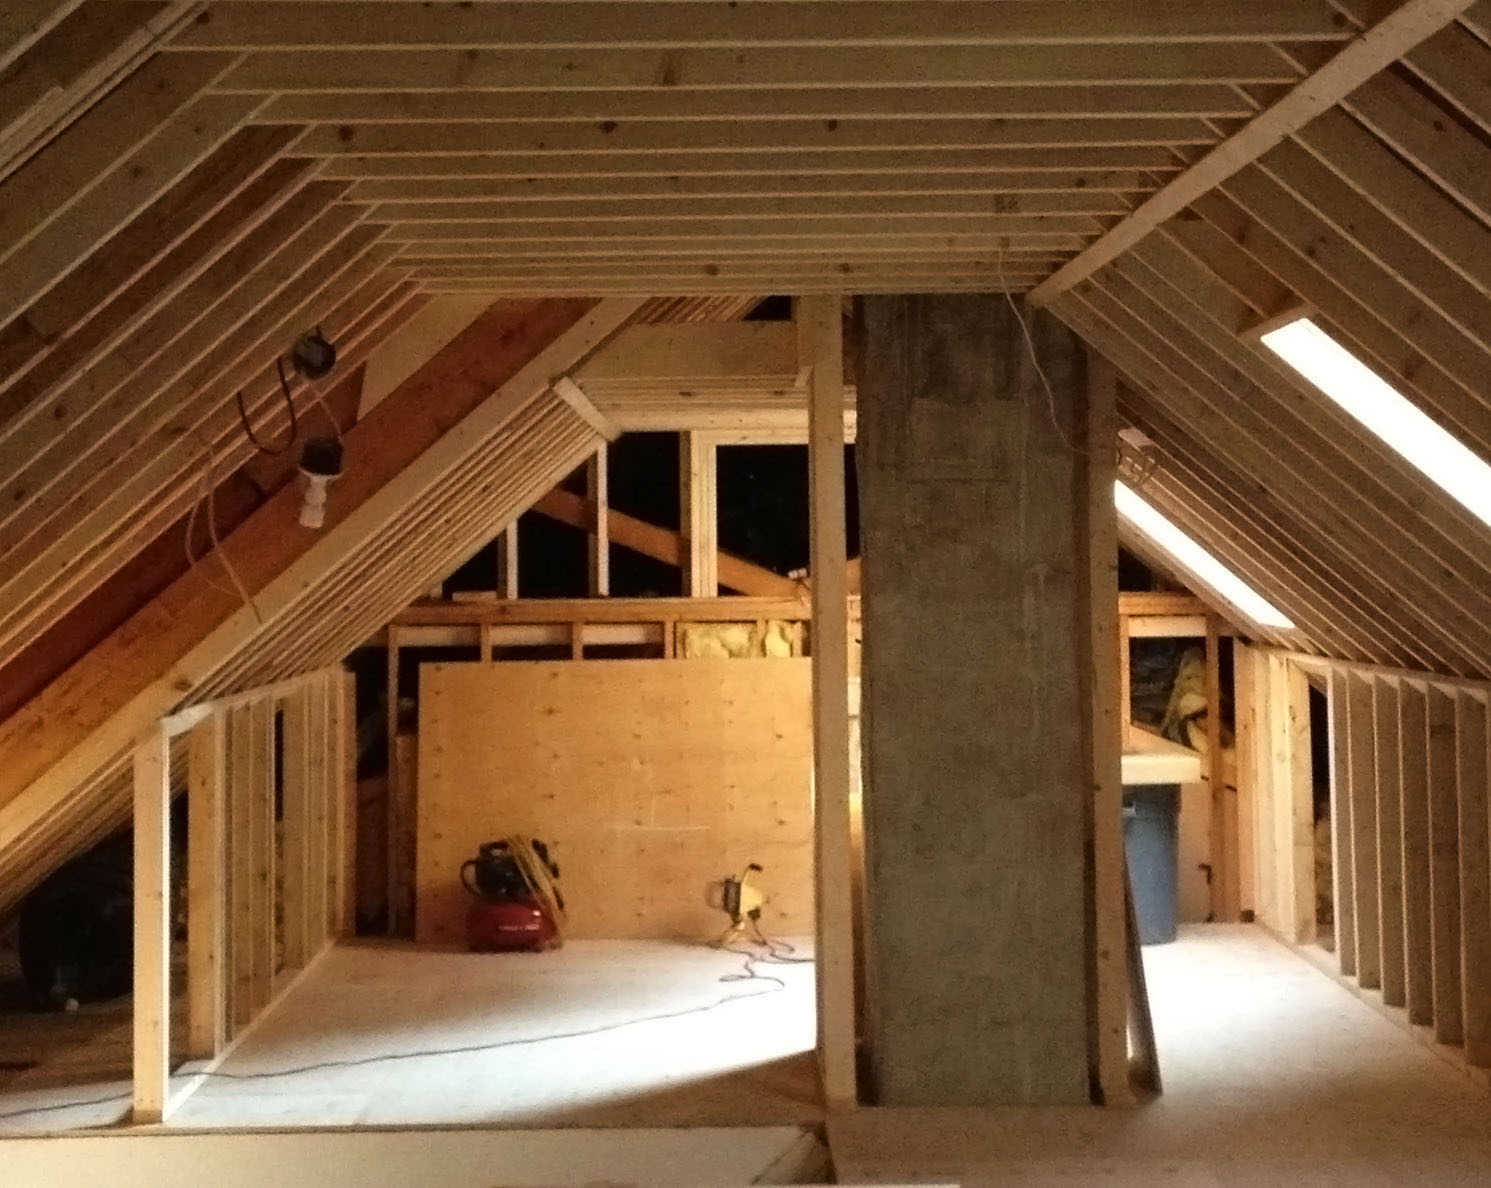
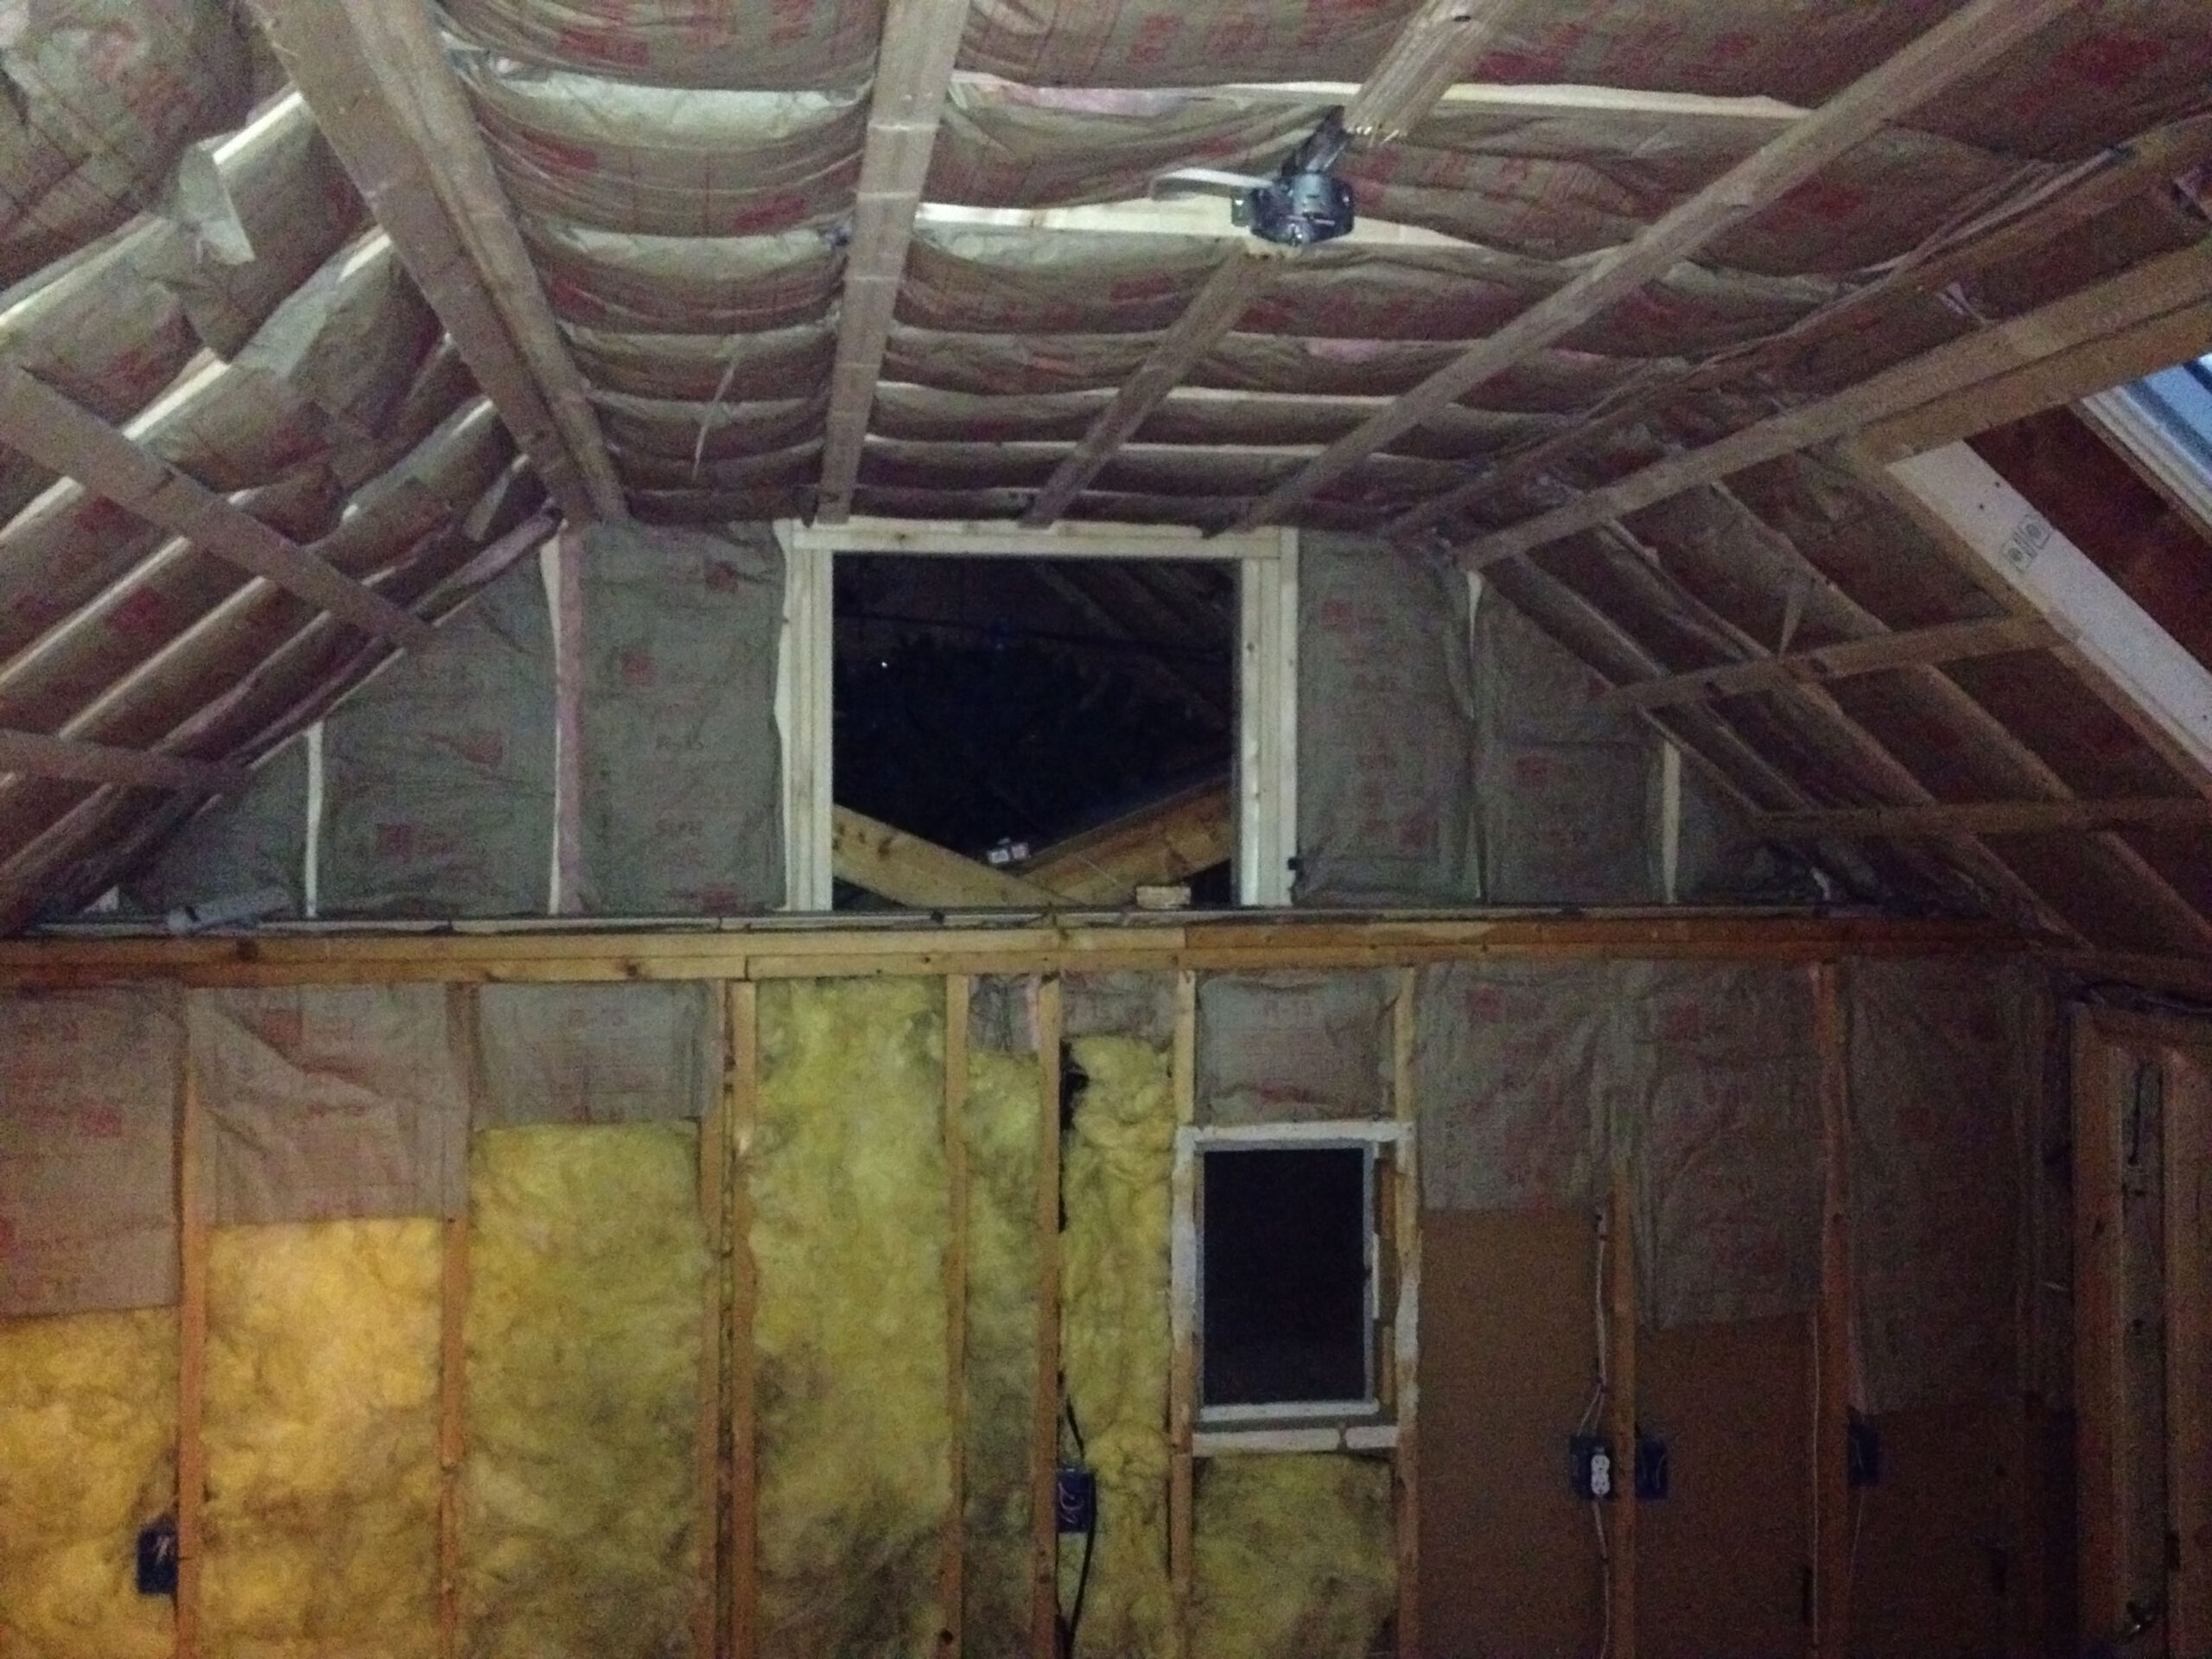
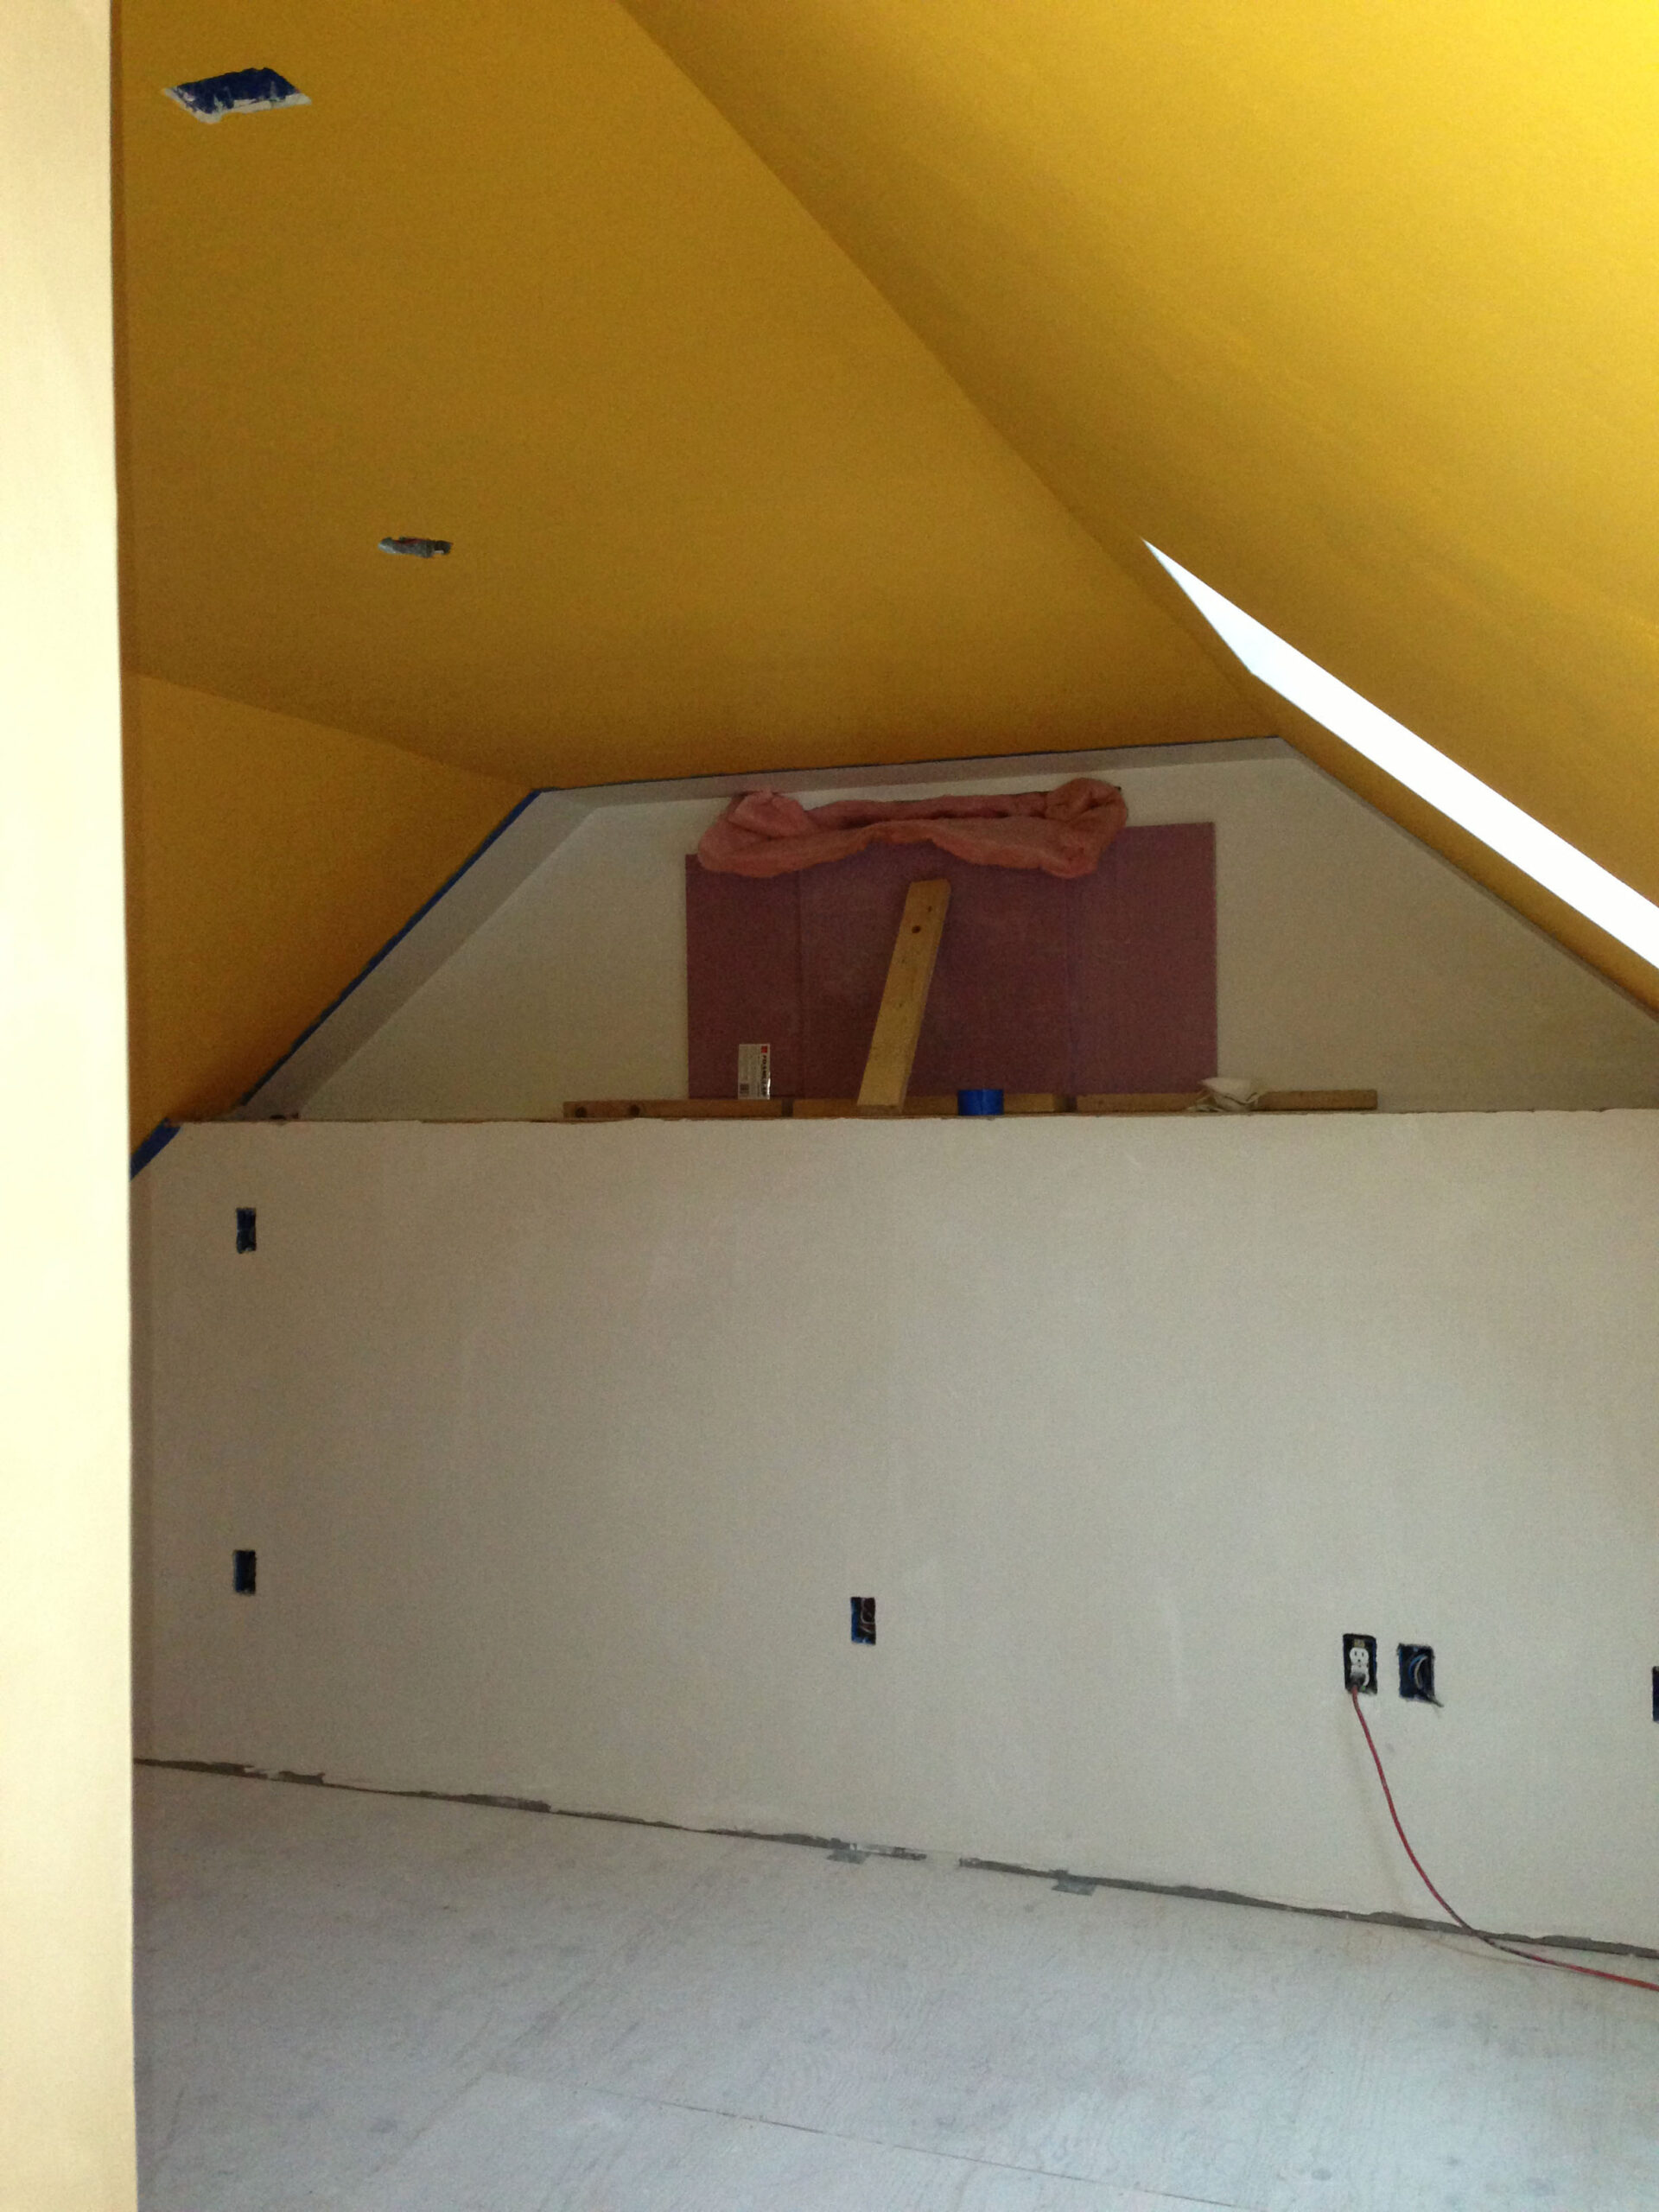
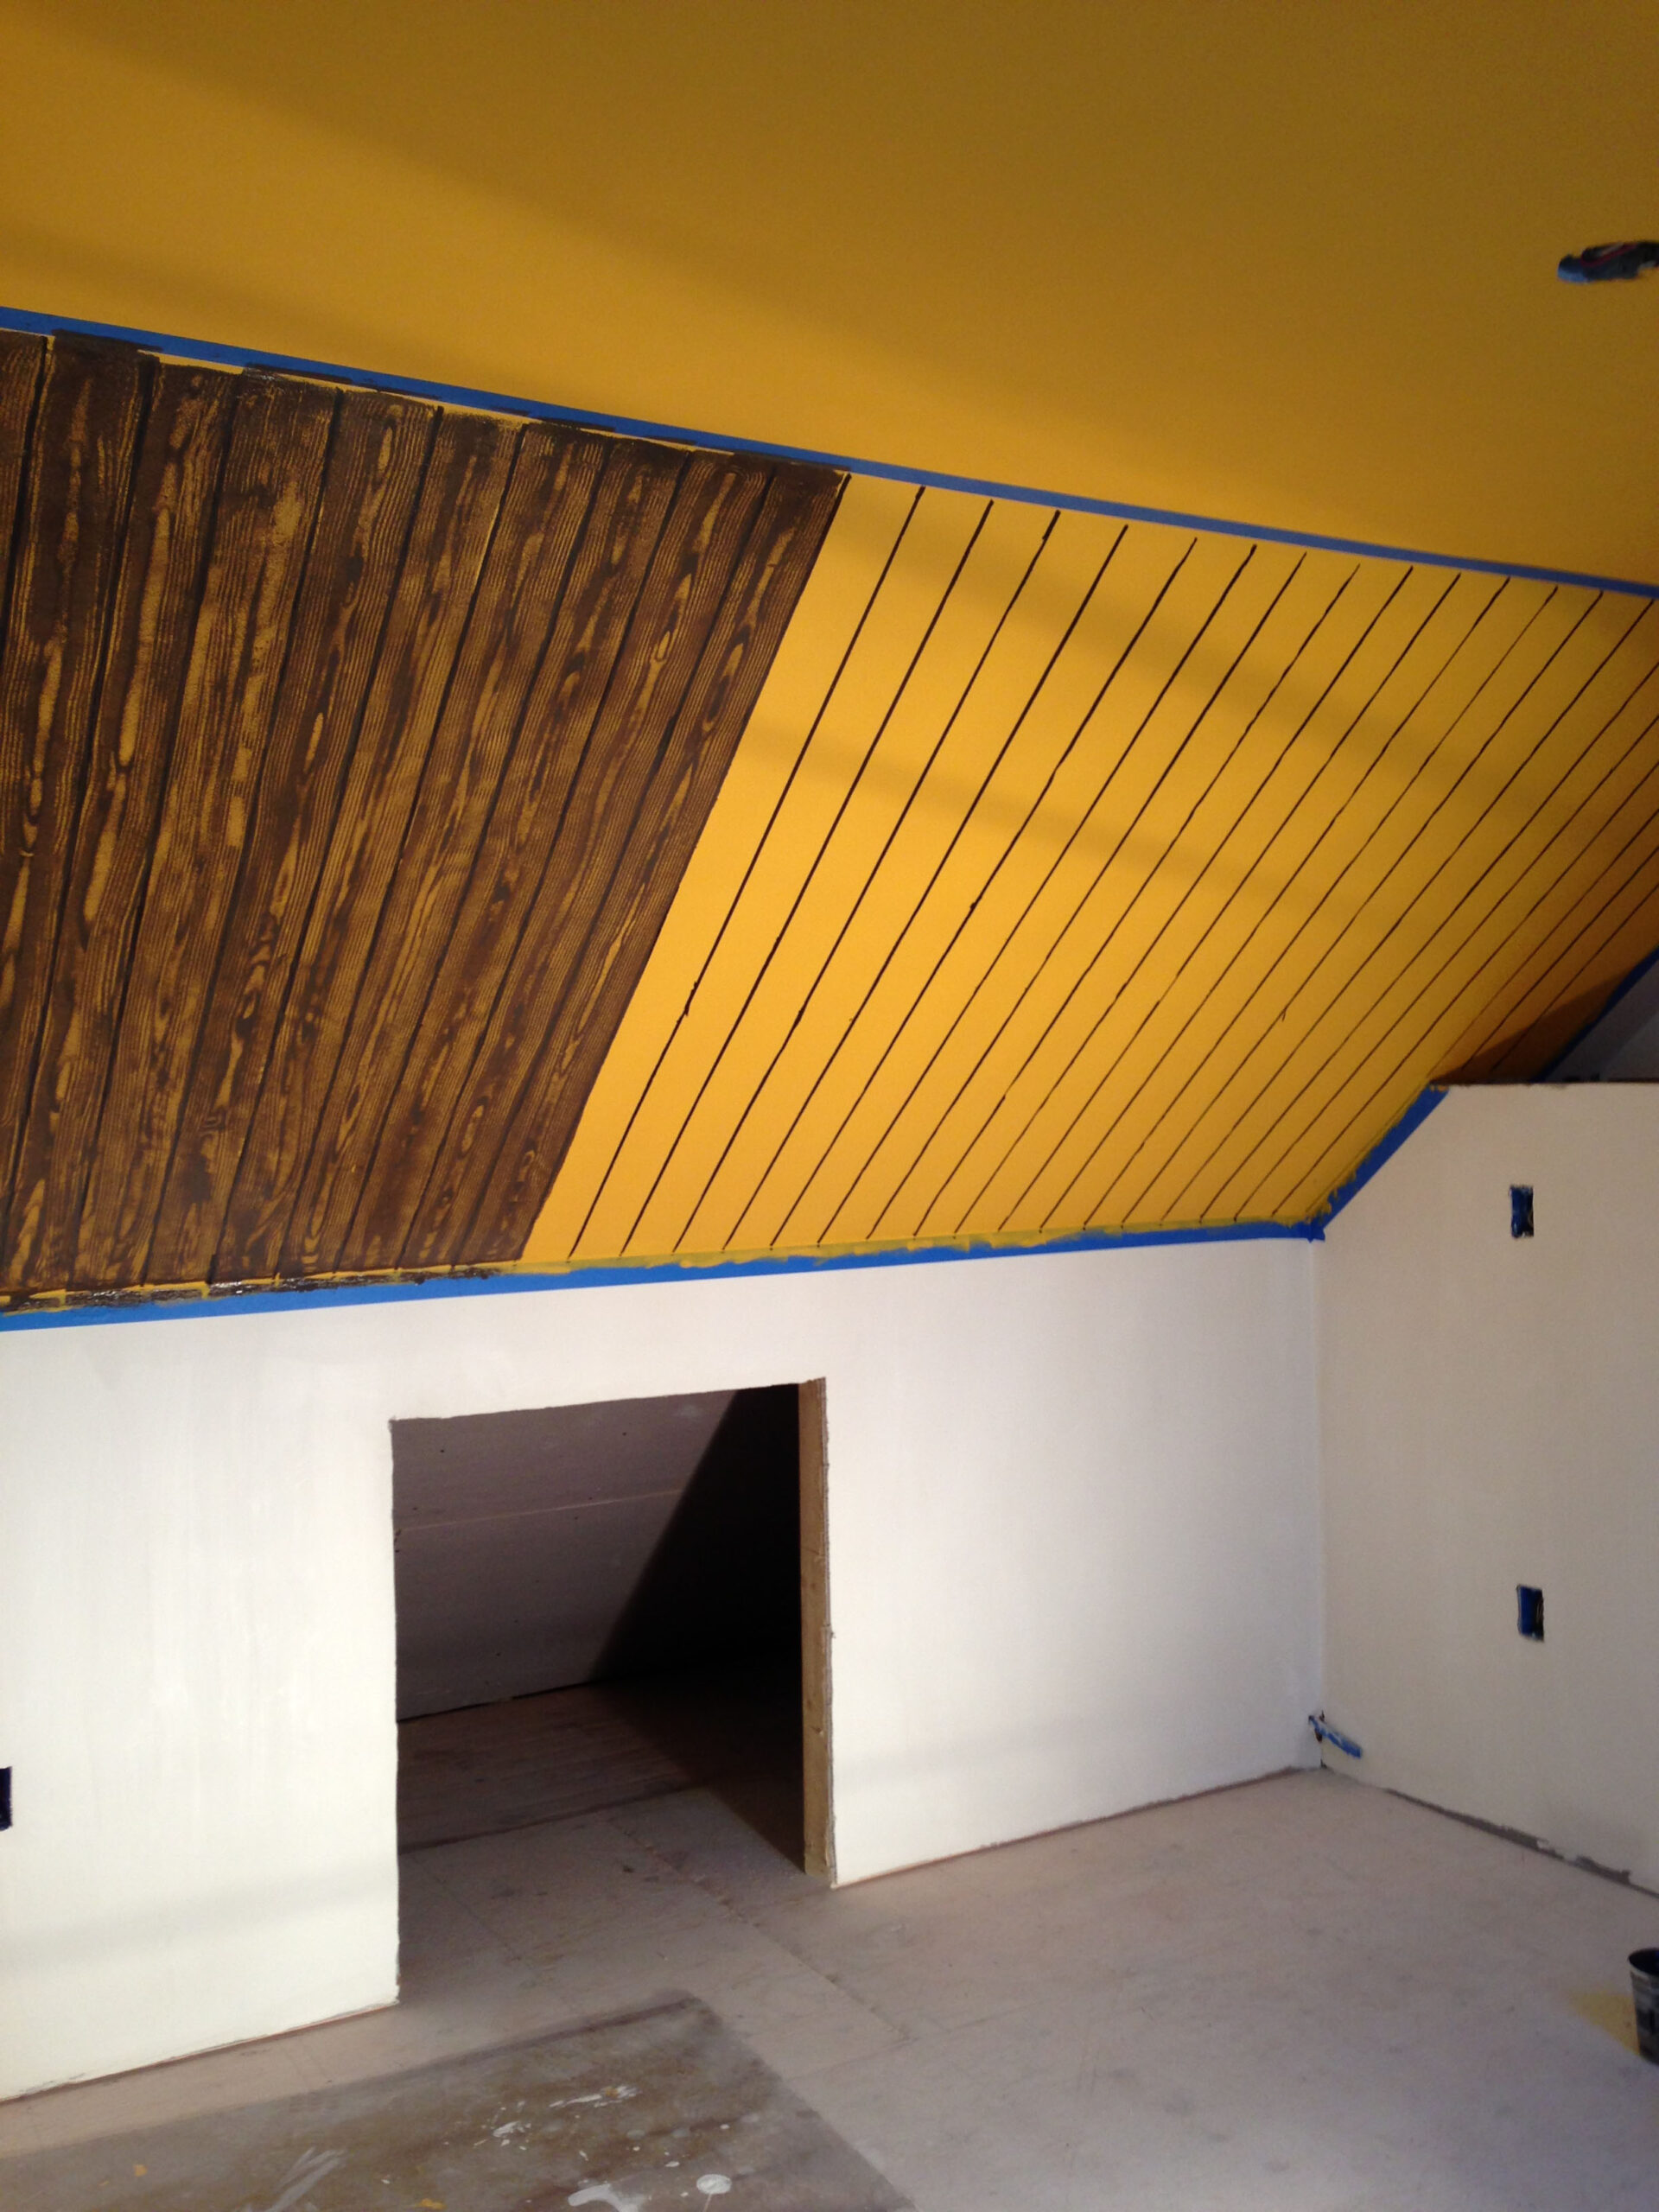
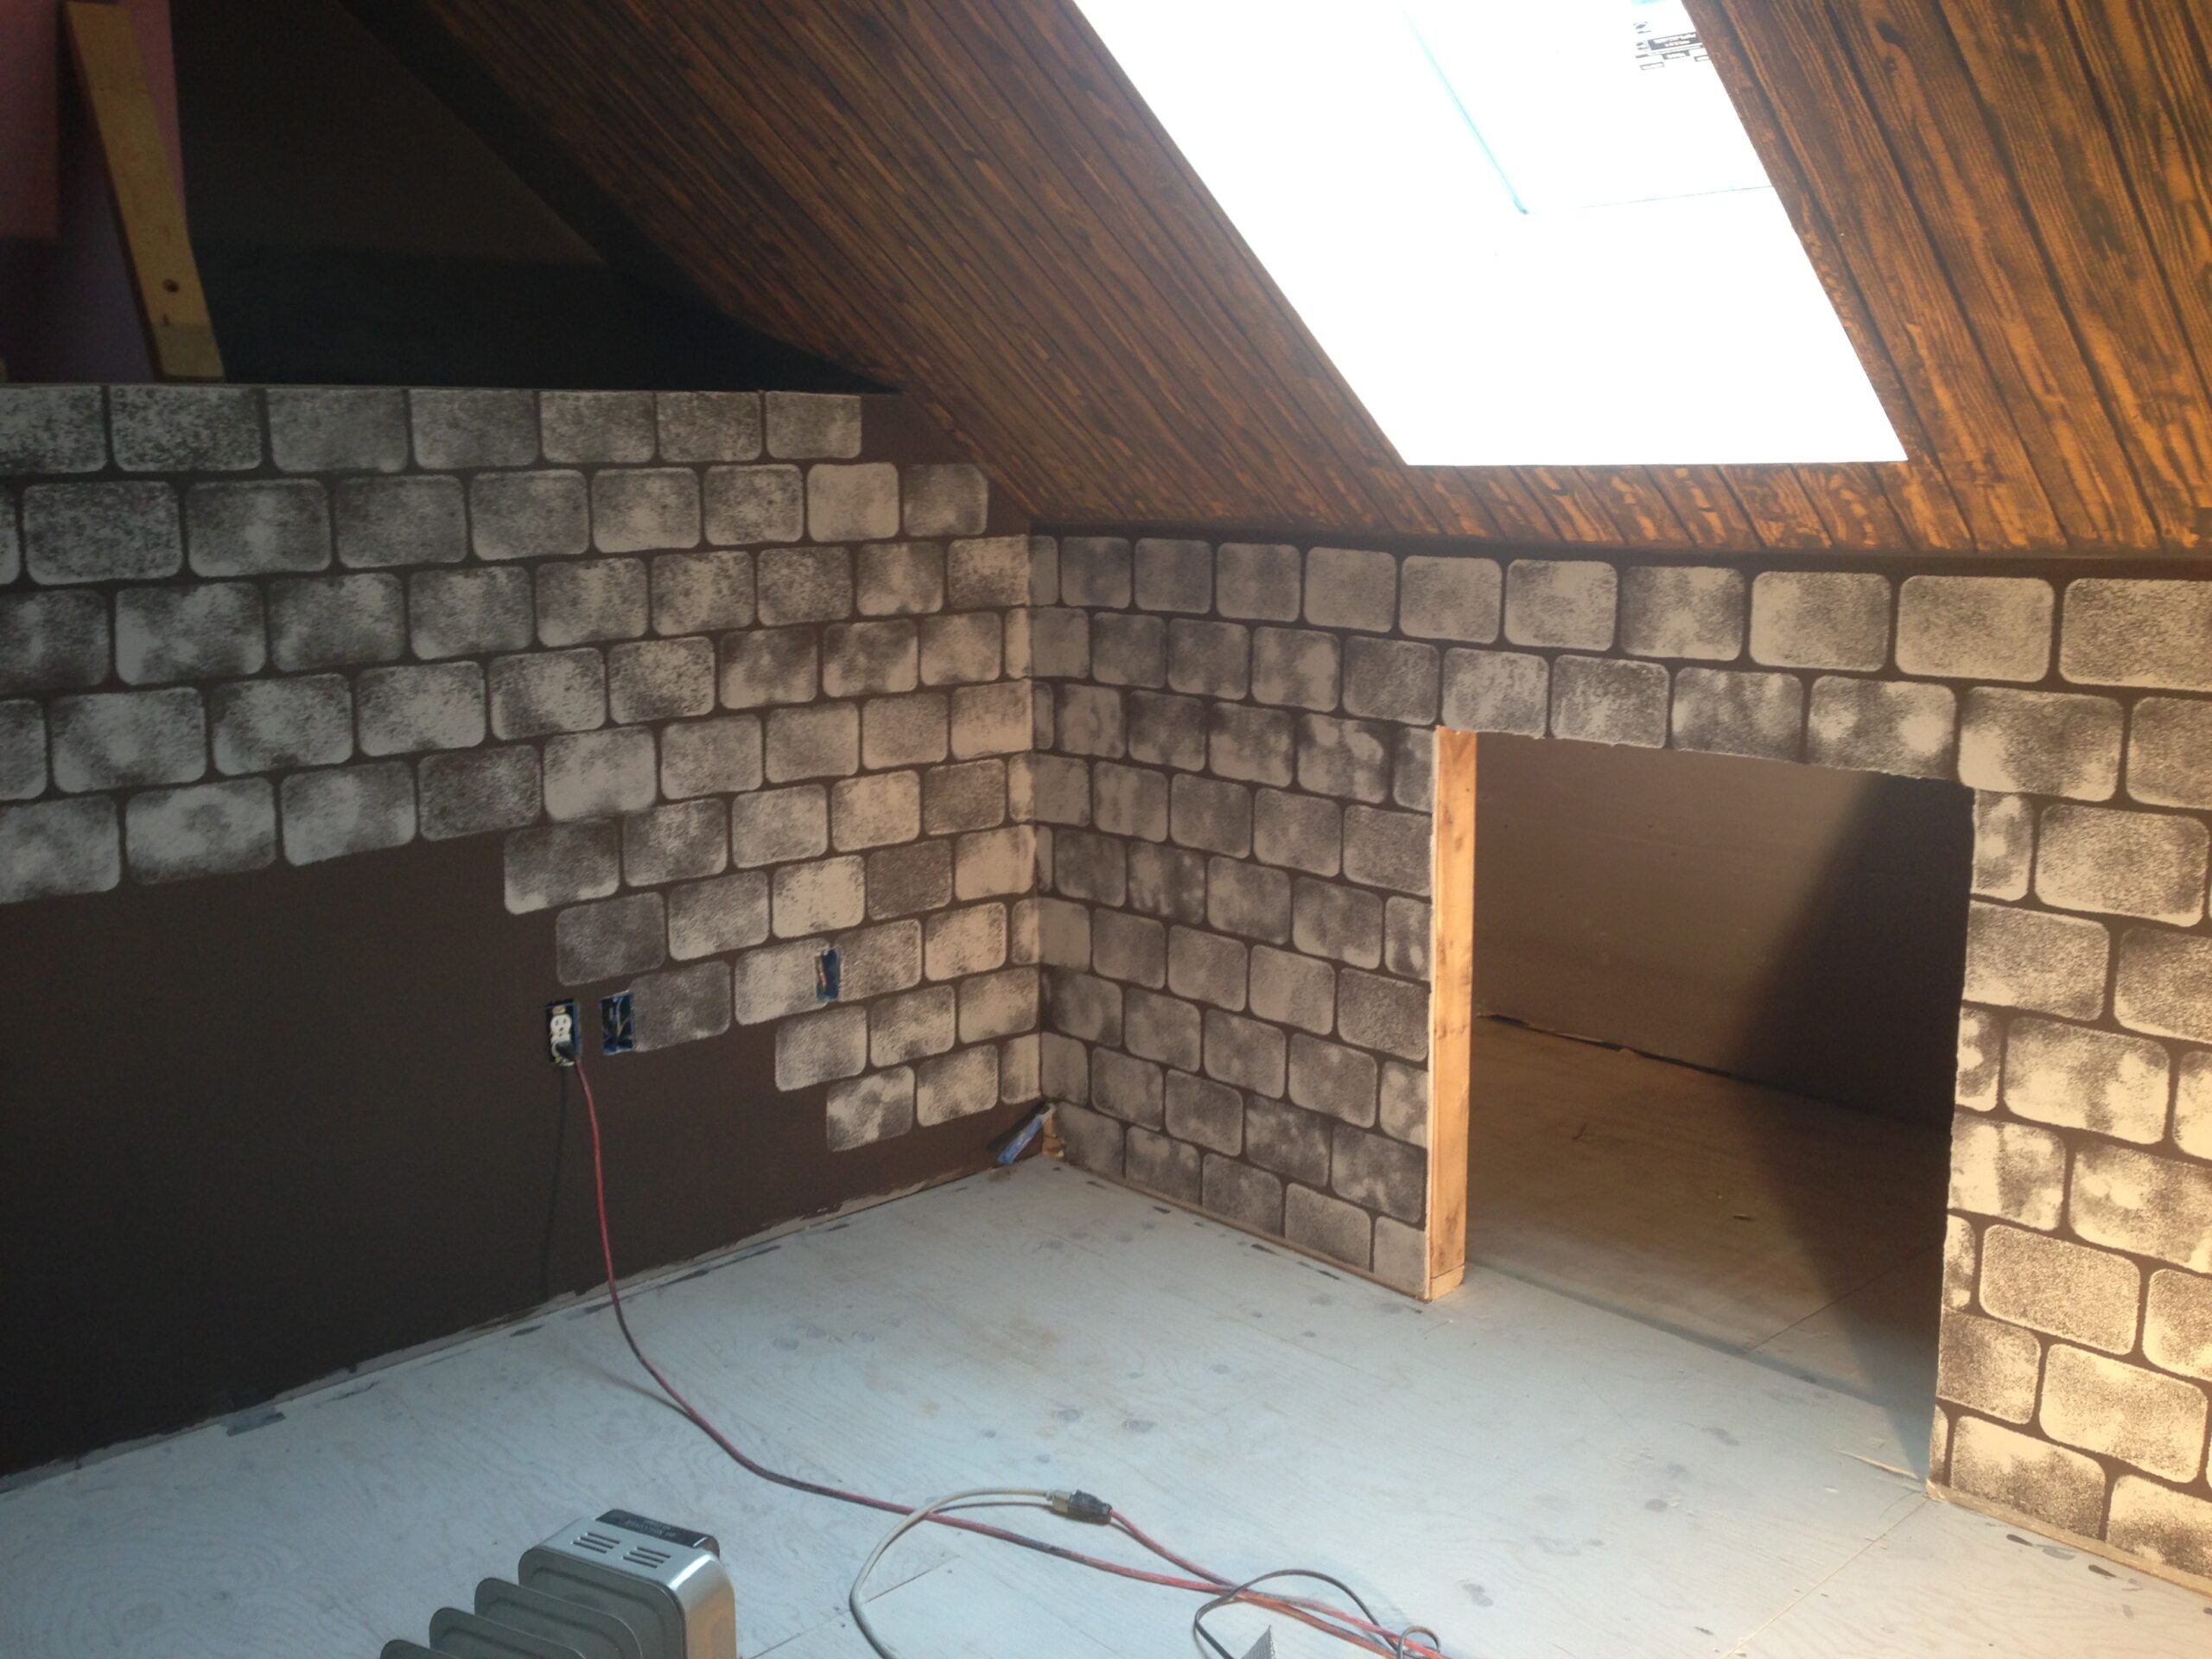
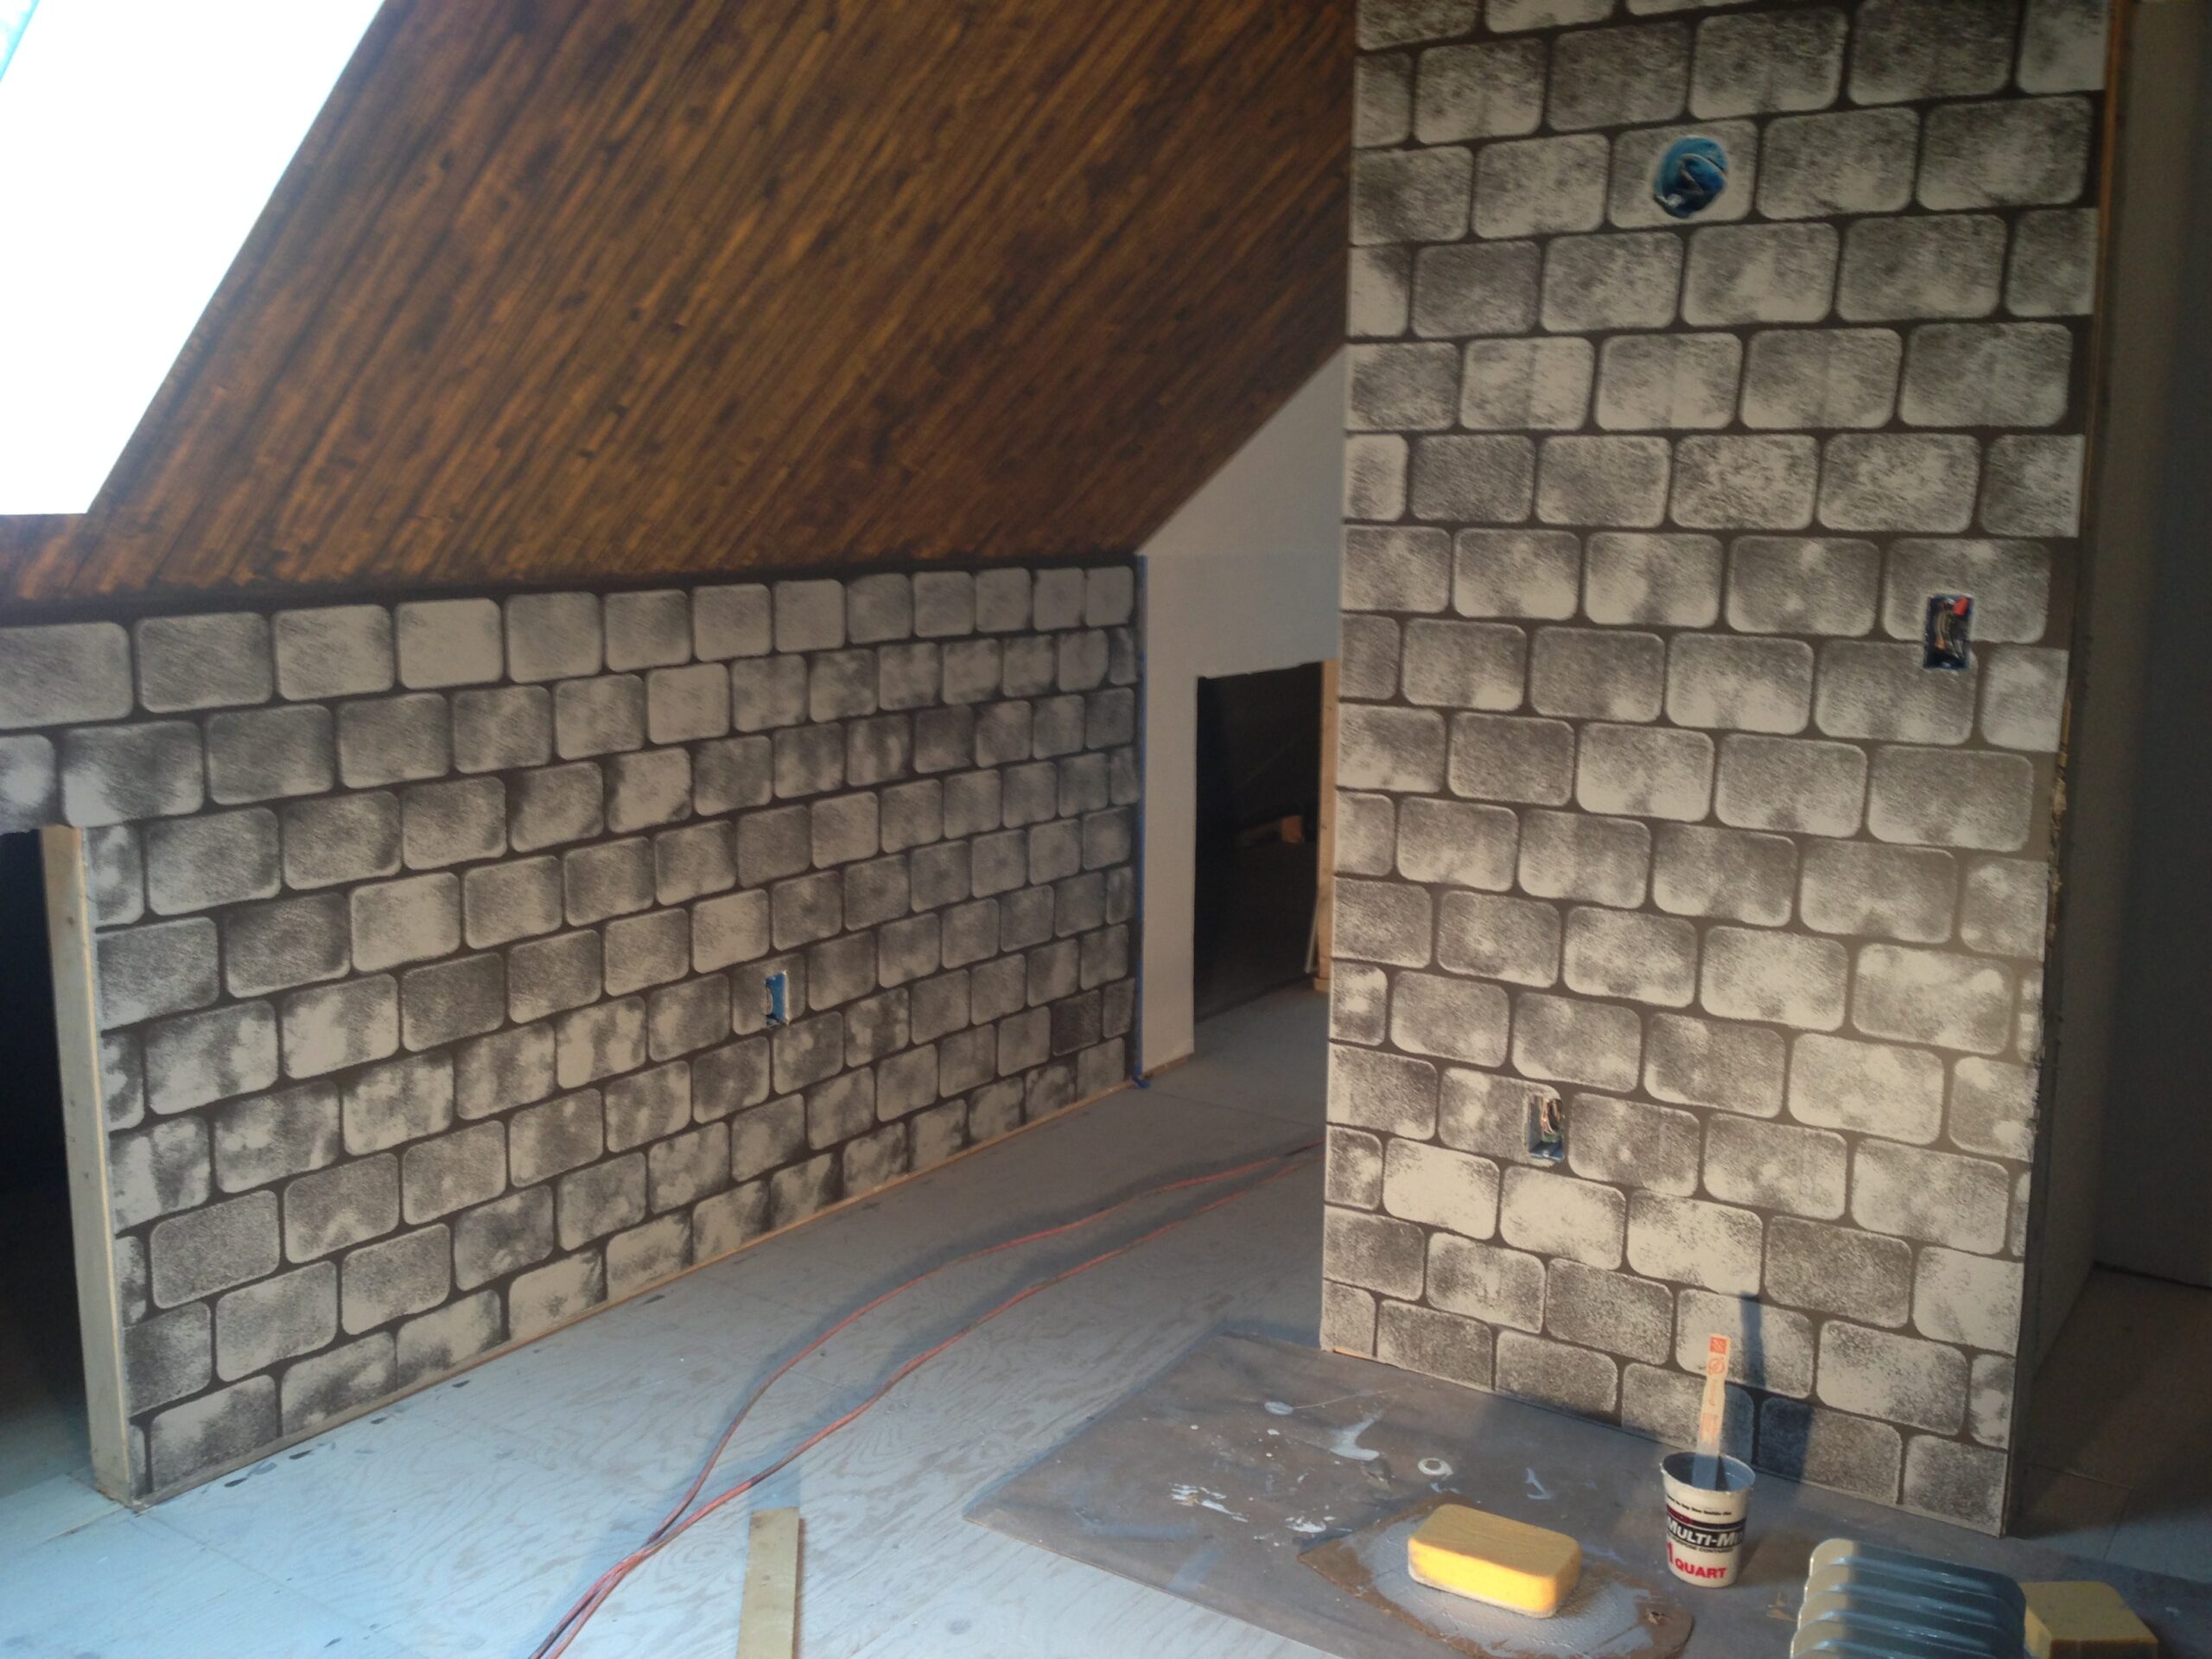
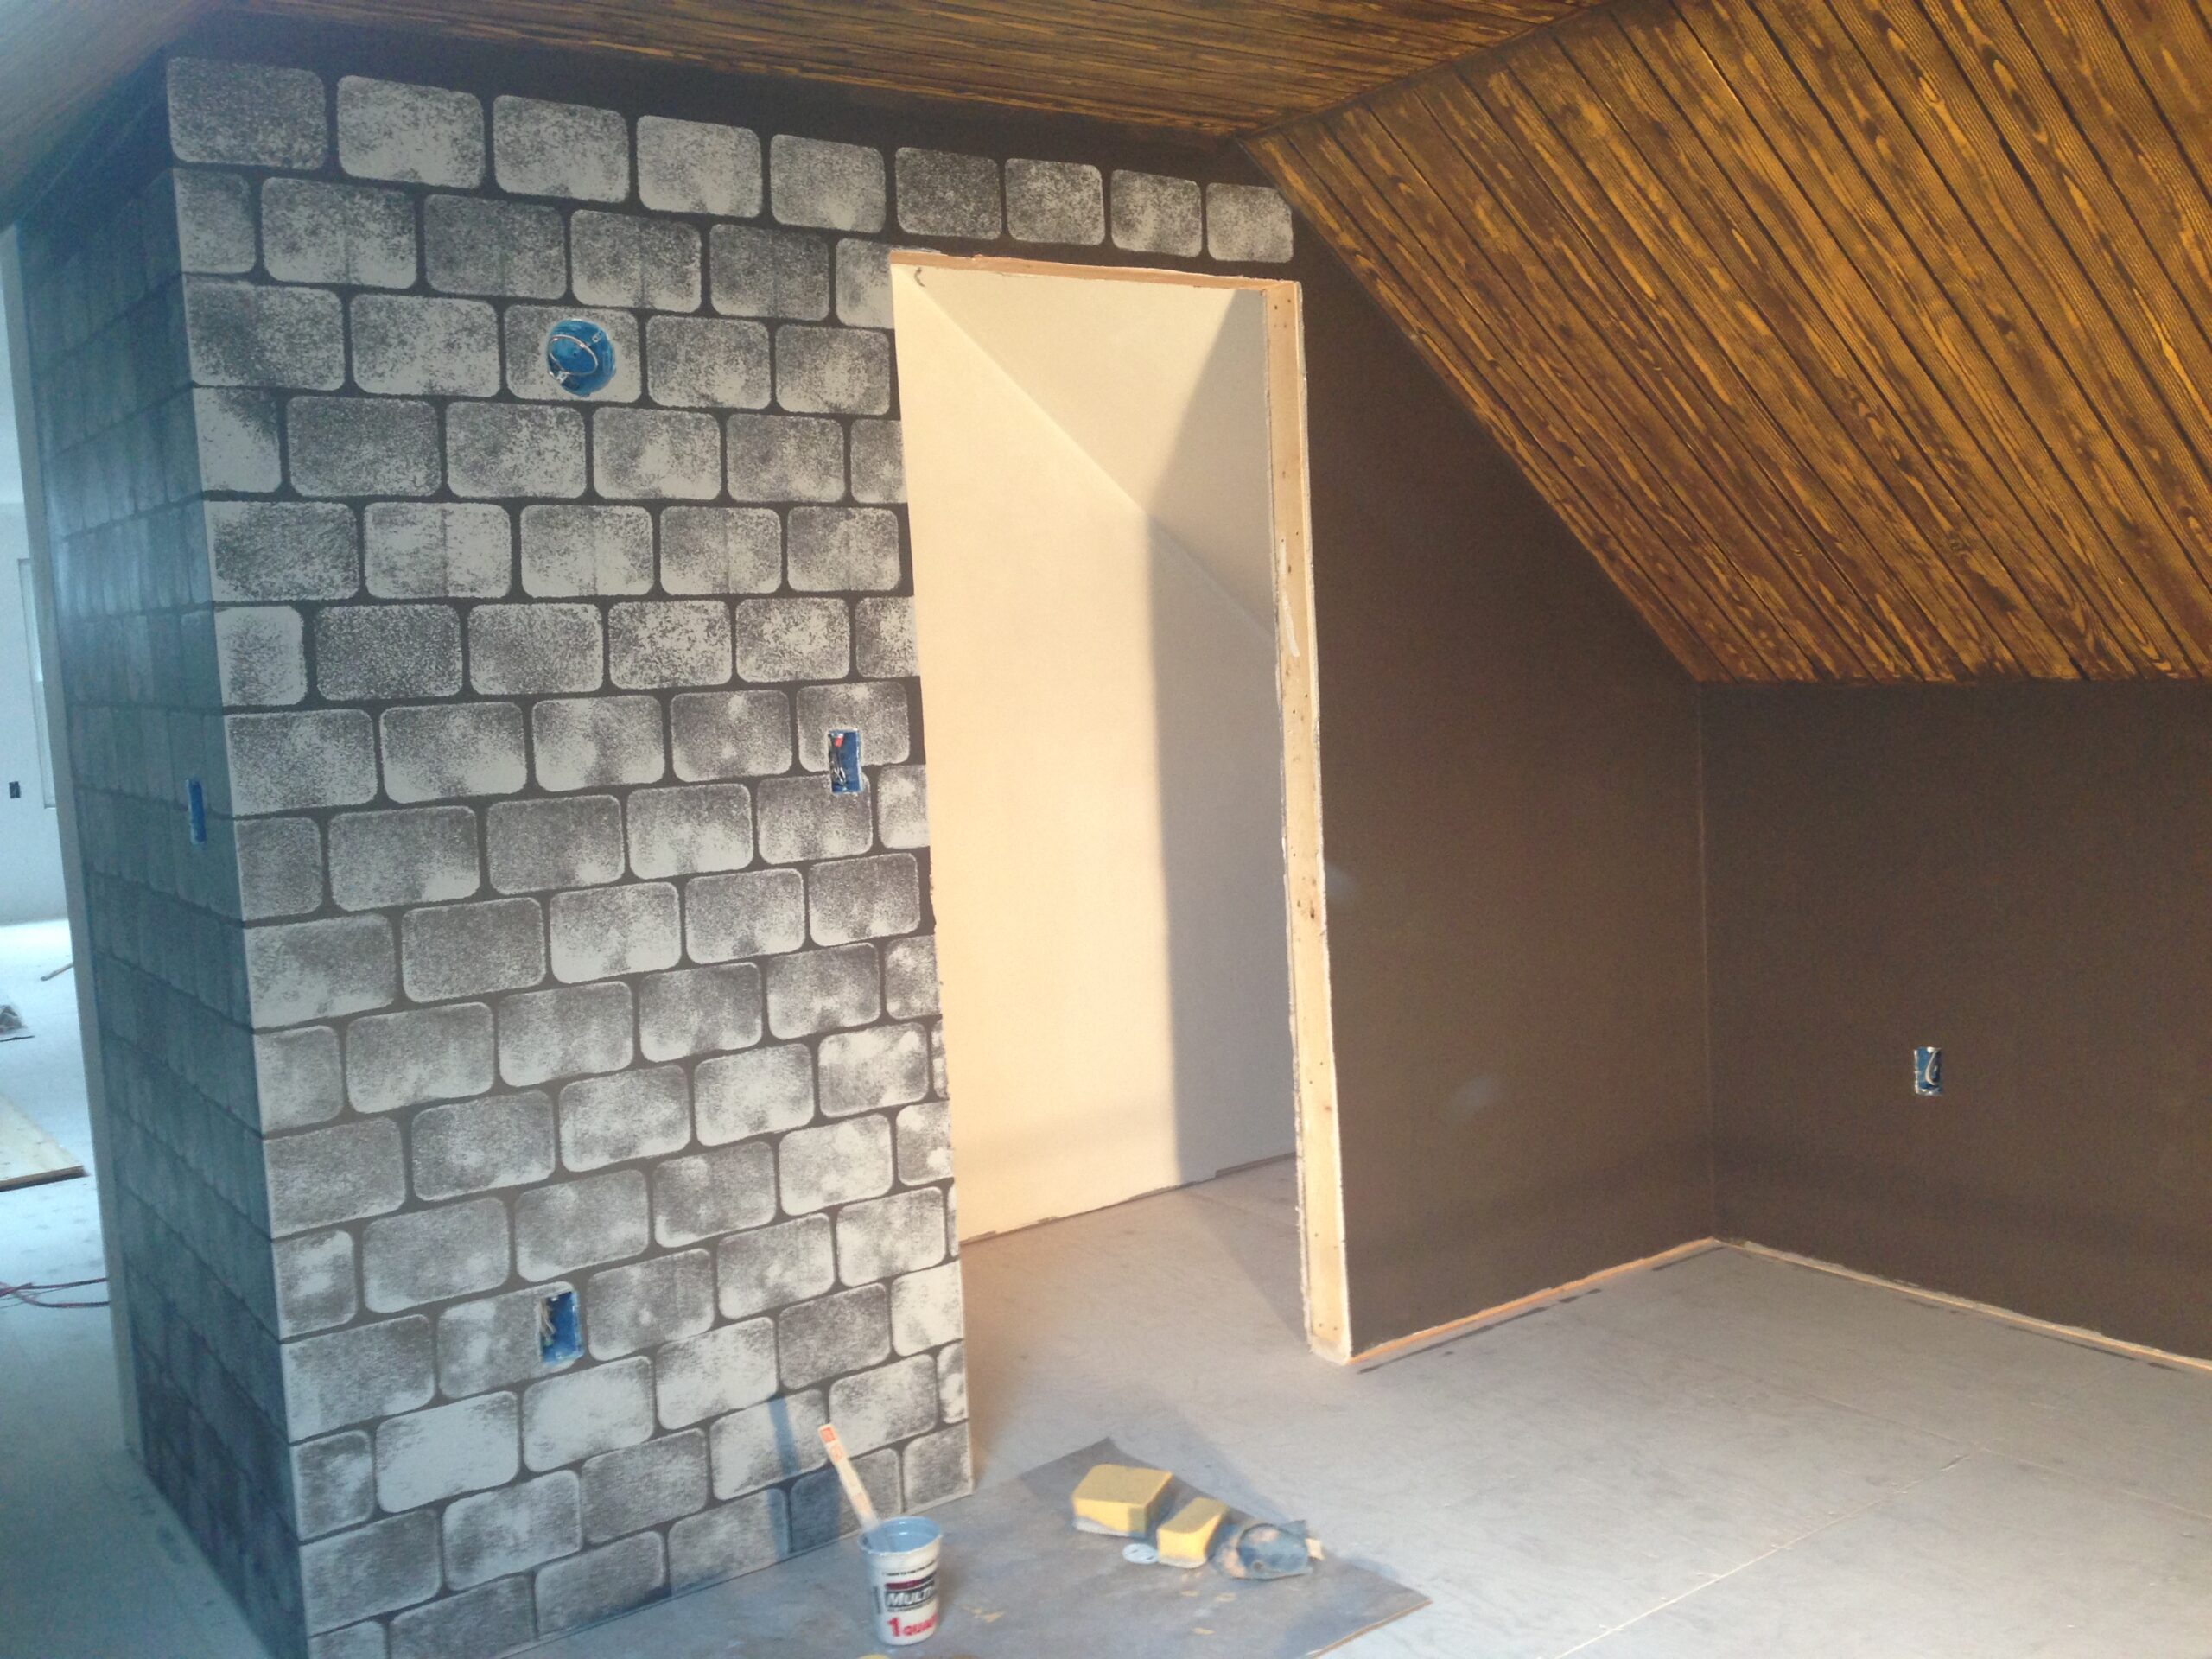
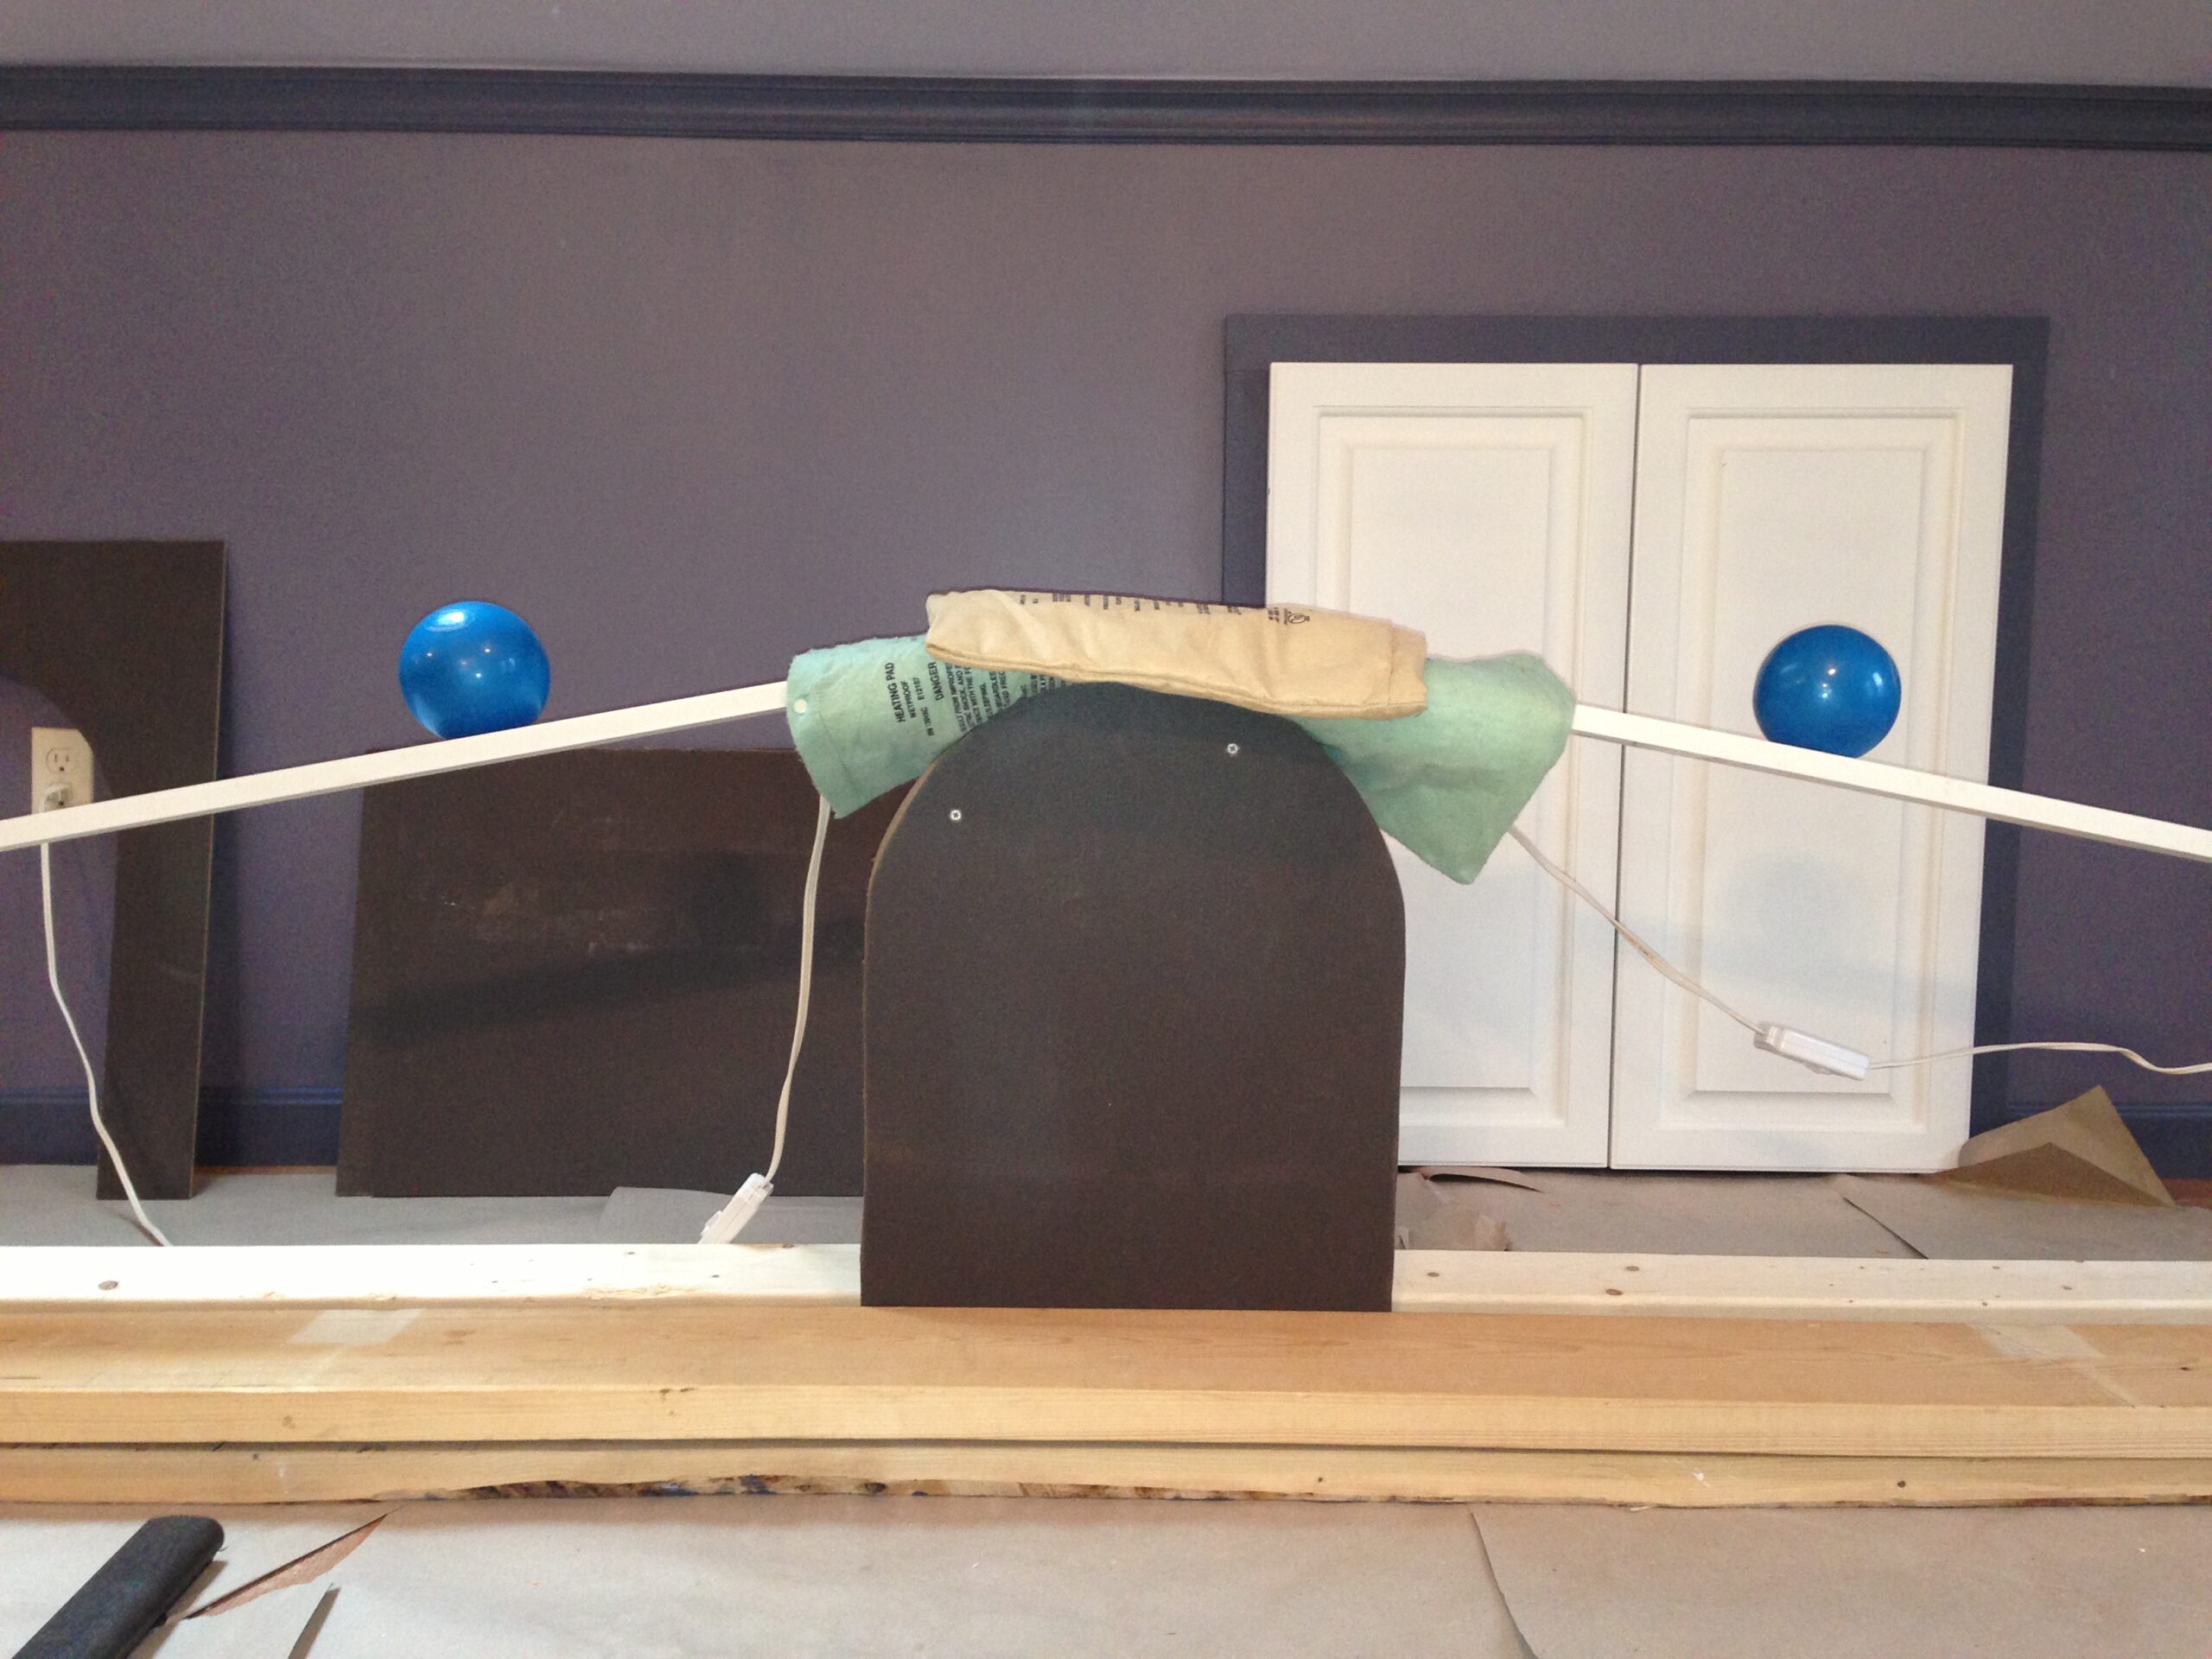
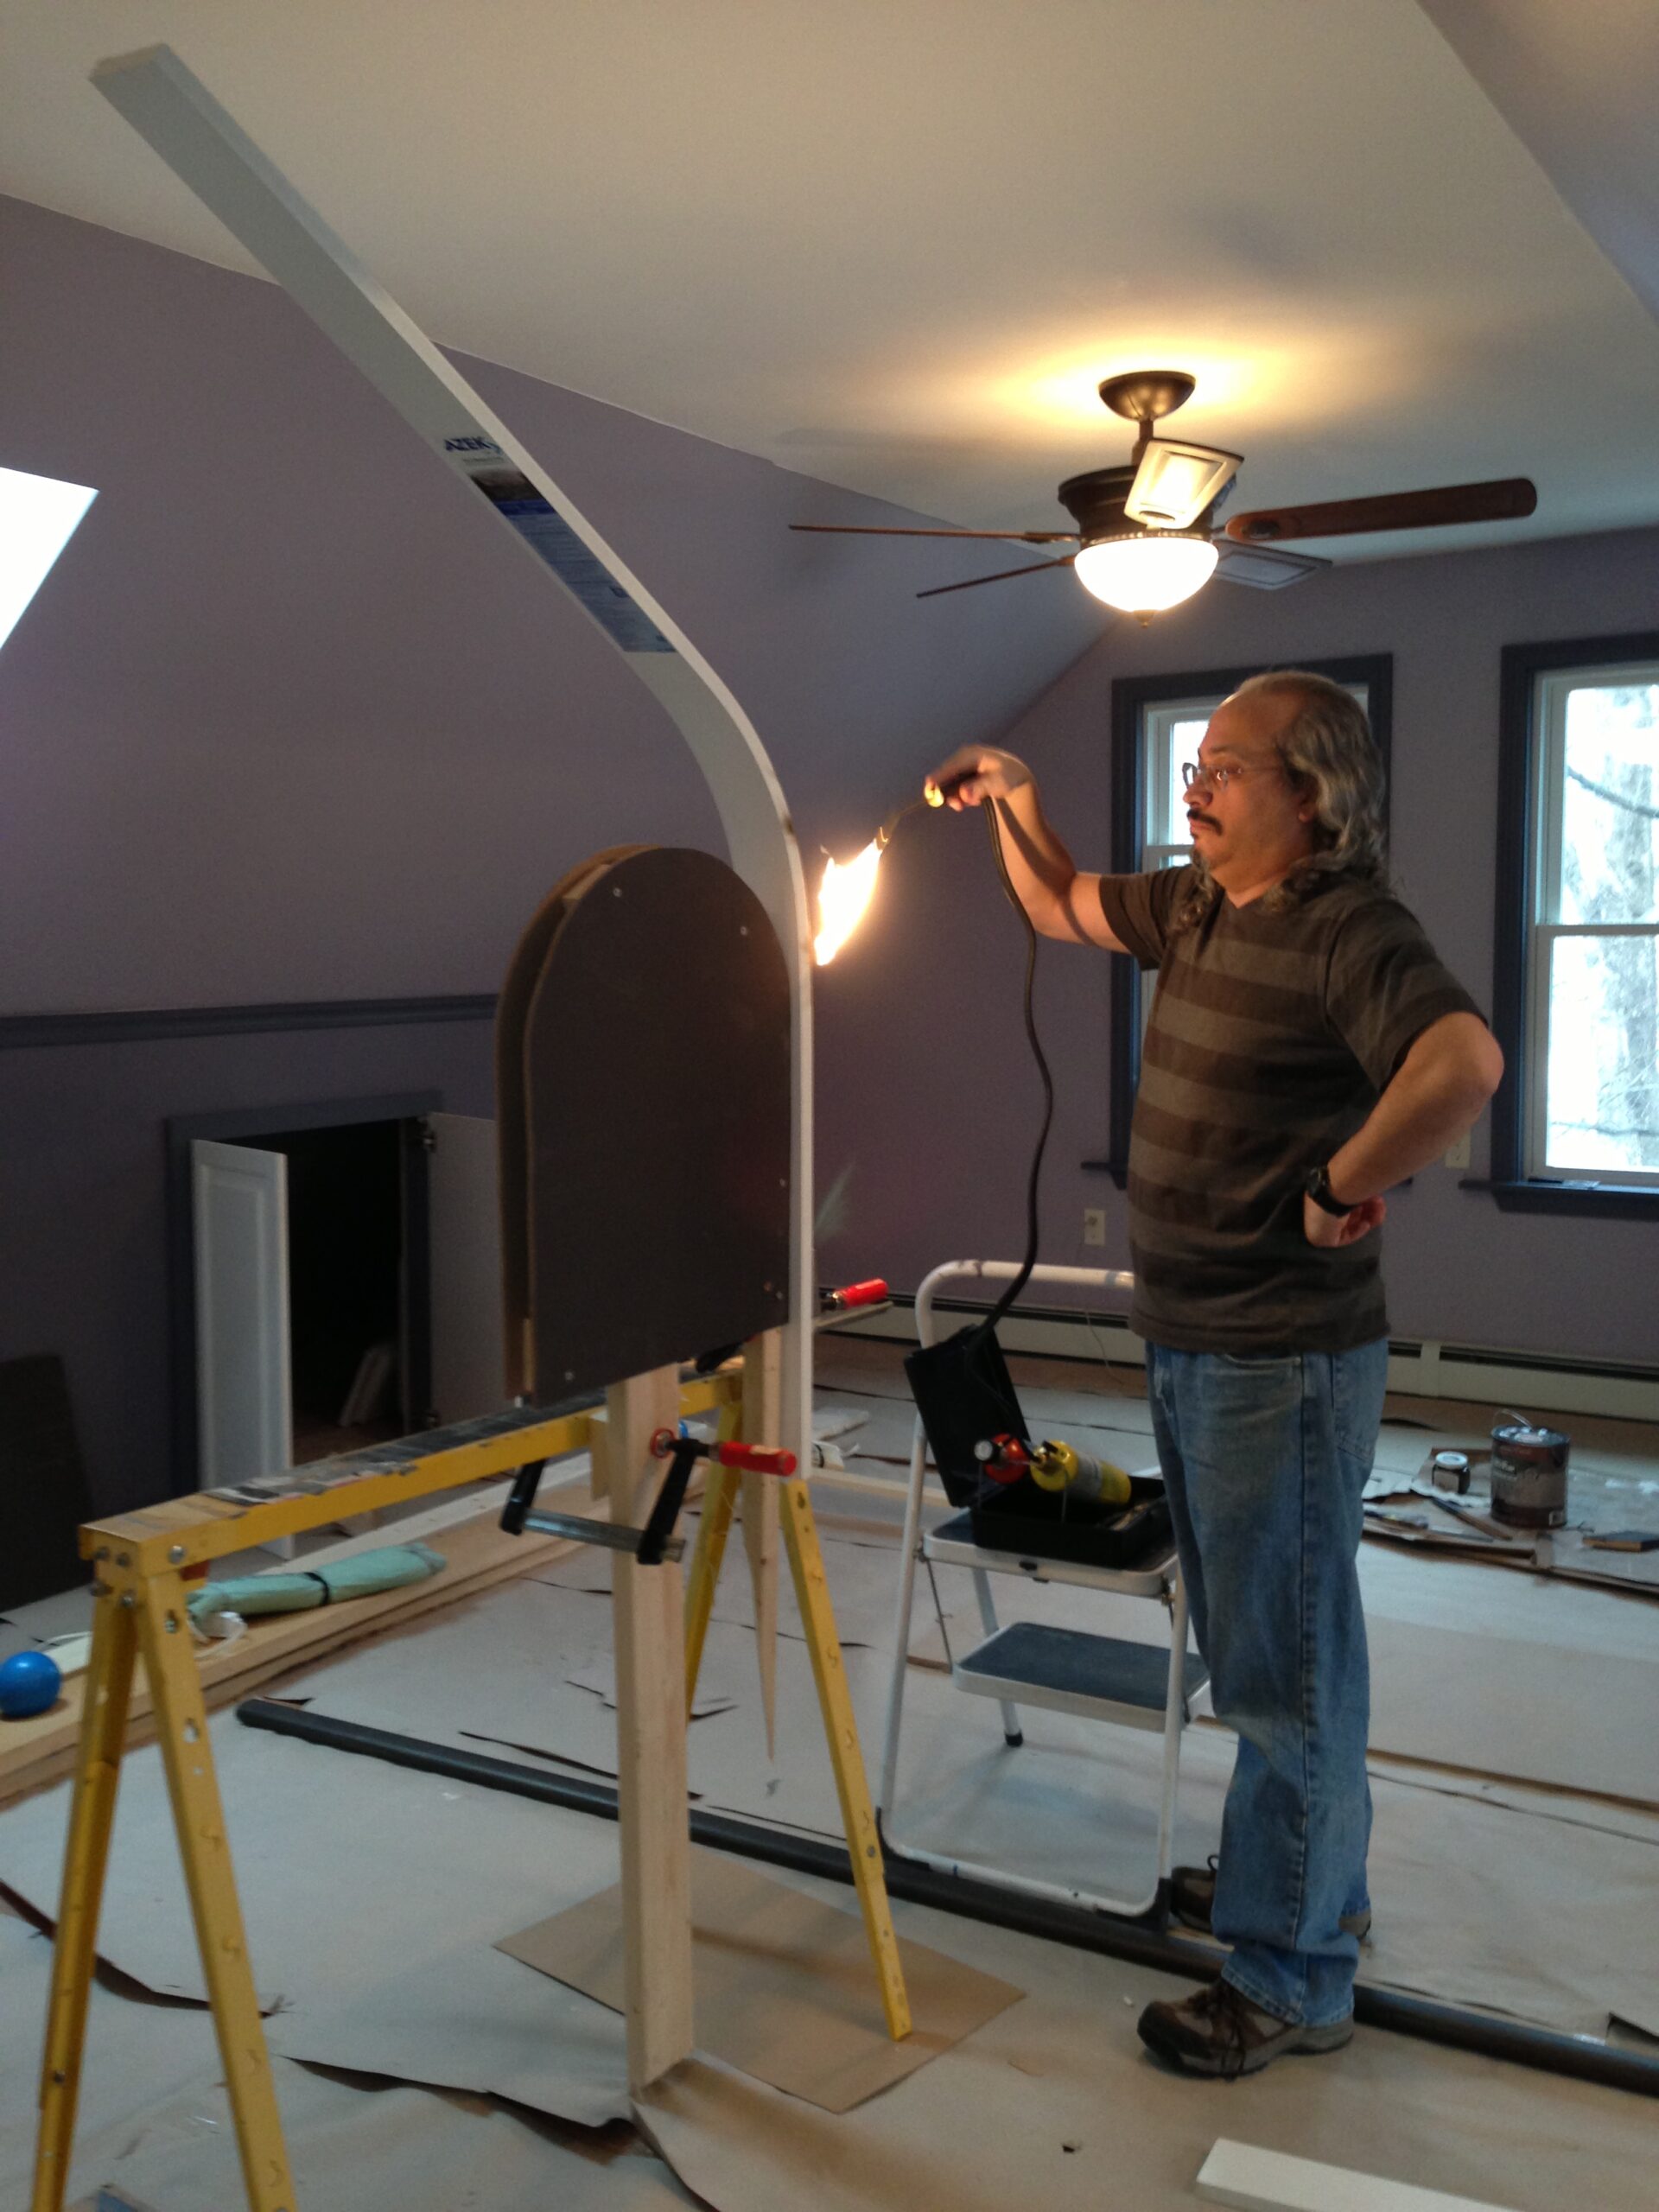
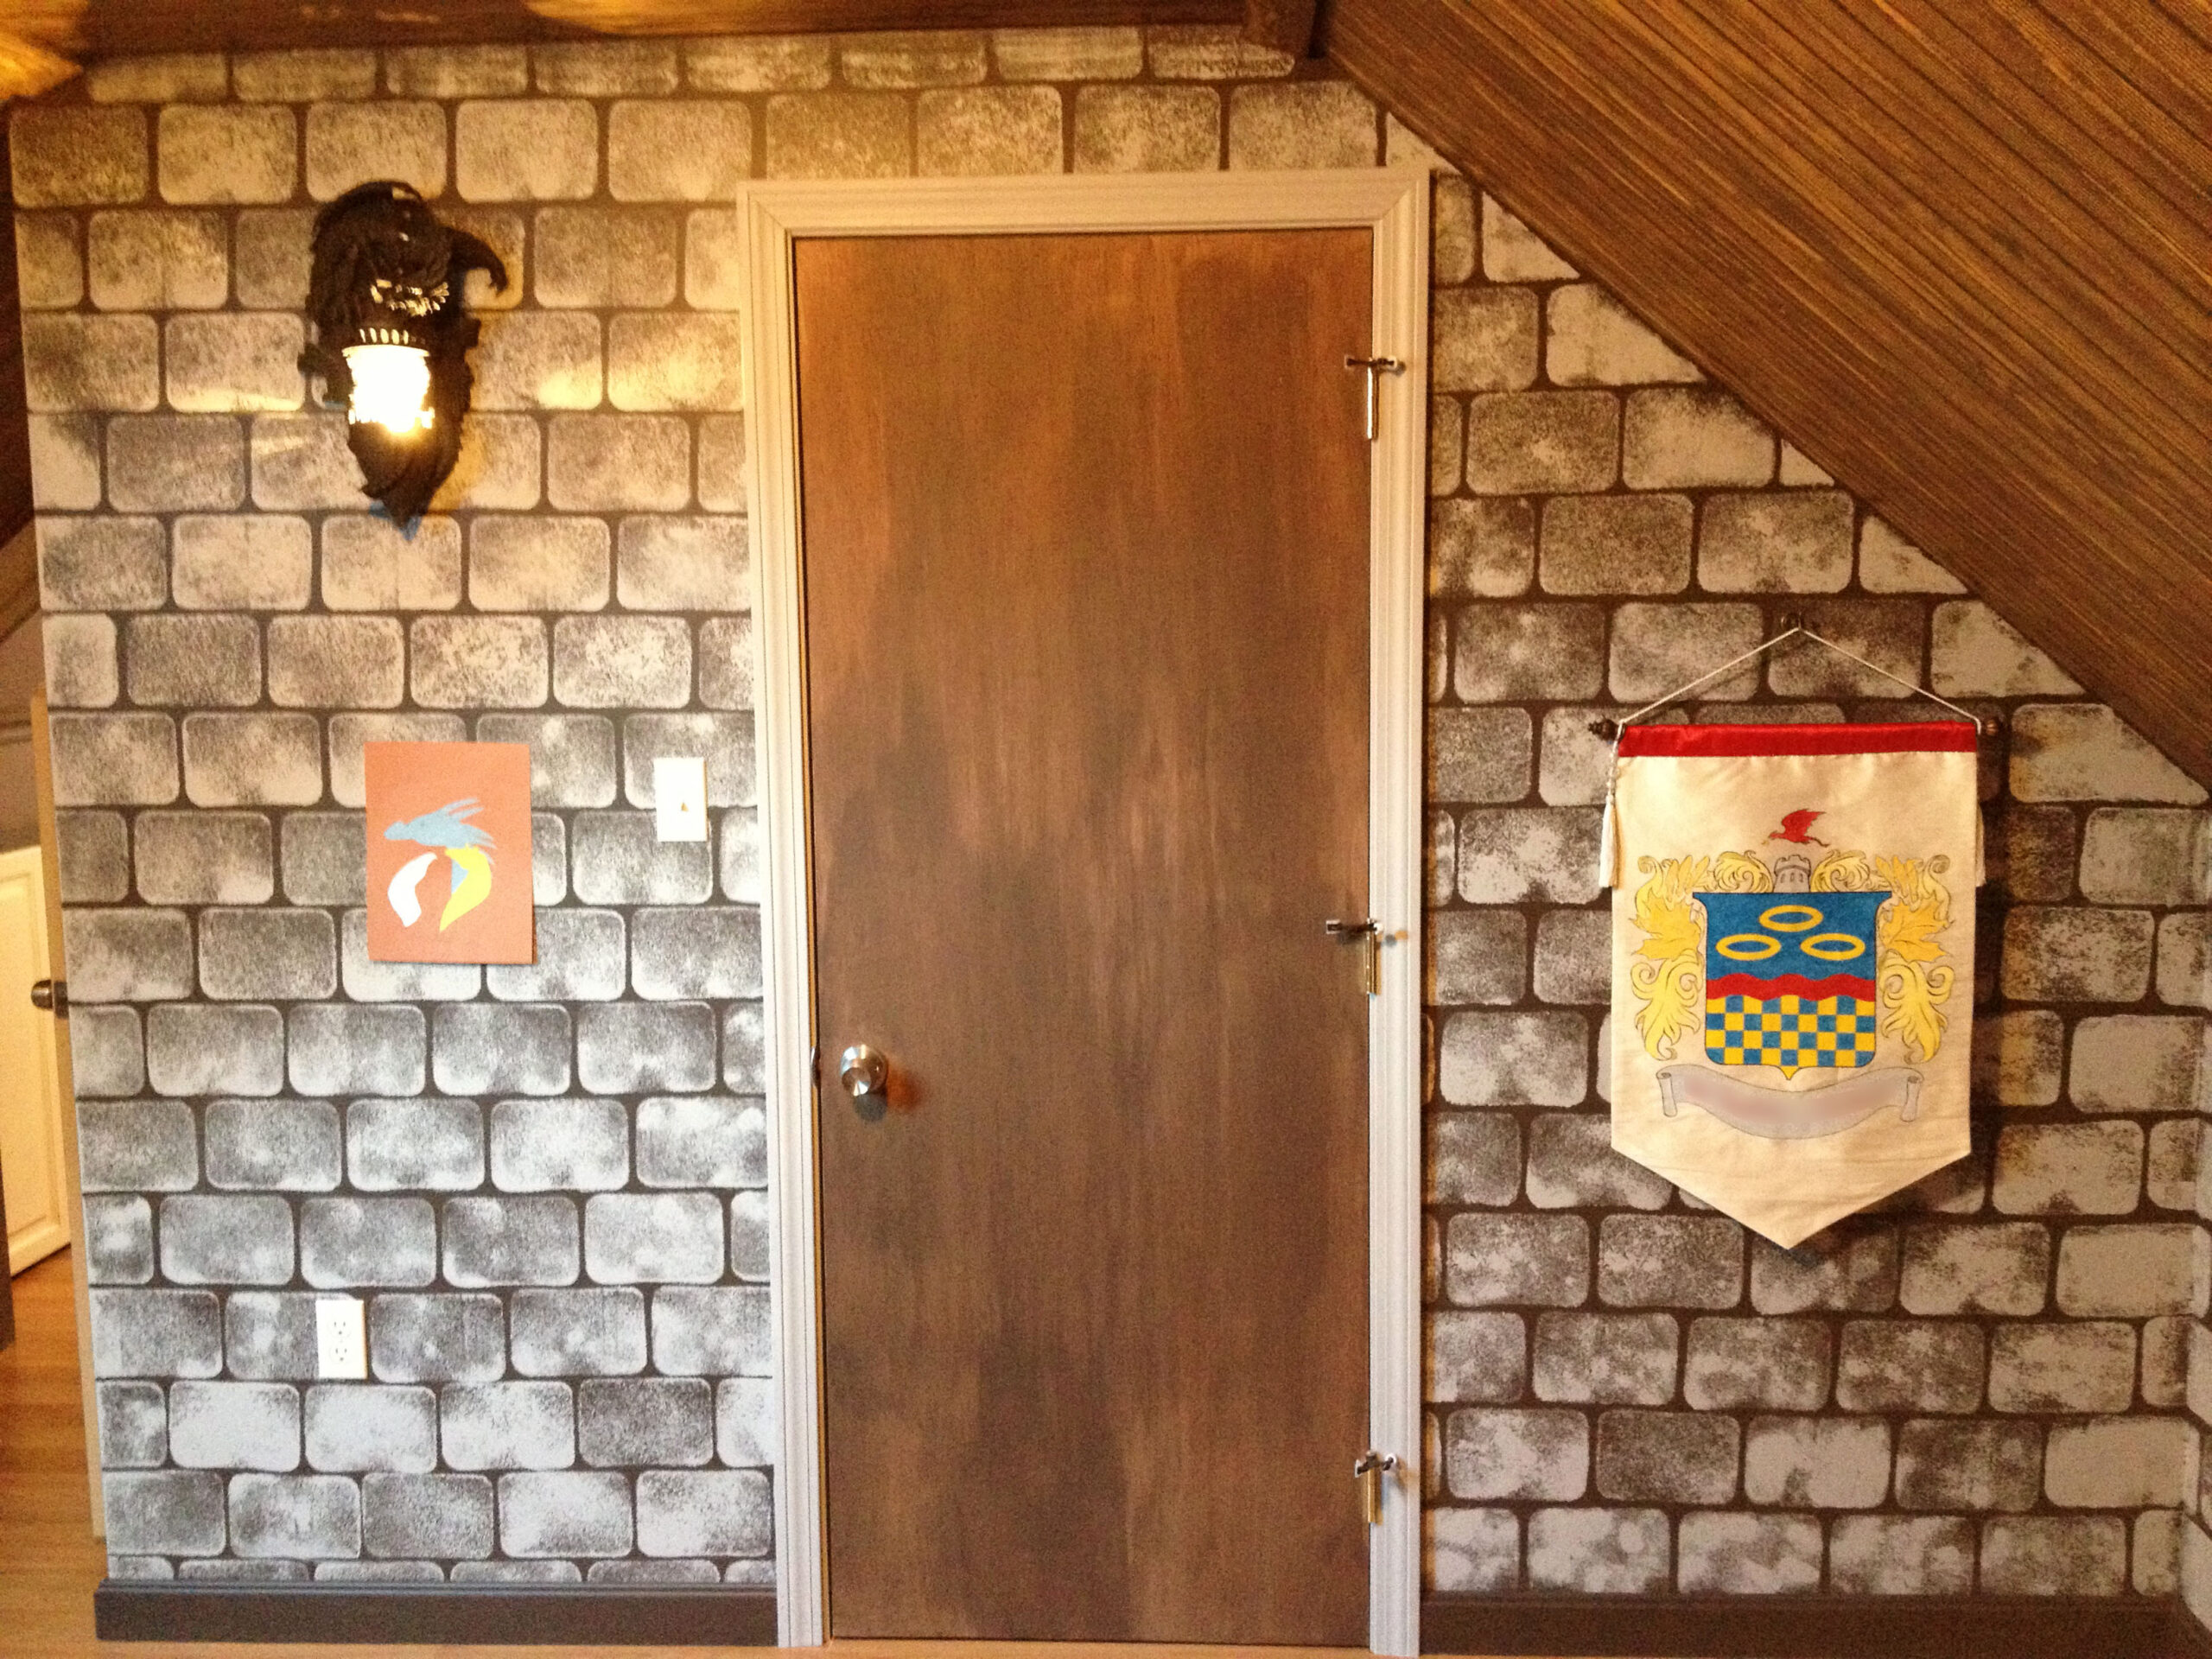
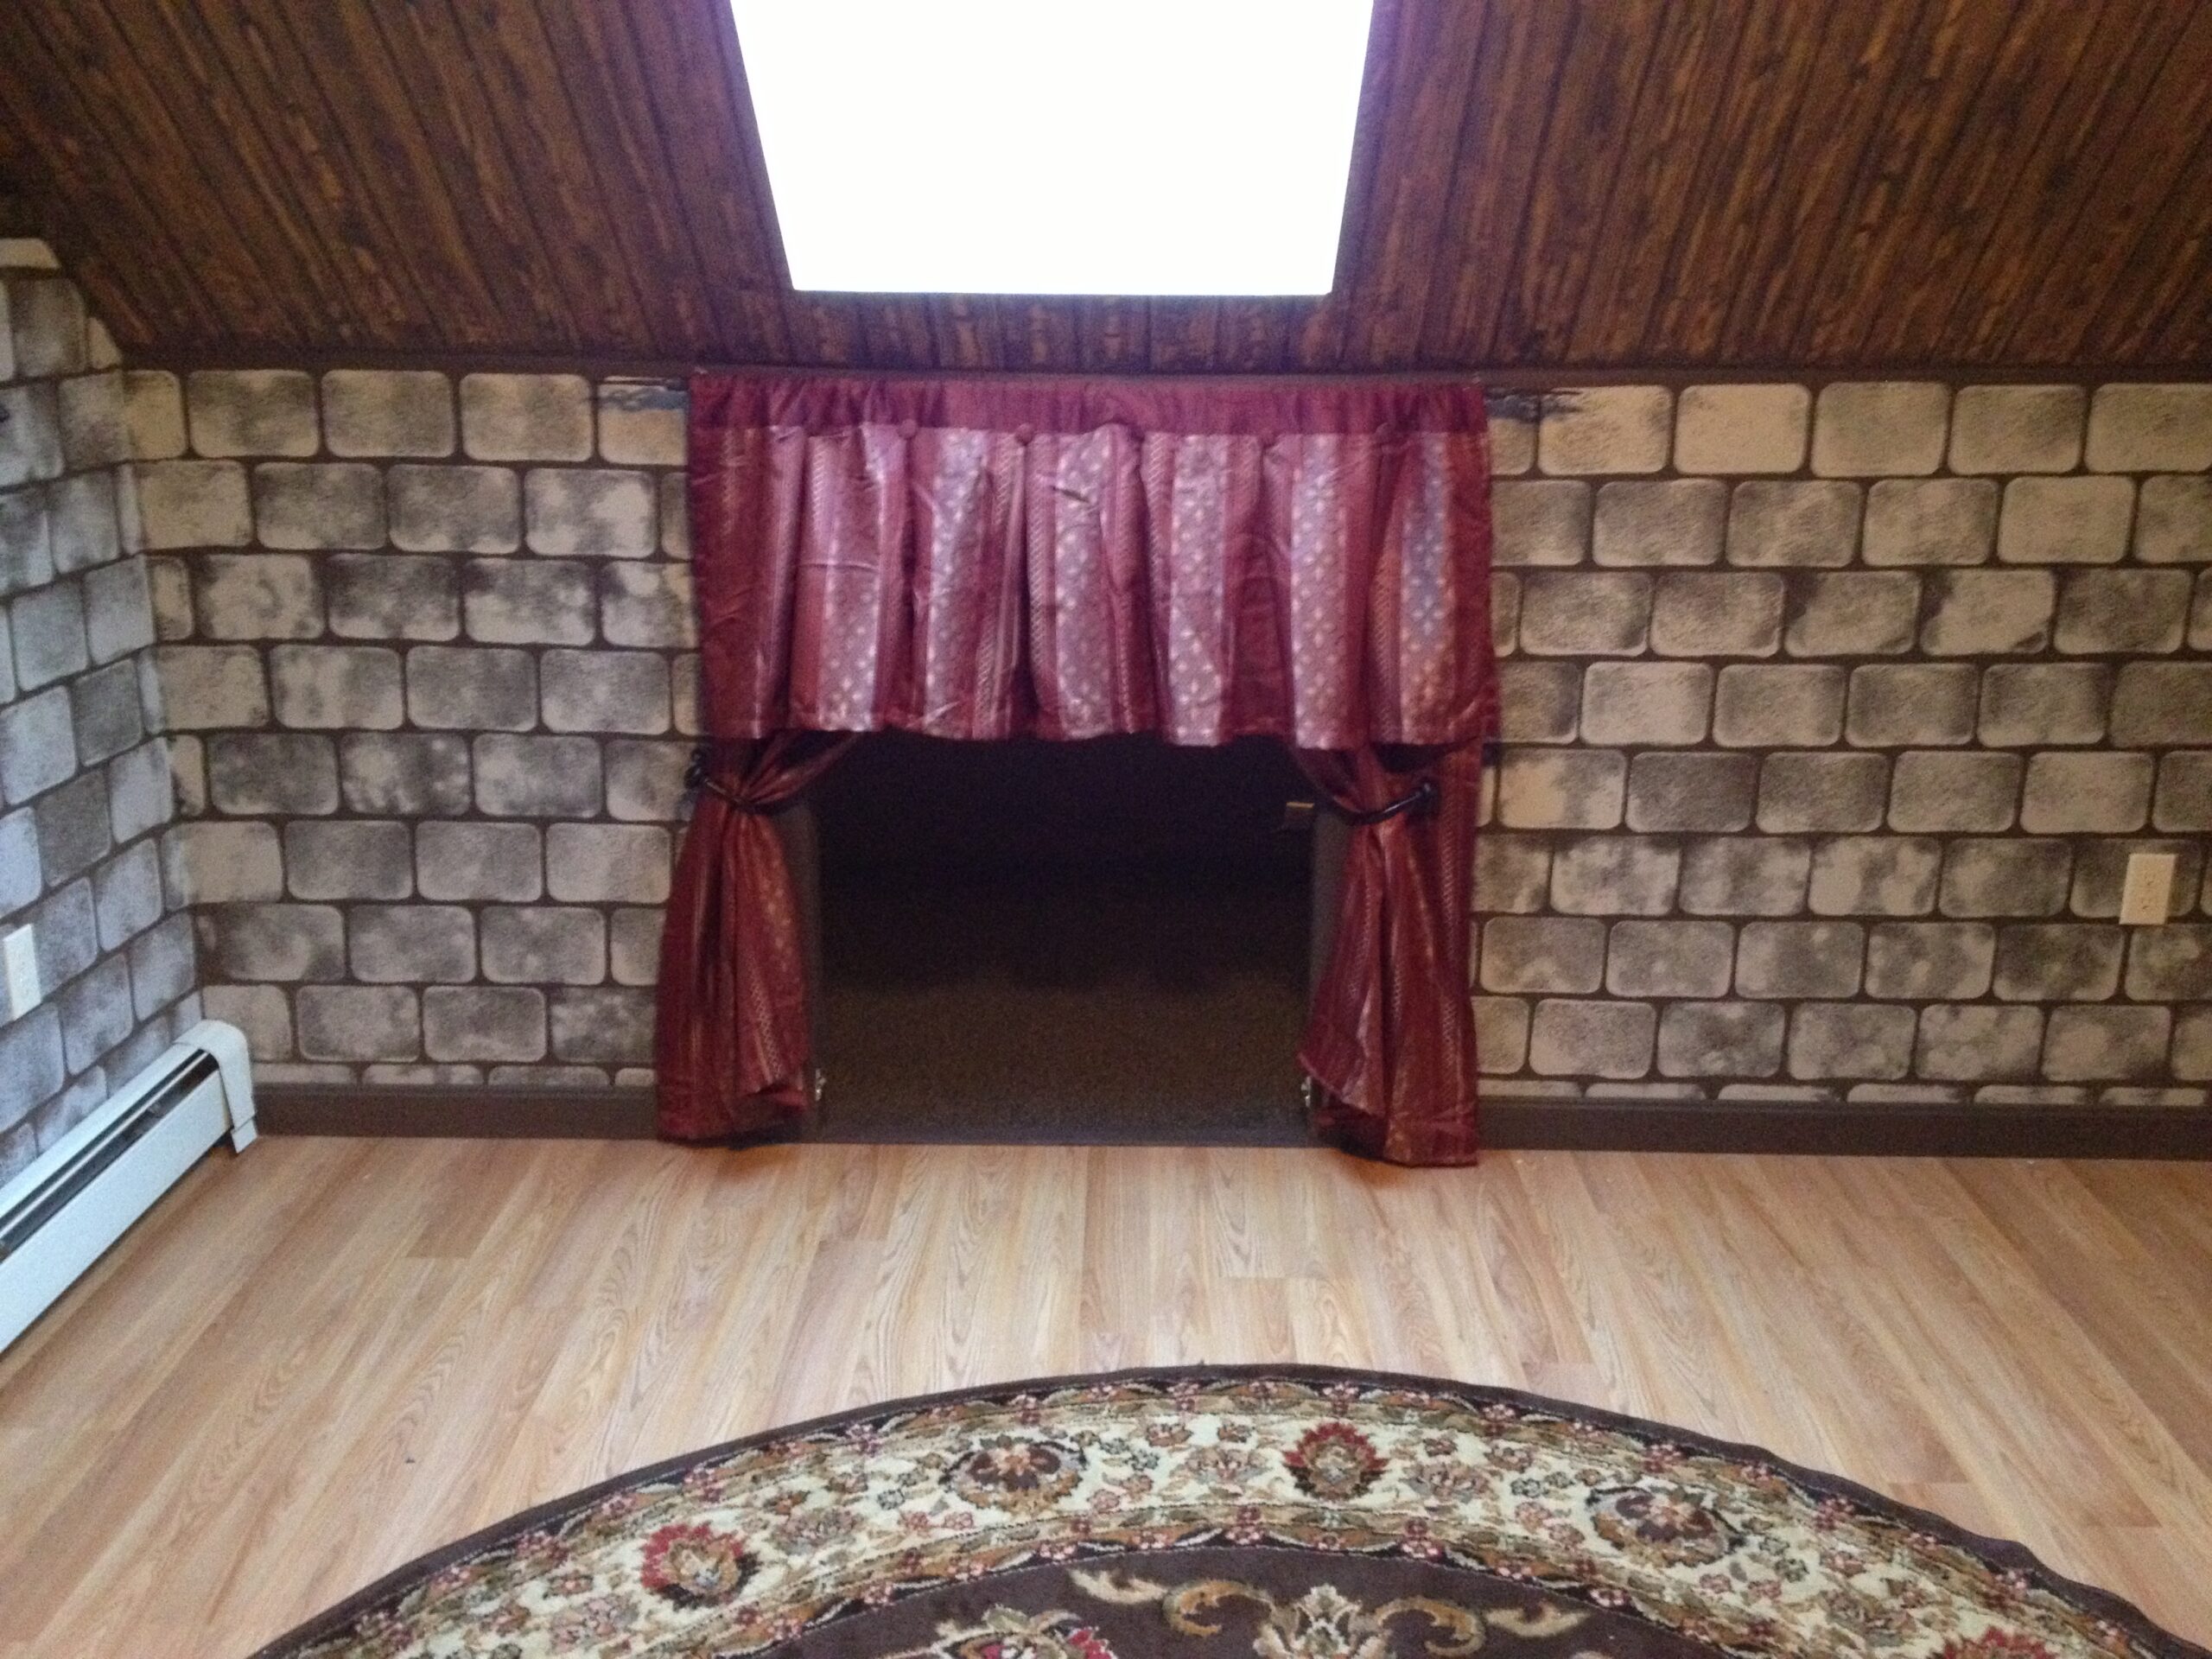
No wall, ceiling, or floor in this house is flat or square. Fun.
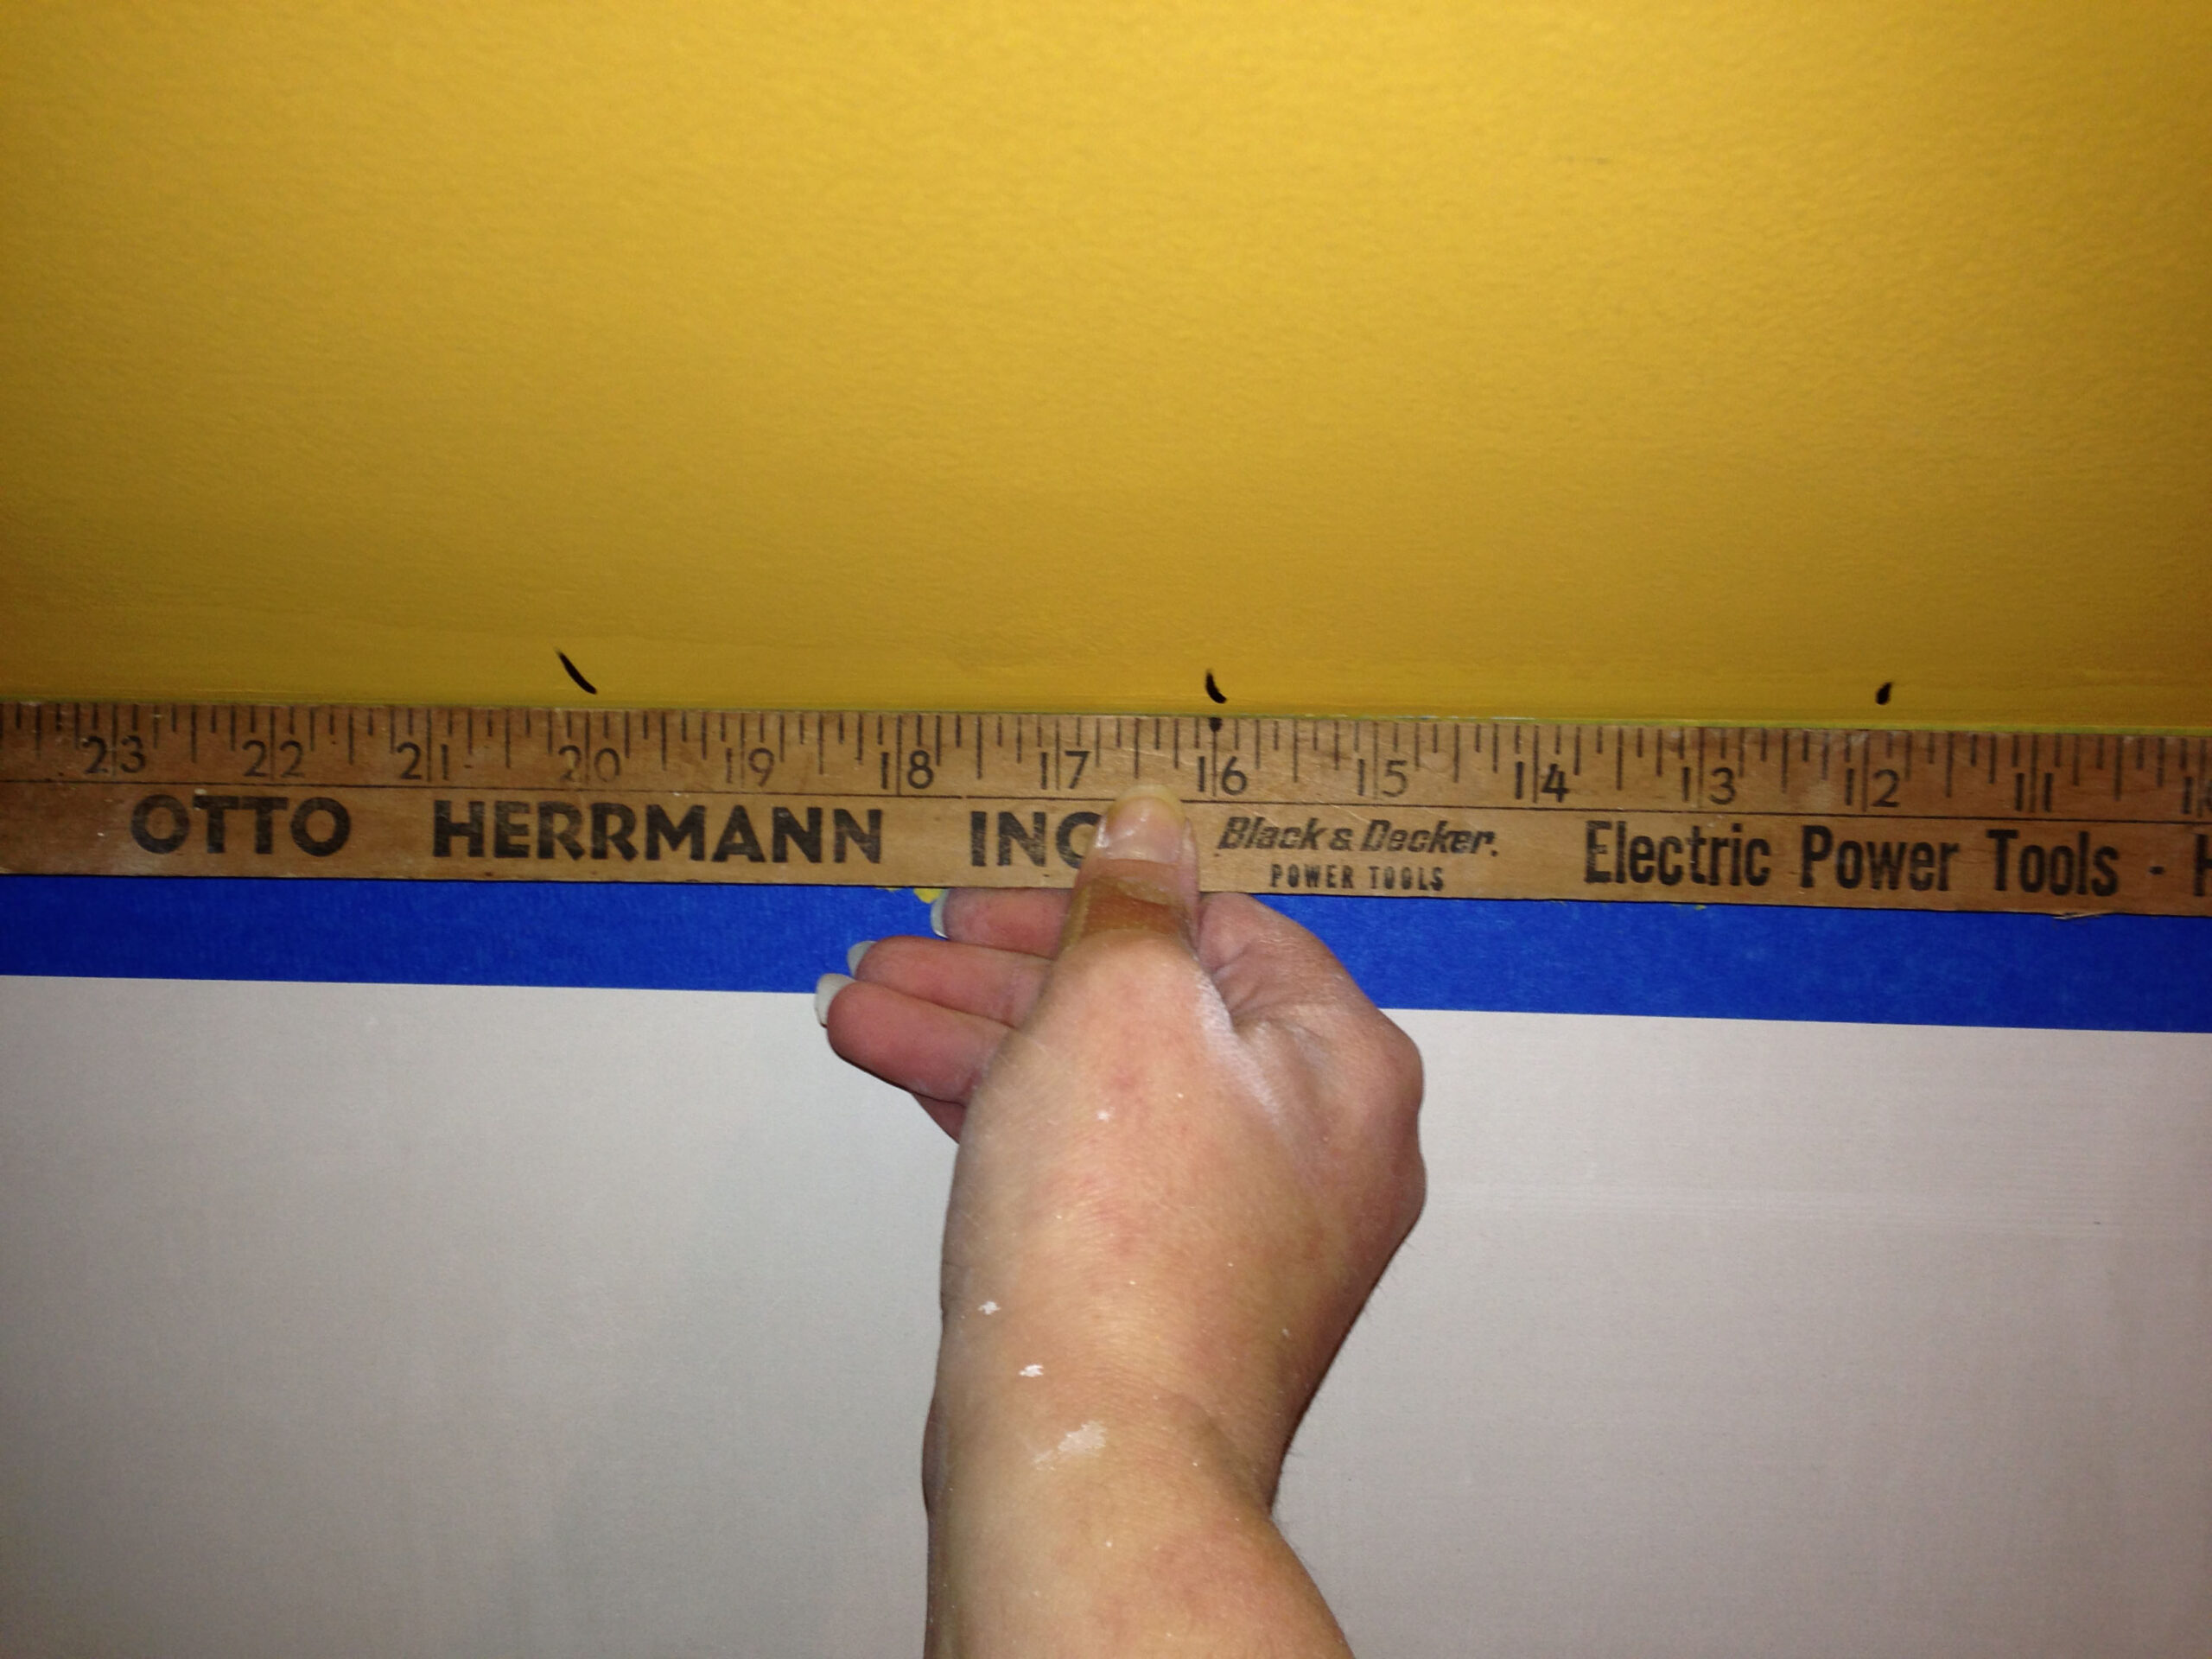
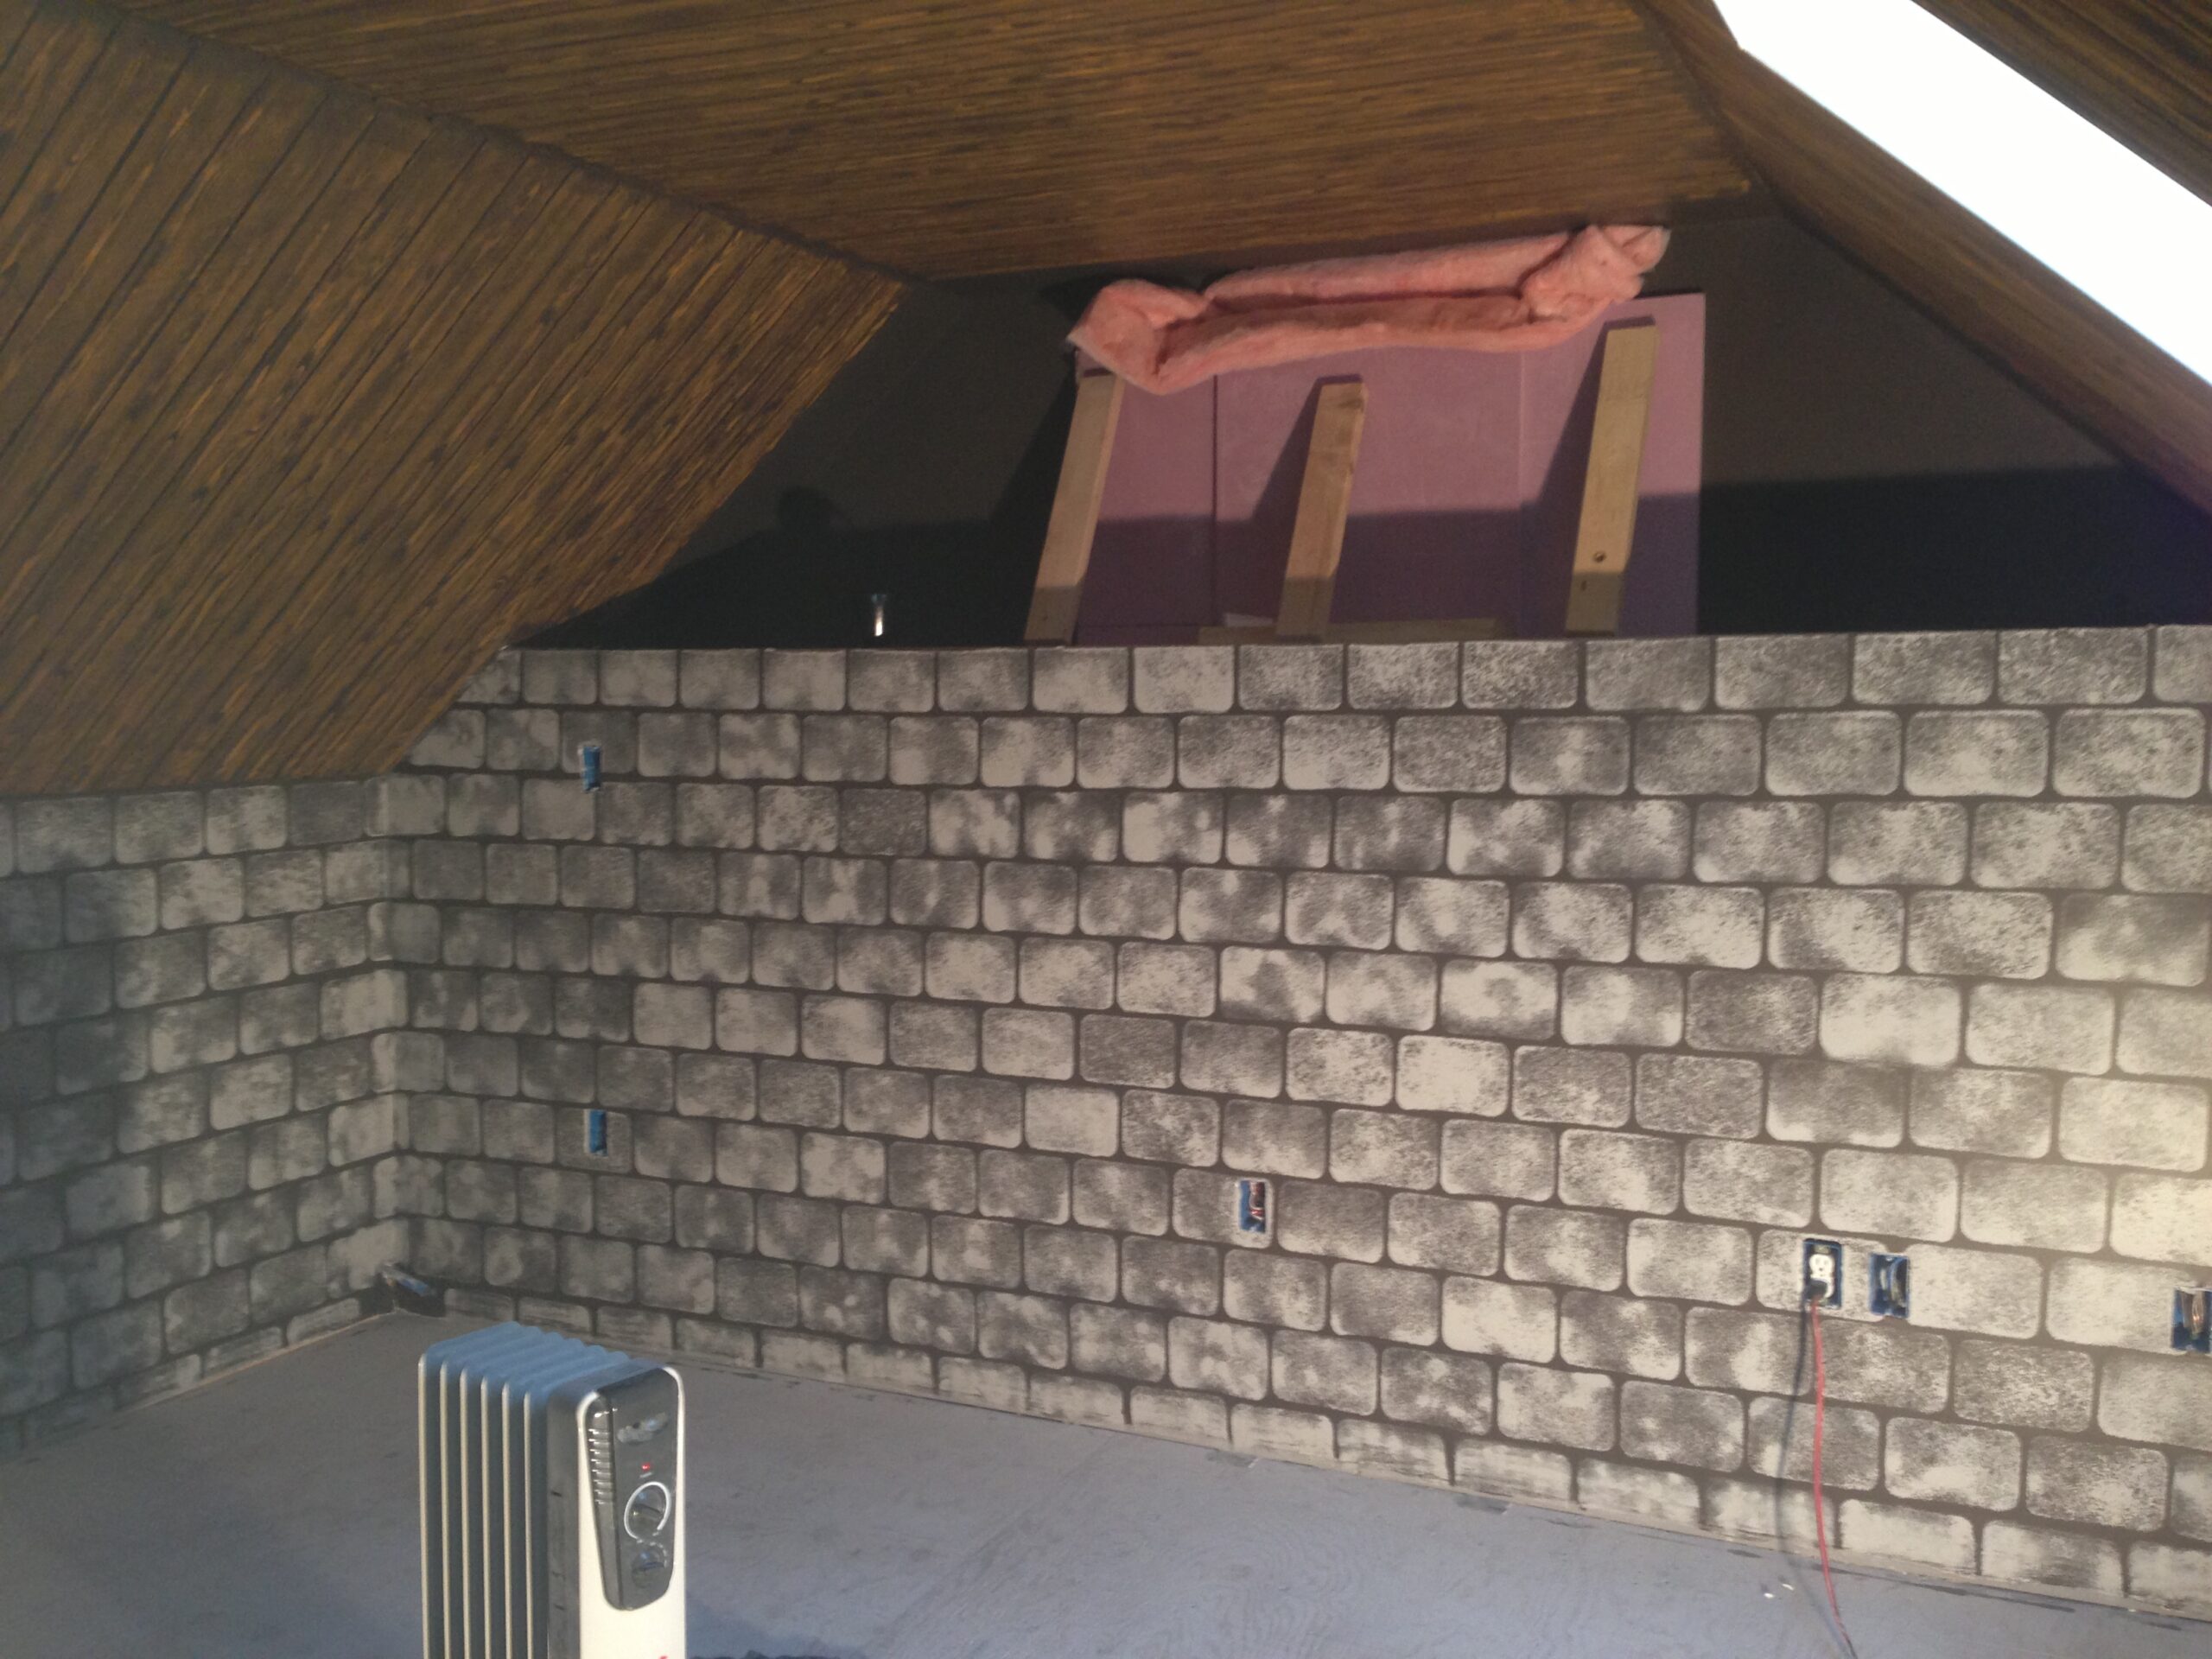
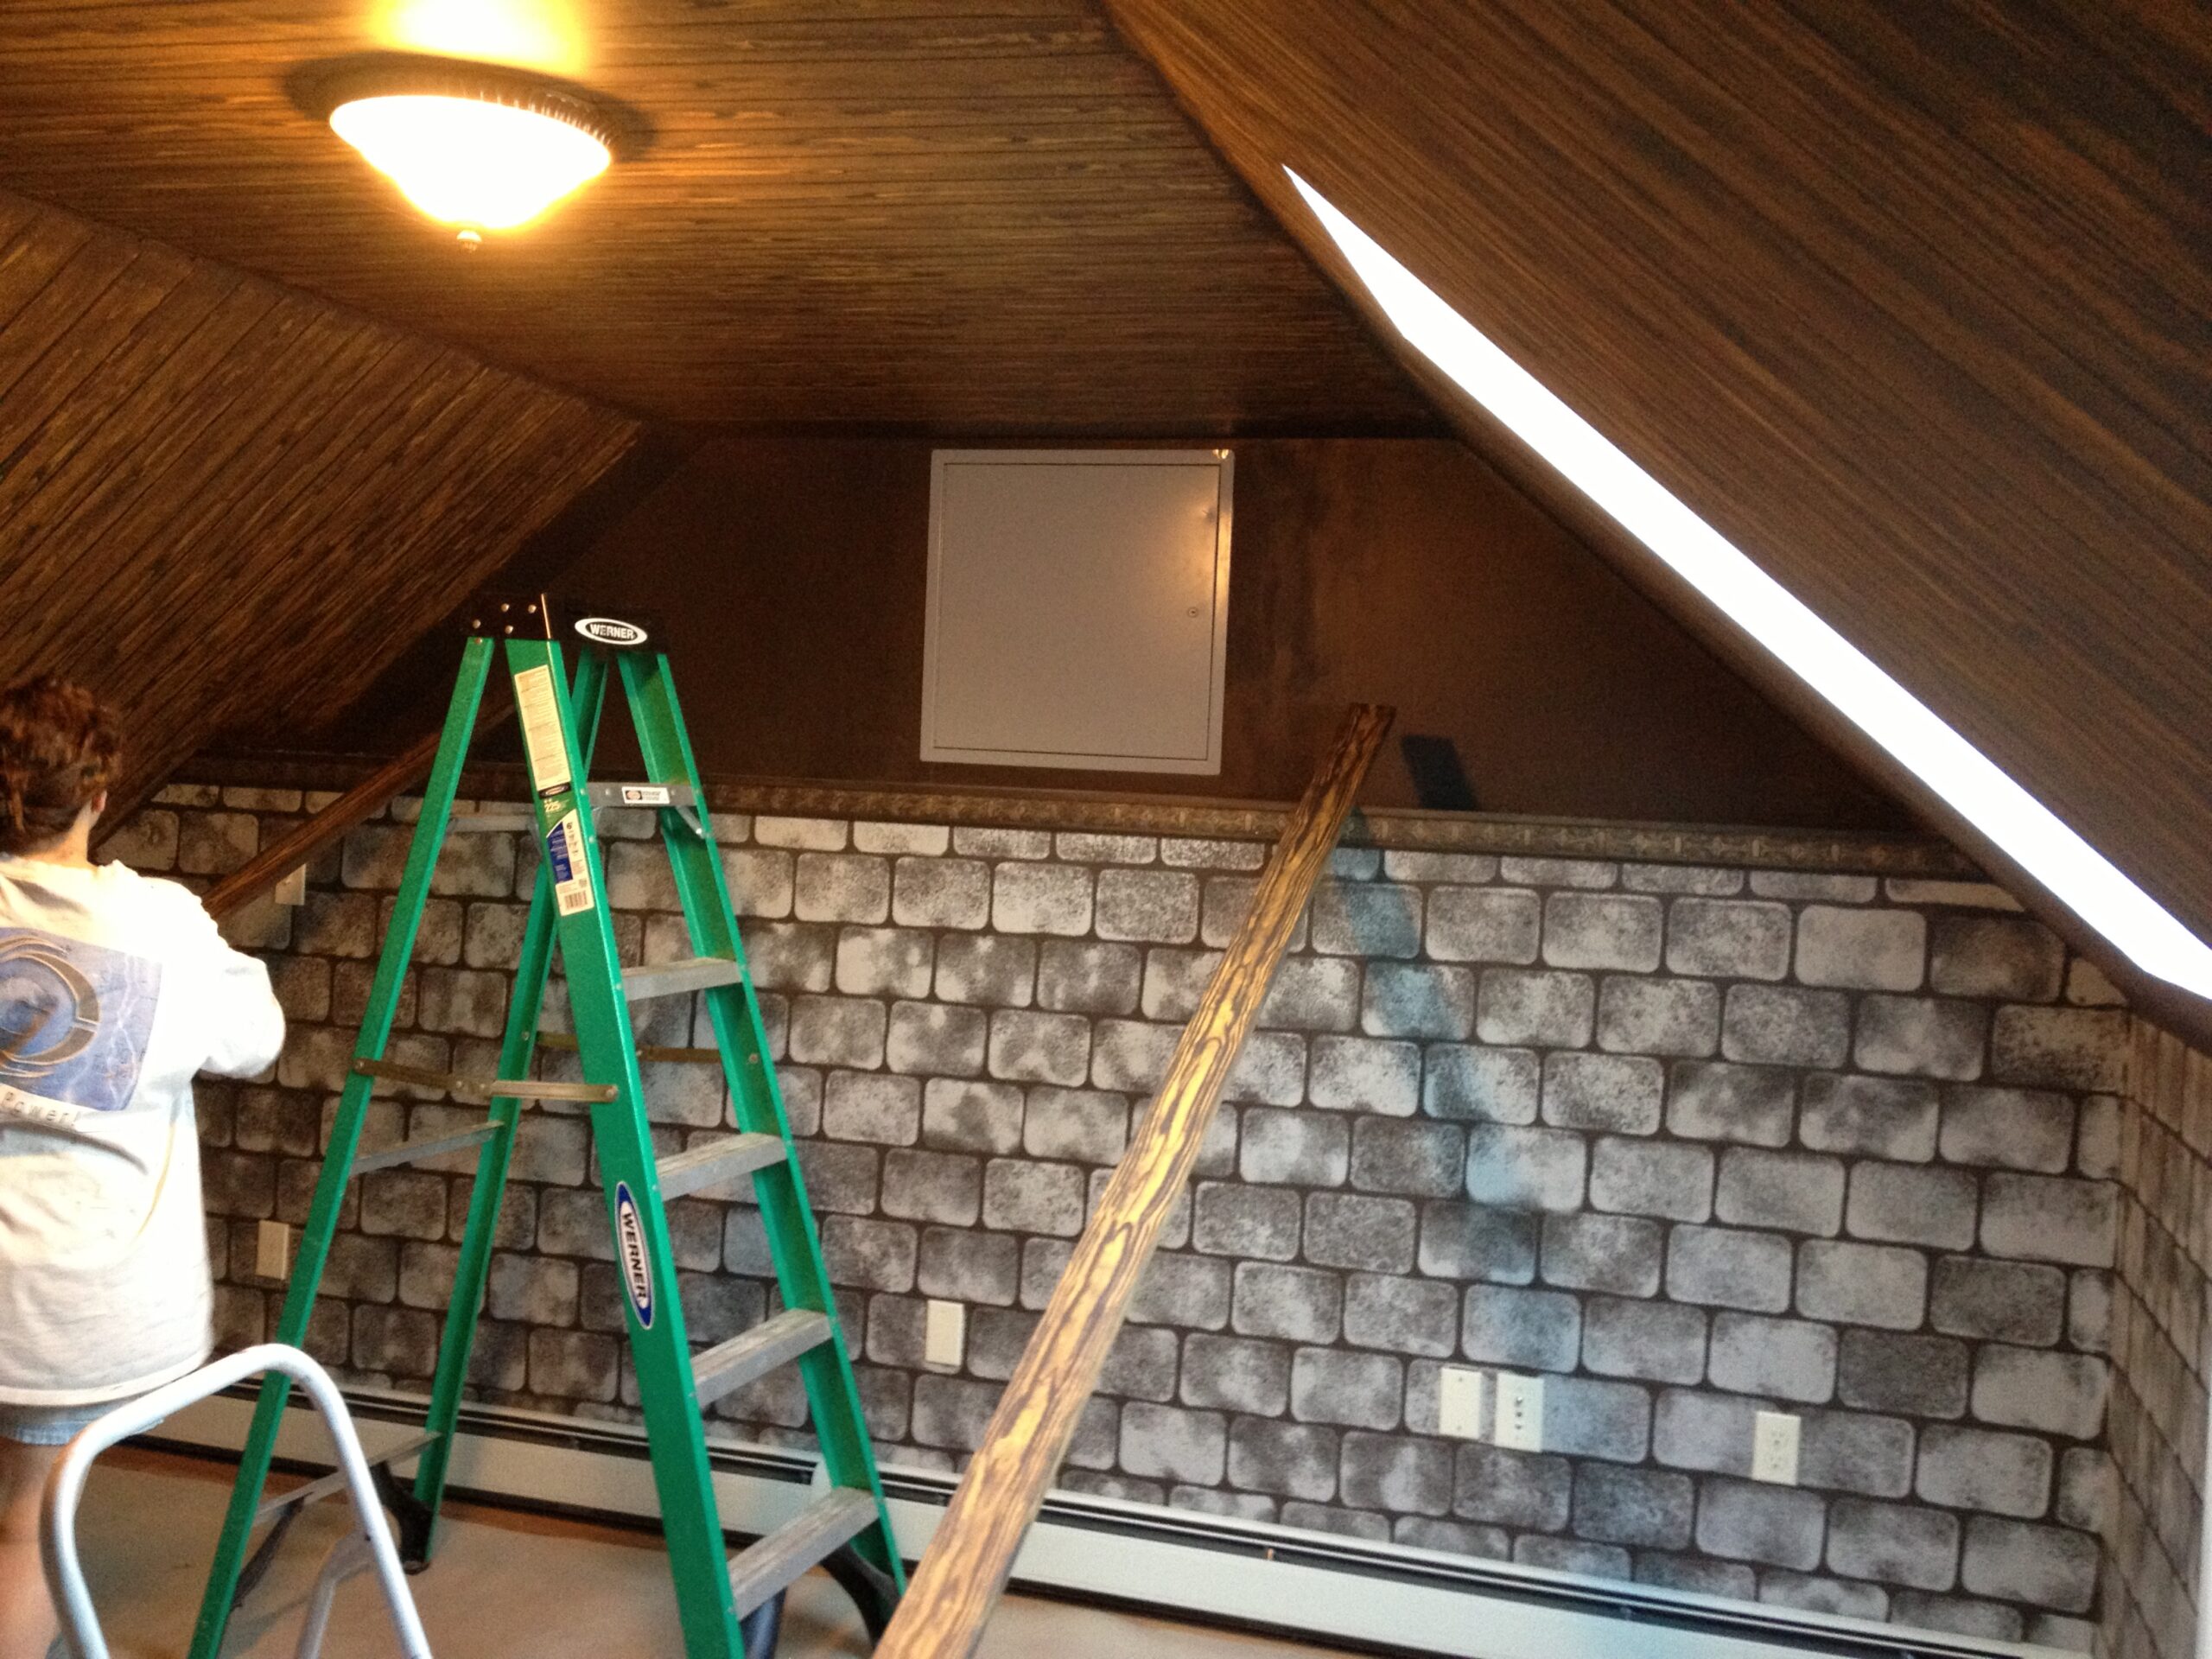
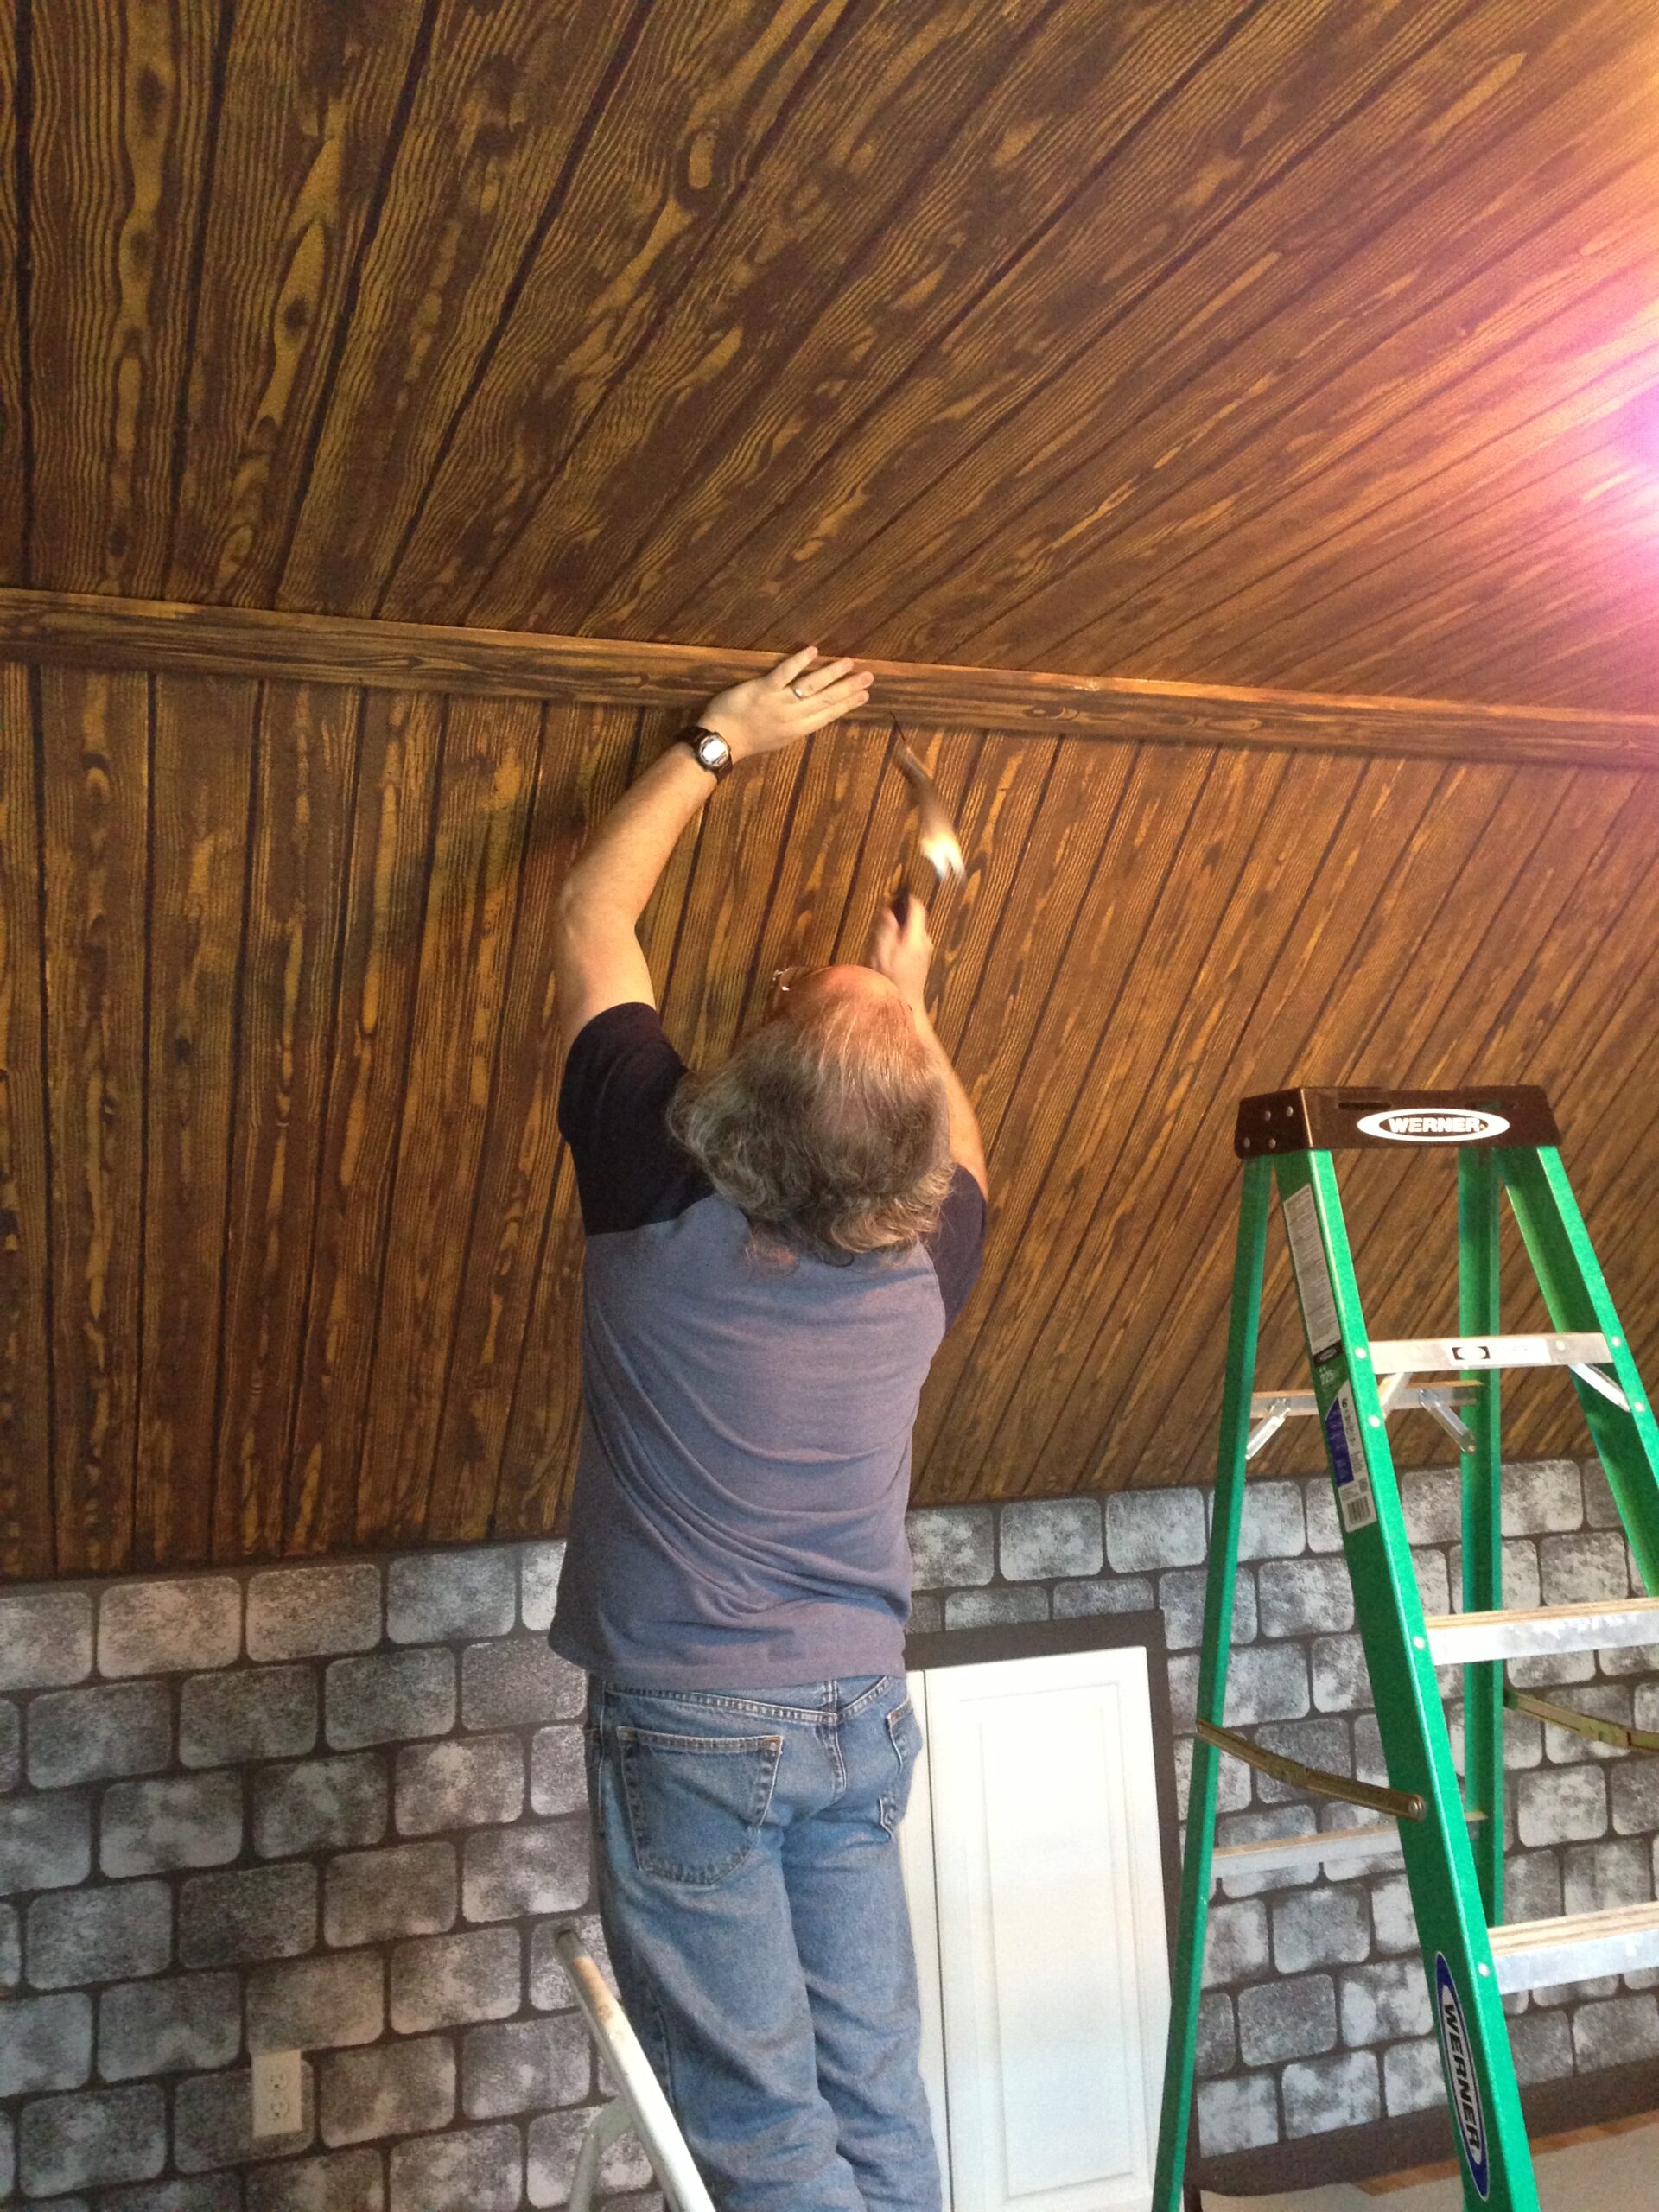
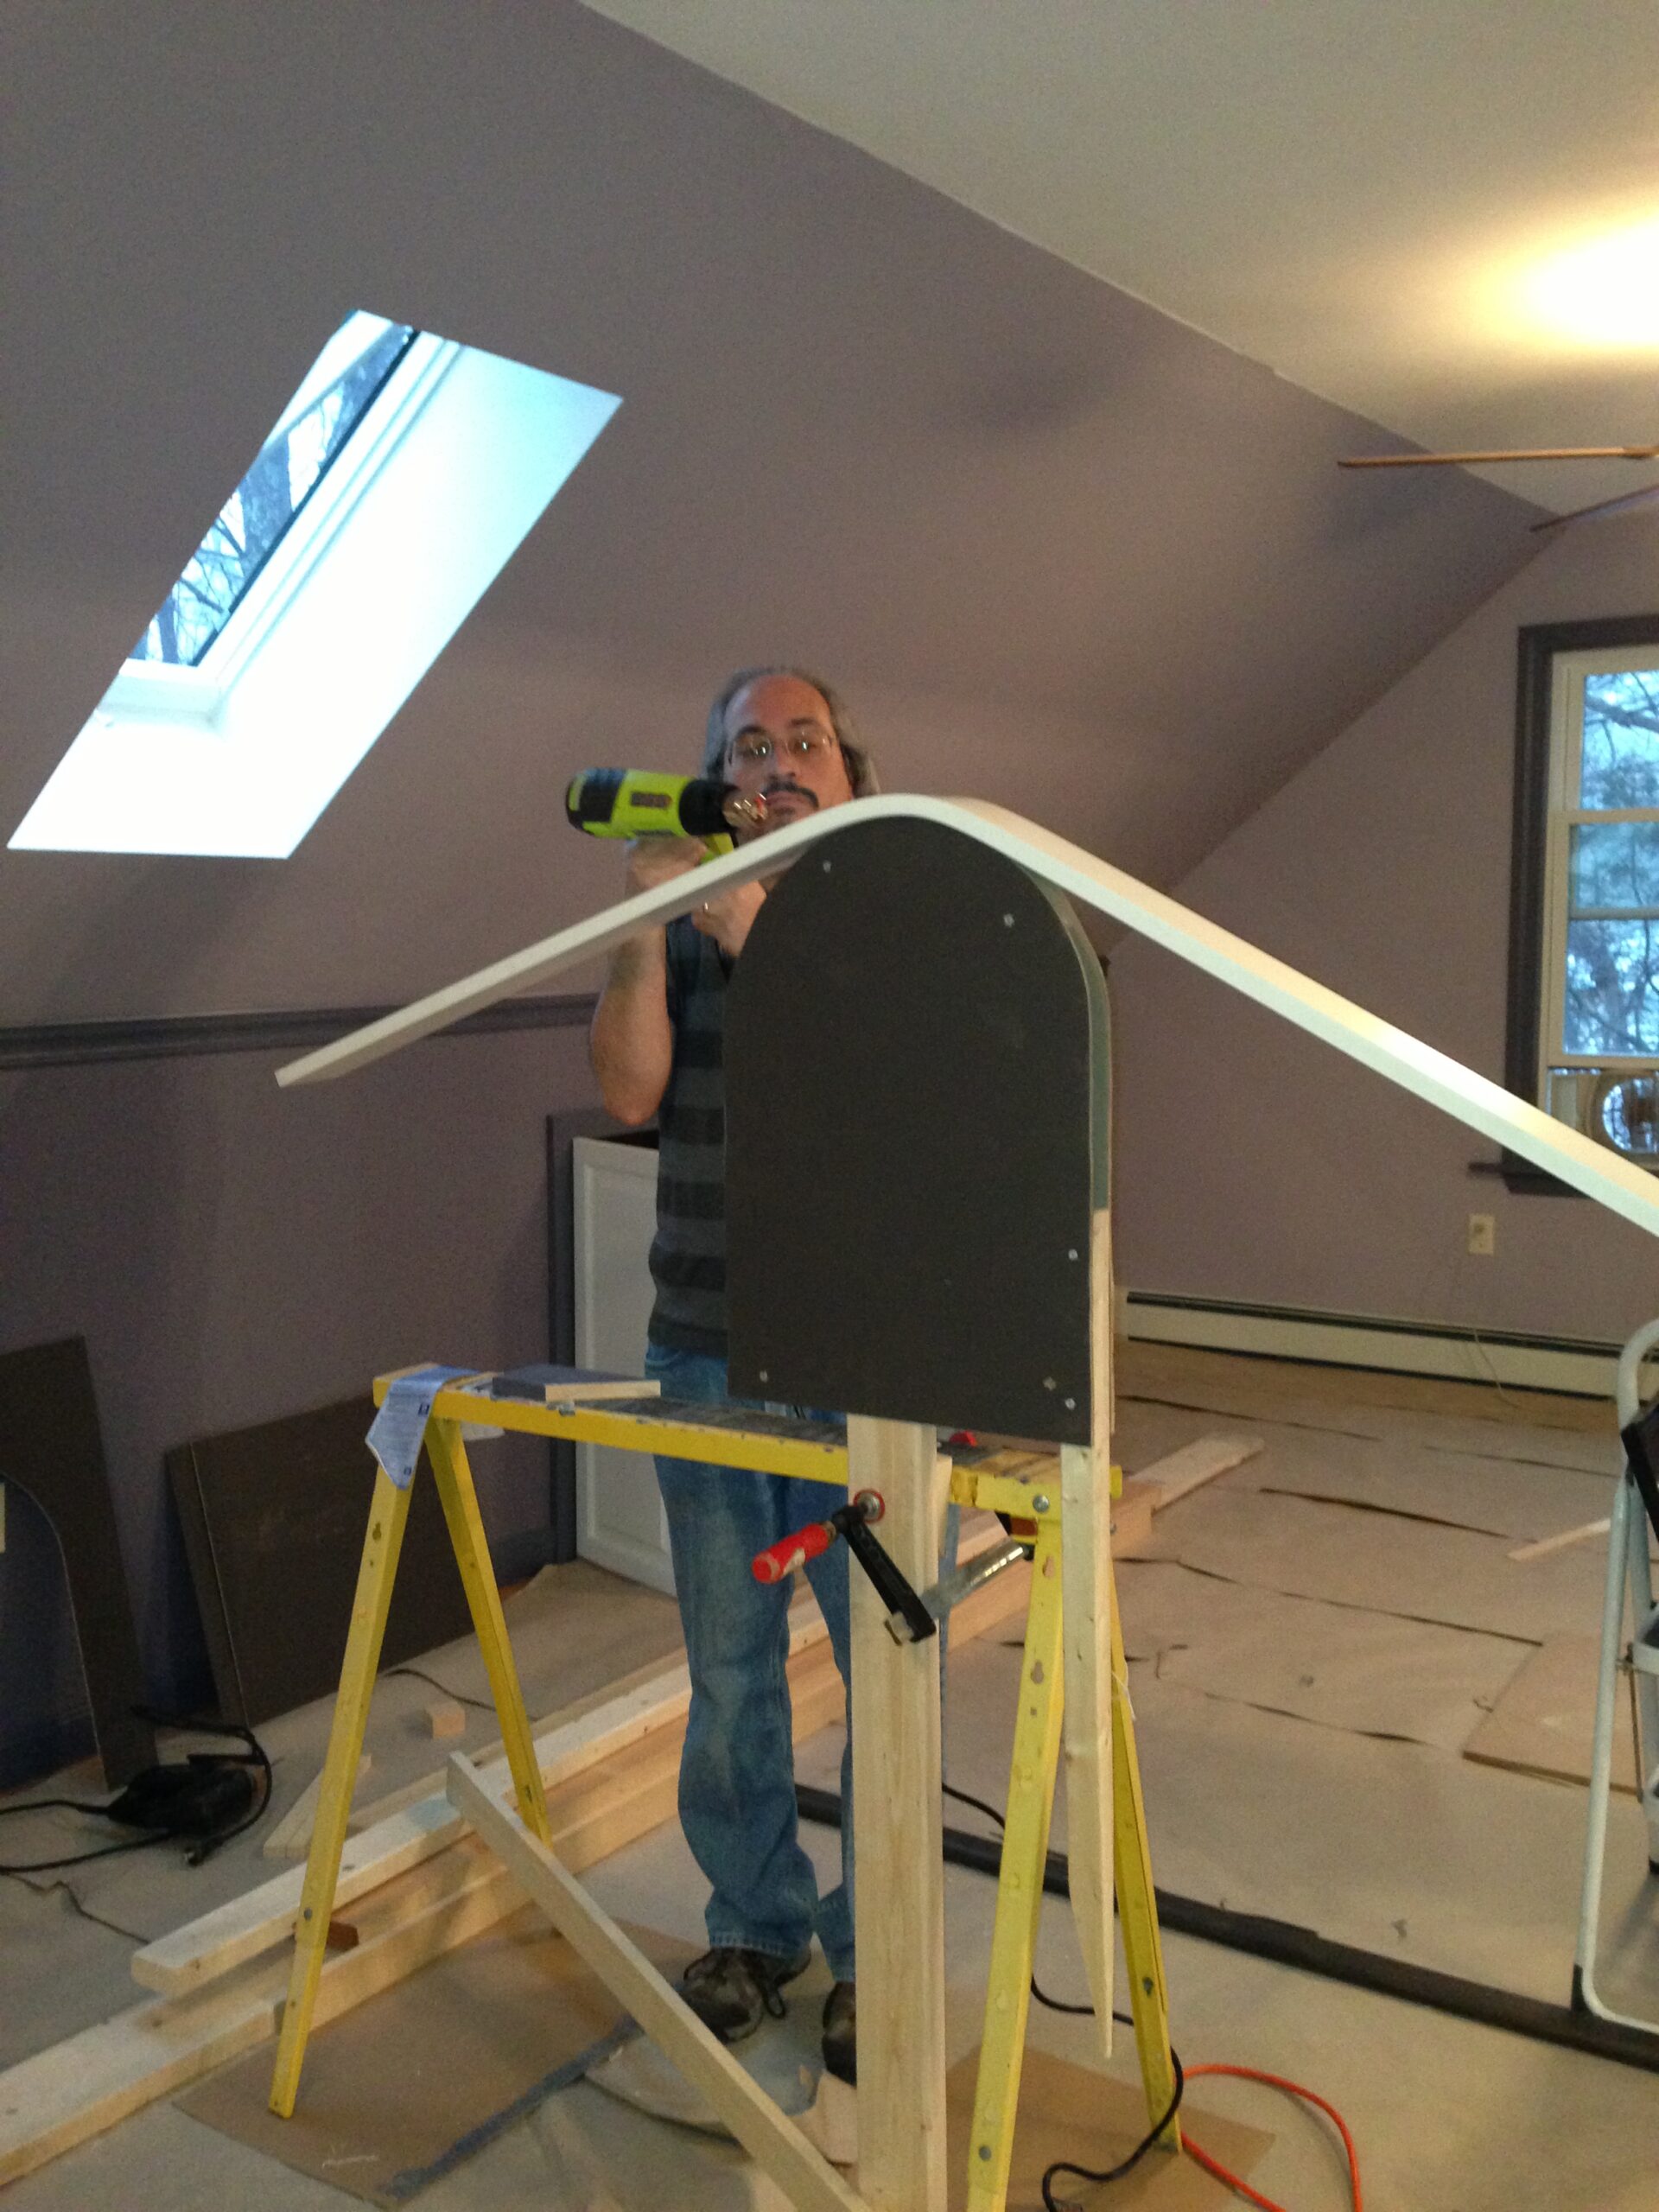
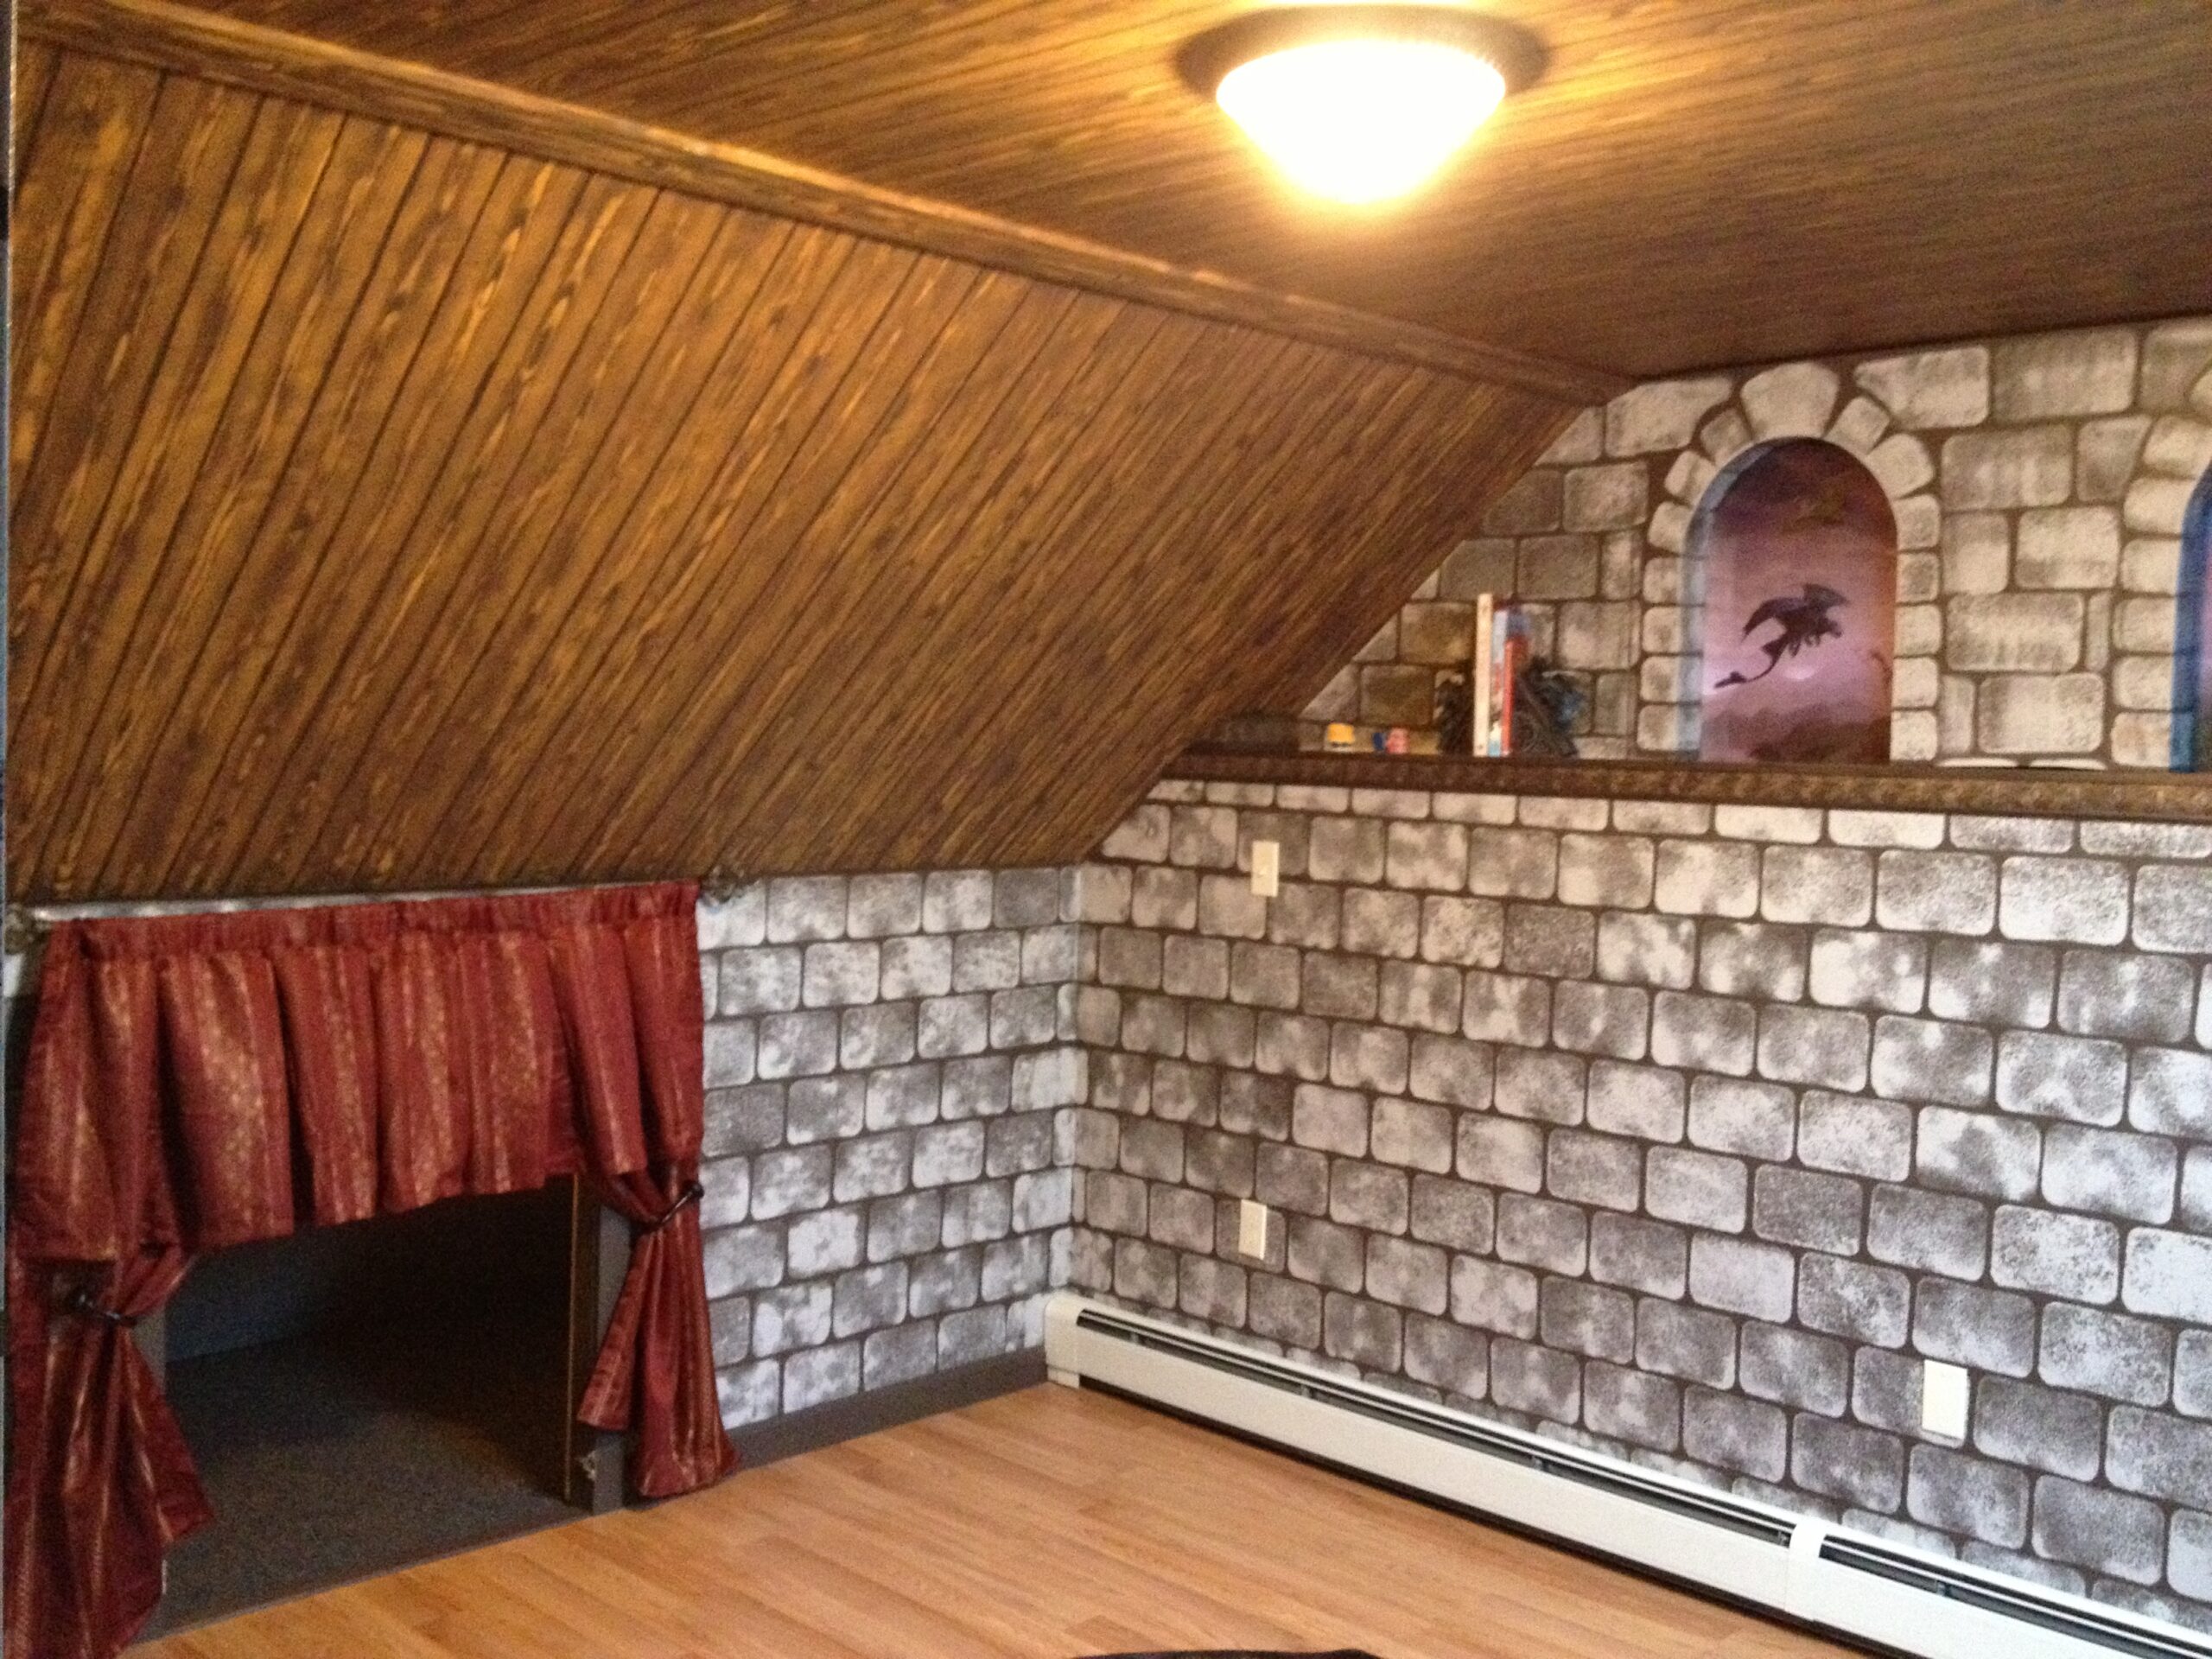
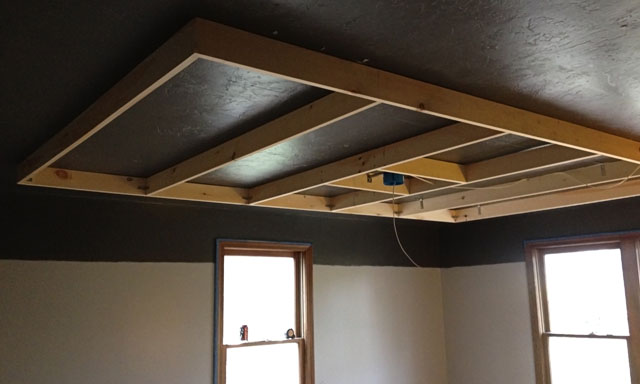
Miranda’s room doesn’t have a light built into the ceiling and we wanted to add one without the expense of hiring an electrician and tearing apart the ceiling and walls. We built a large box out of 1x4s and used it to create a dropped ceiling effect in the middle of the room. That gave me room to add a mounting box for the light fixture. The wire from there runs along the ceiling, down the wall, and plugs into a normal switched outlet that already existed. It is covered with a plastic cover and painted the same color as the ceiling and walls so it blends right in. The original plan used 2x4s to give more leeway for the tiles that would be attaching to them, but 2x4s are just too heavy for something like that. In the end we used 1x4s connected with small metal brackets.
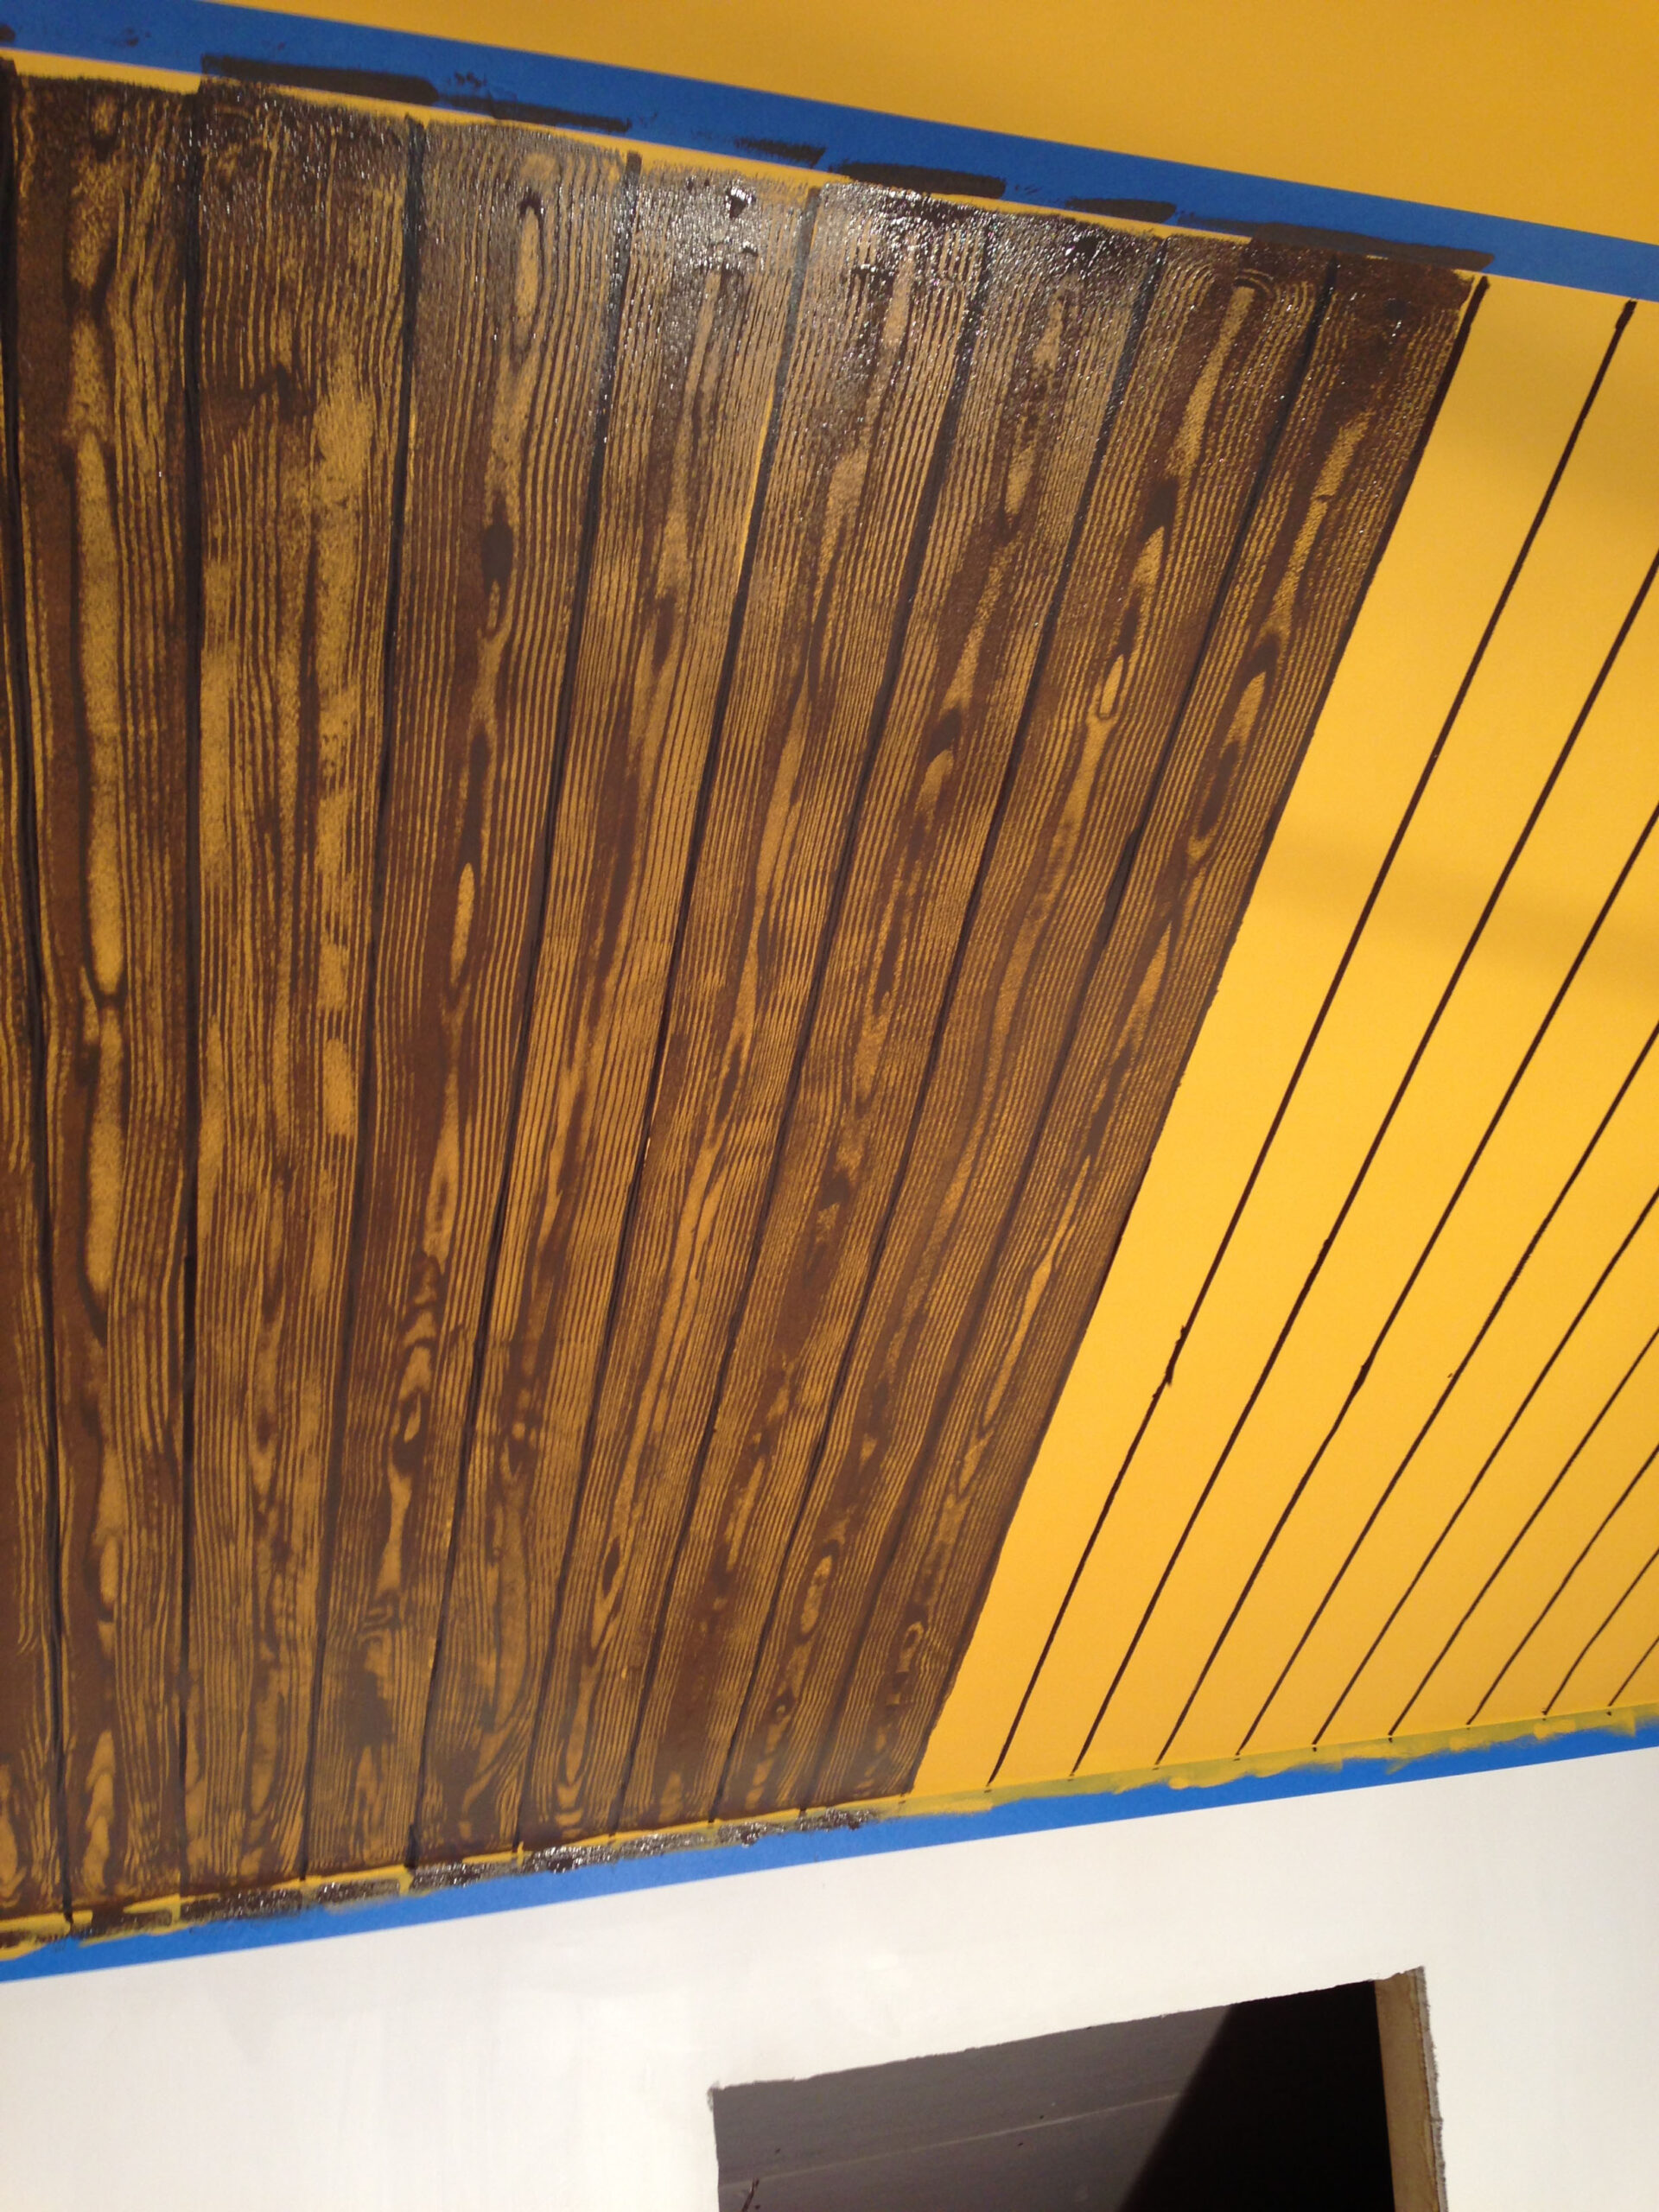
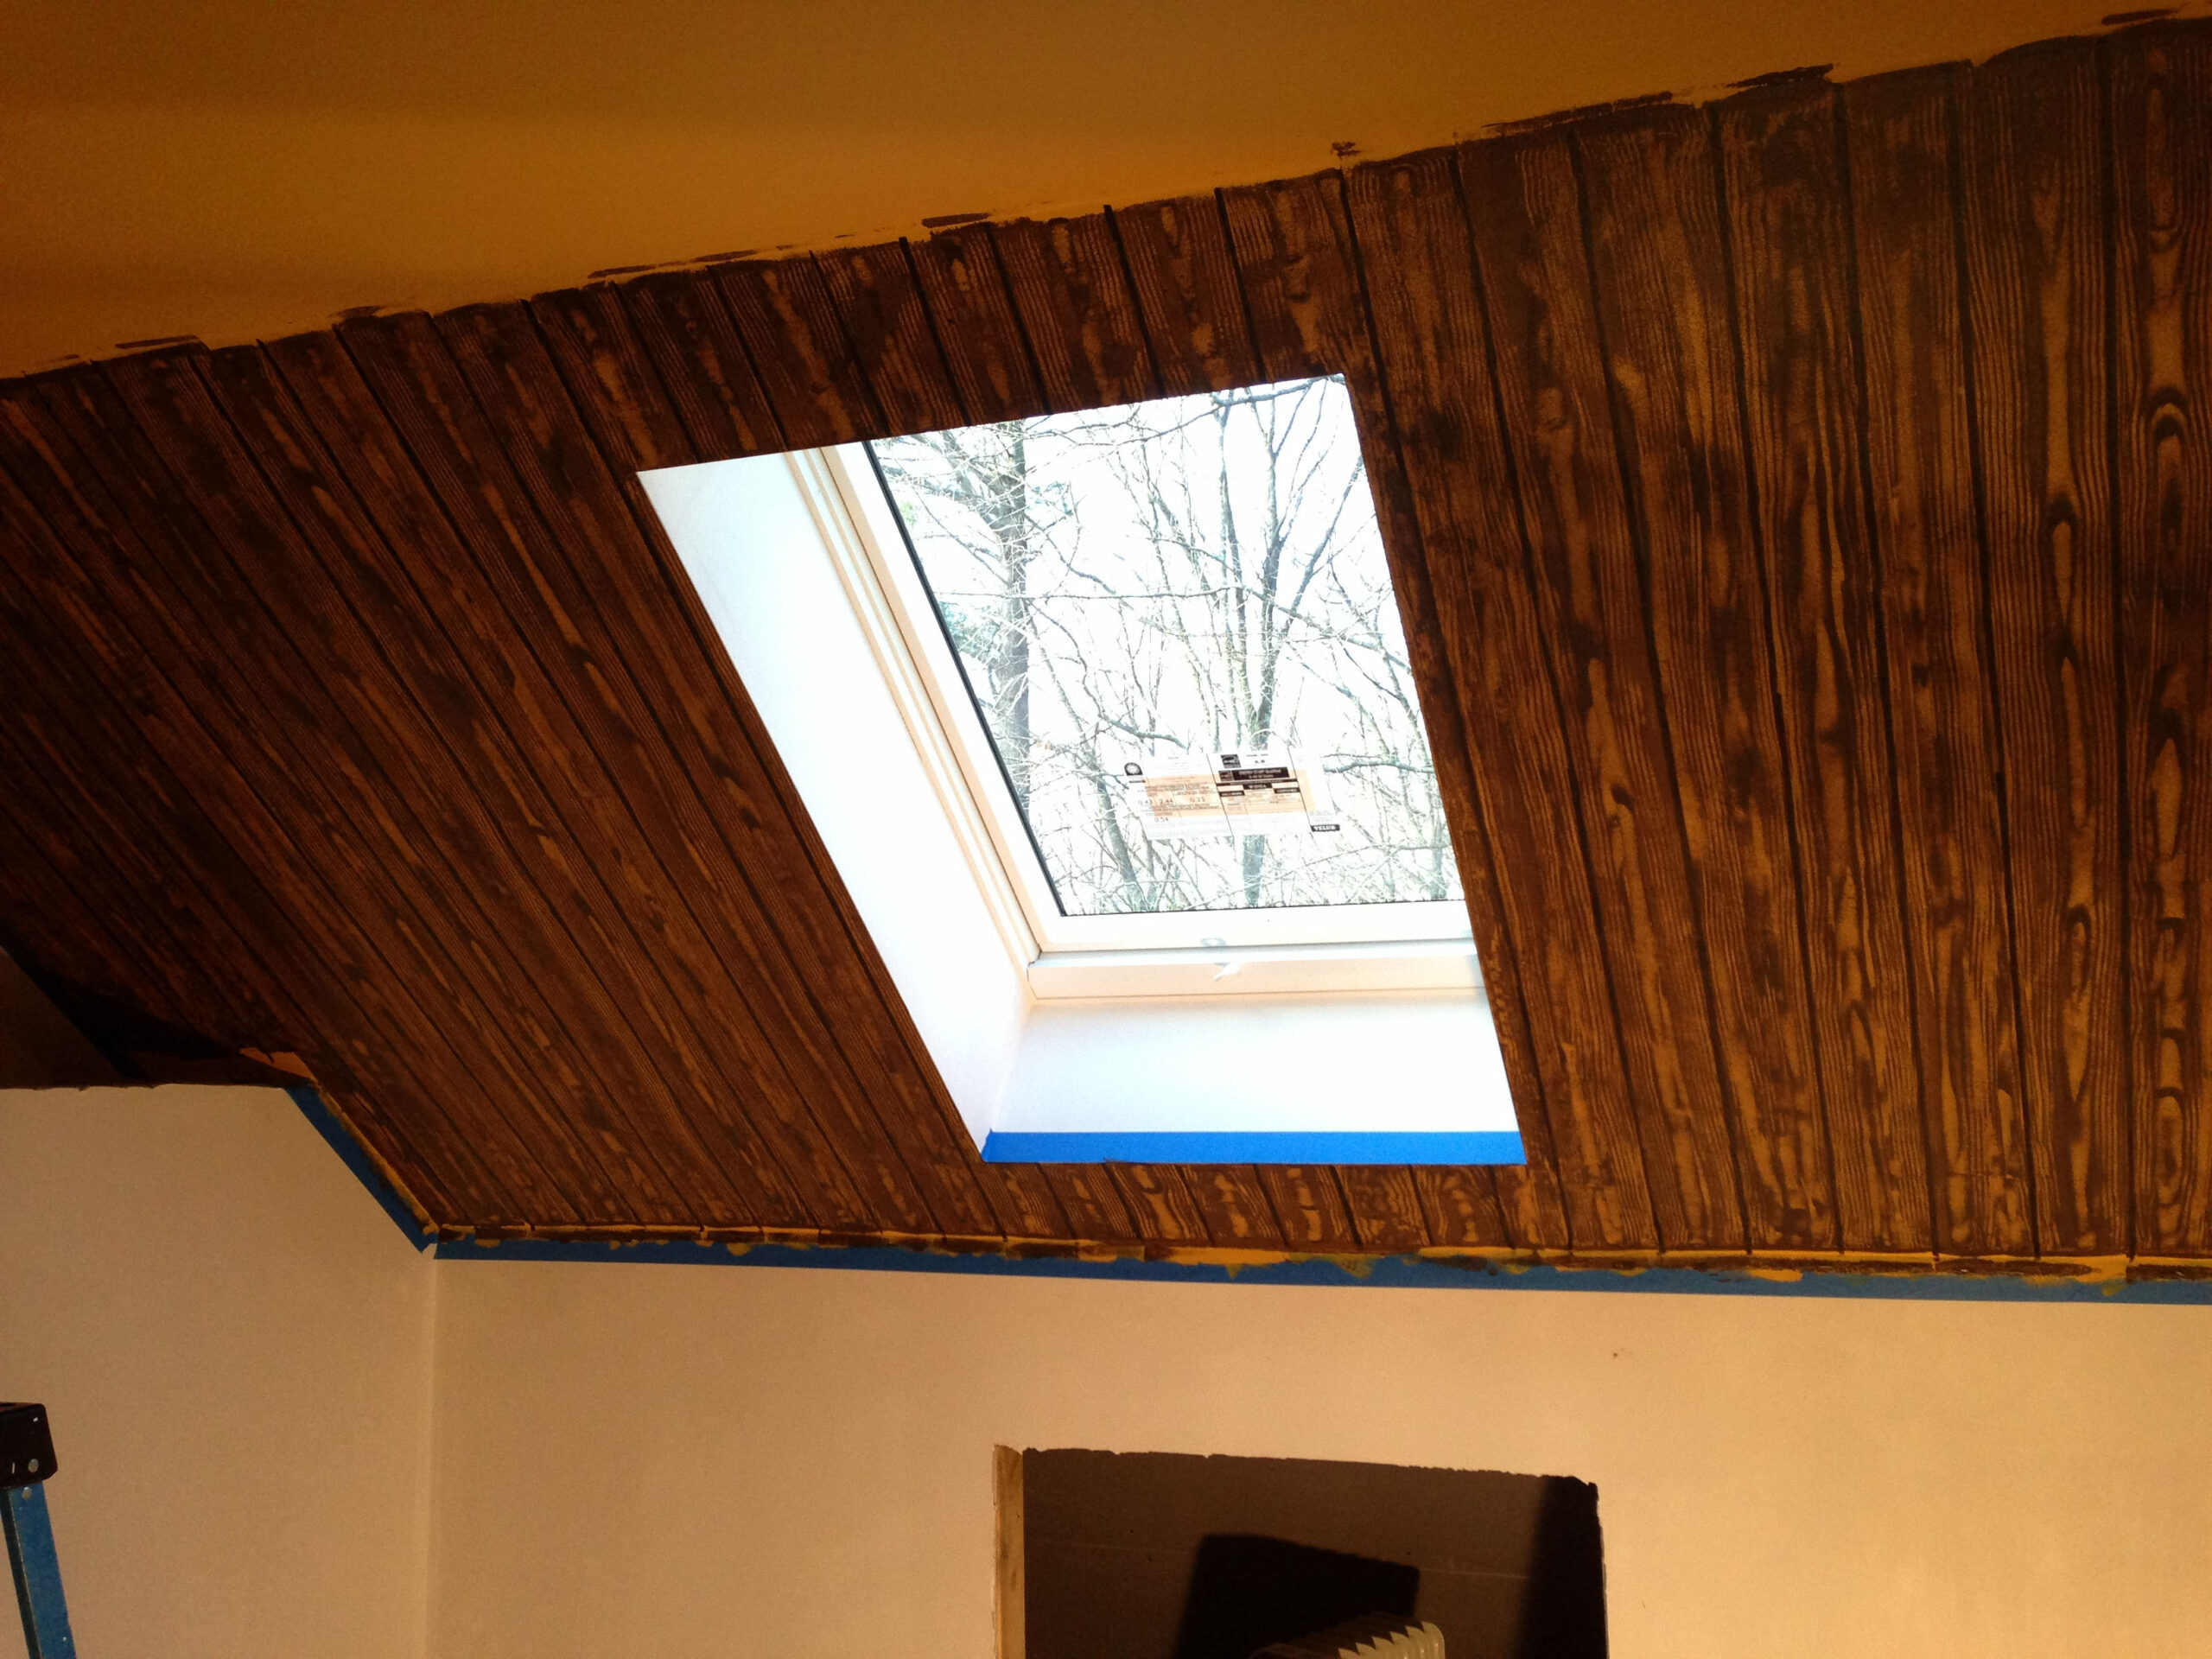
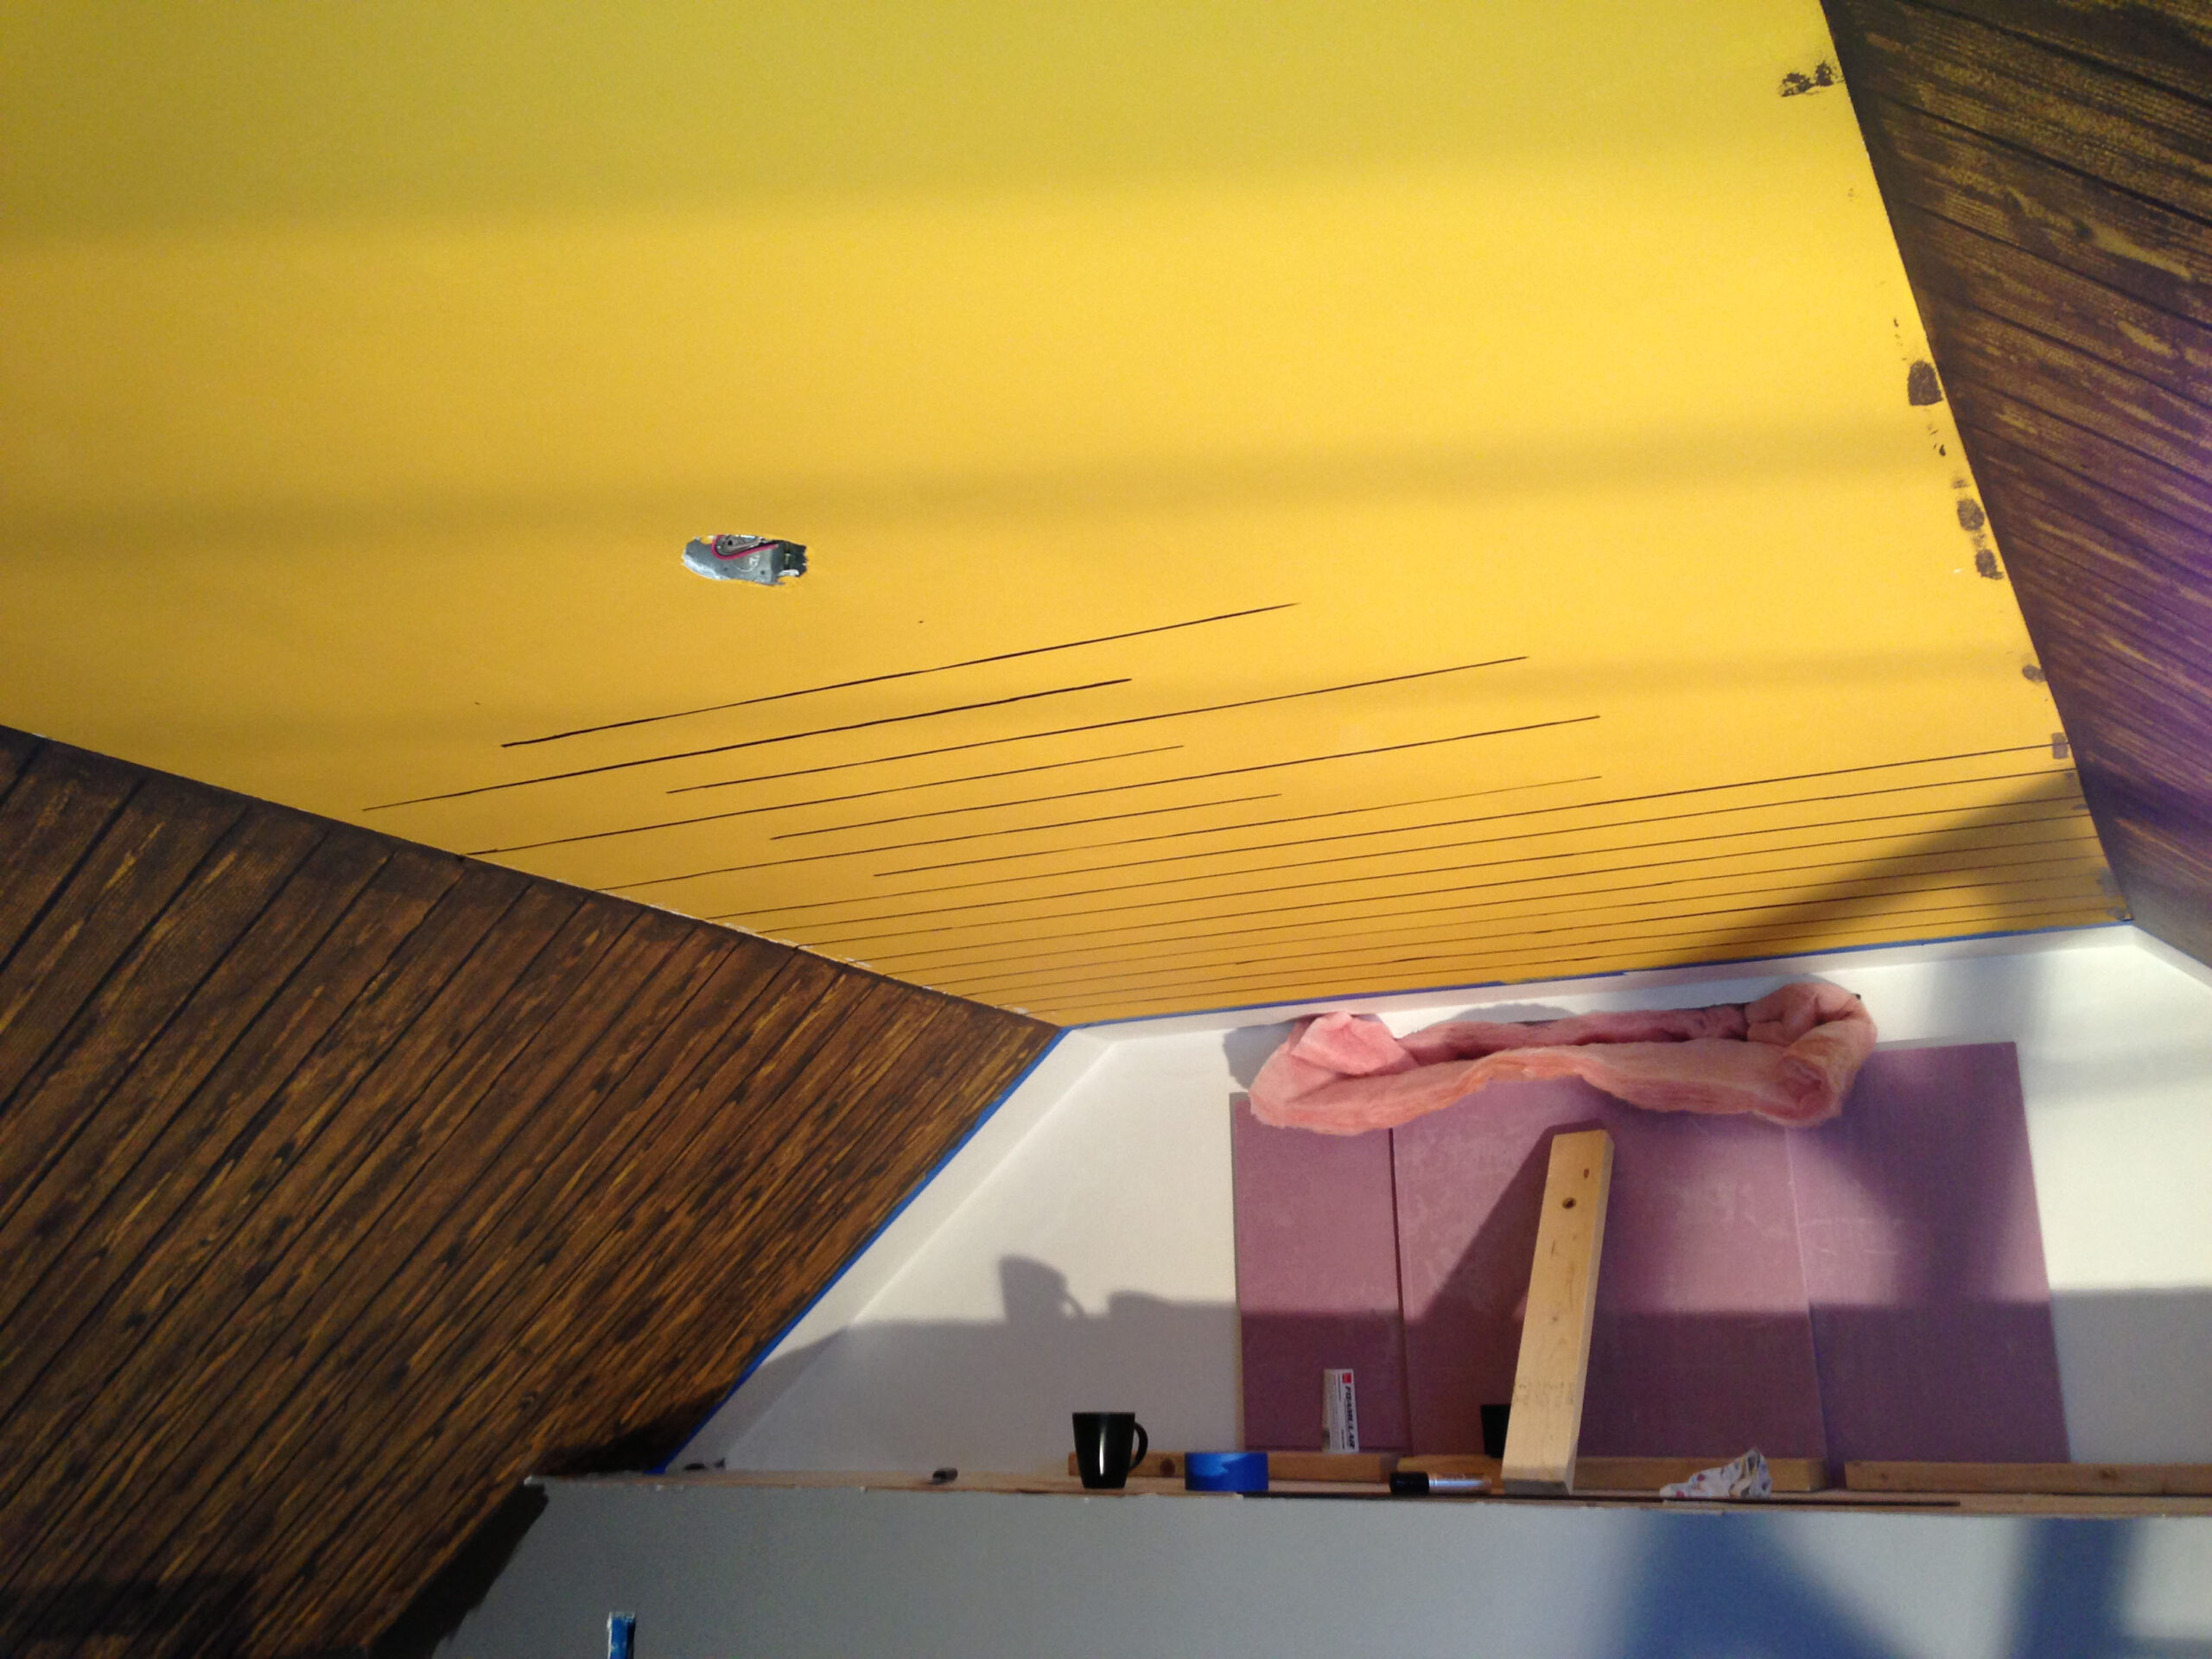
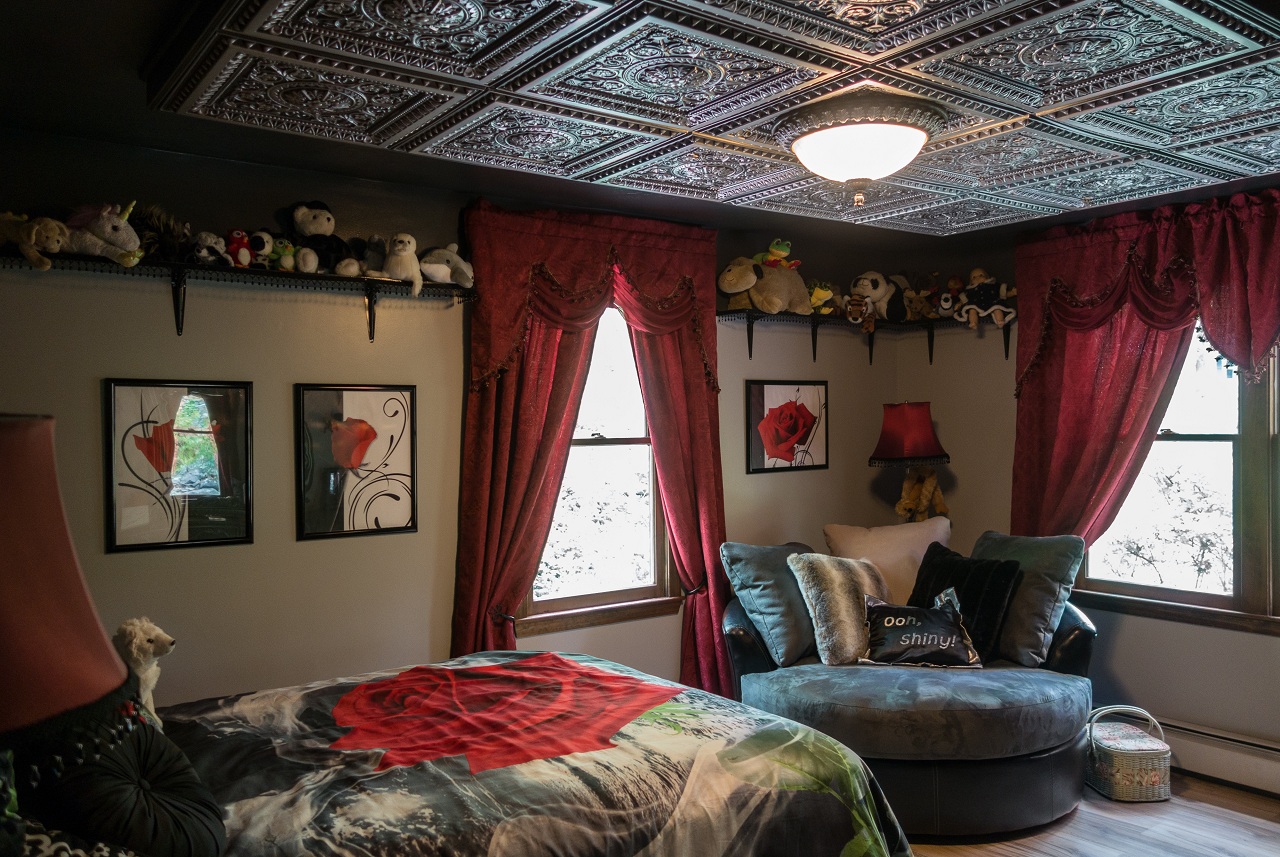
I love how this ceiling came out
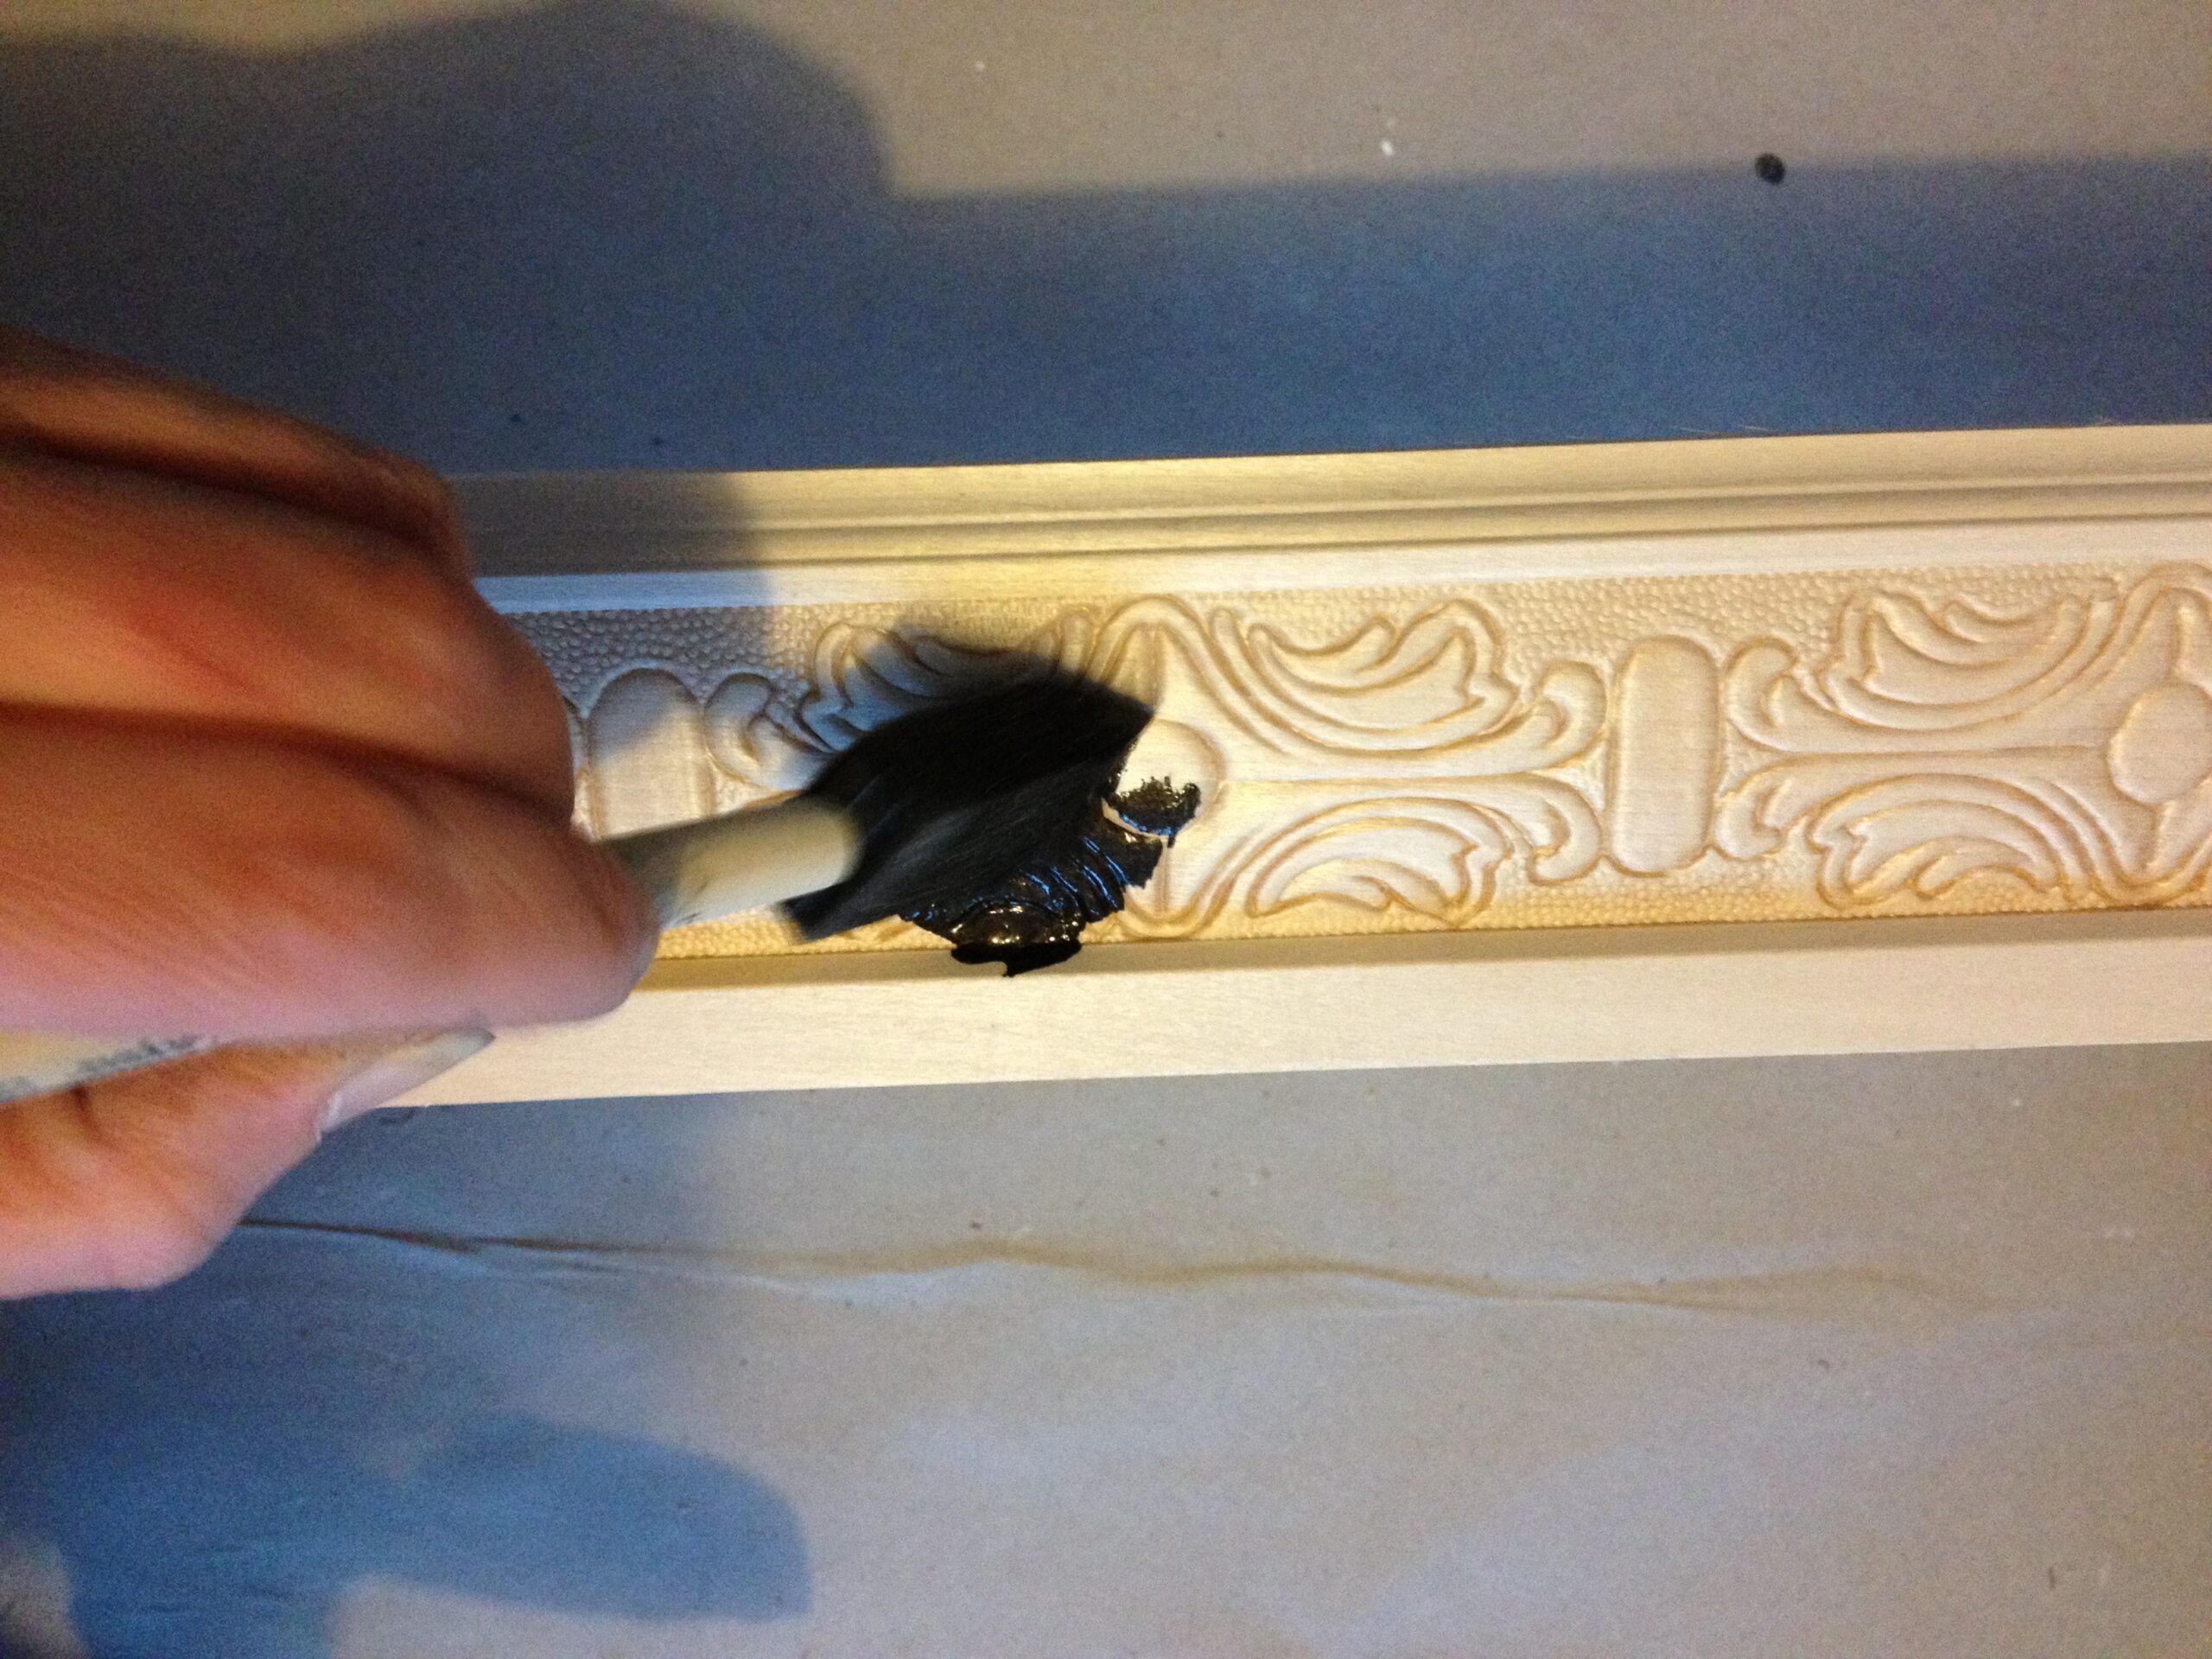
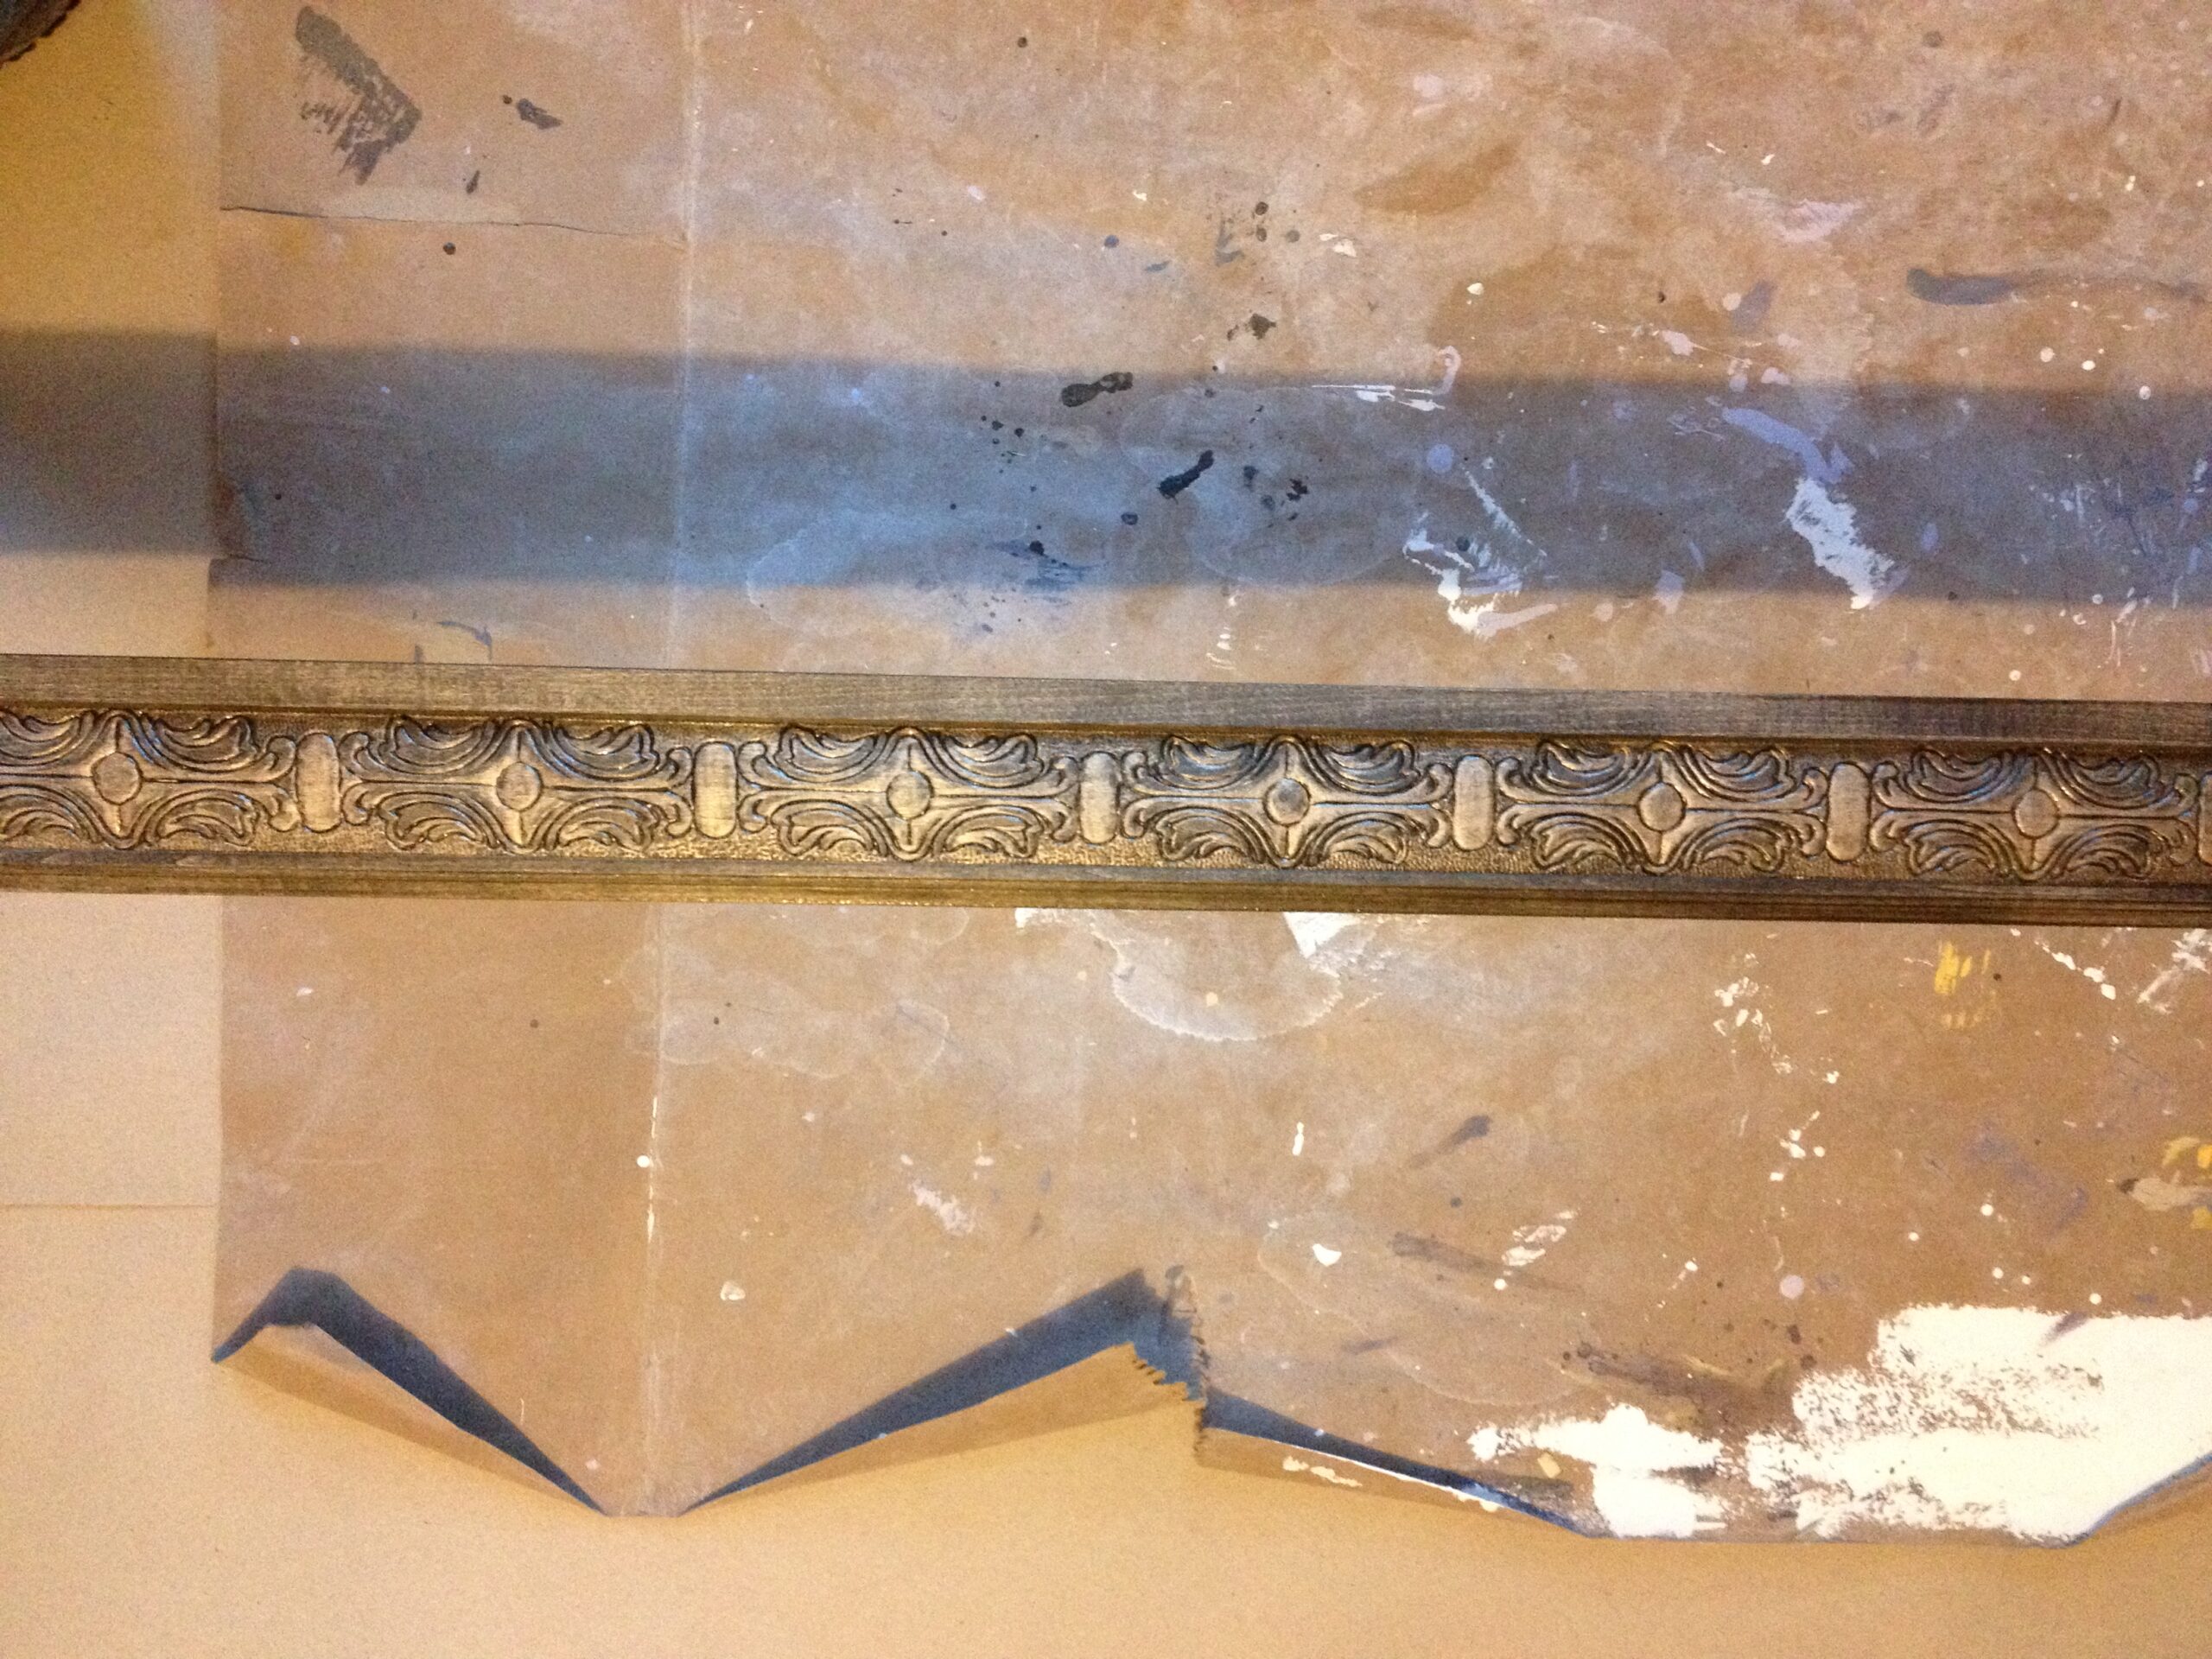
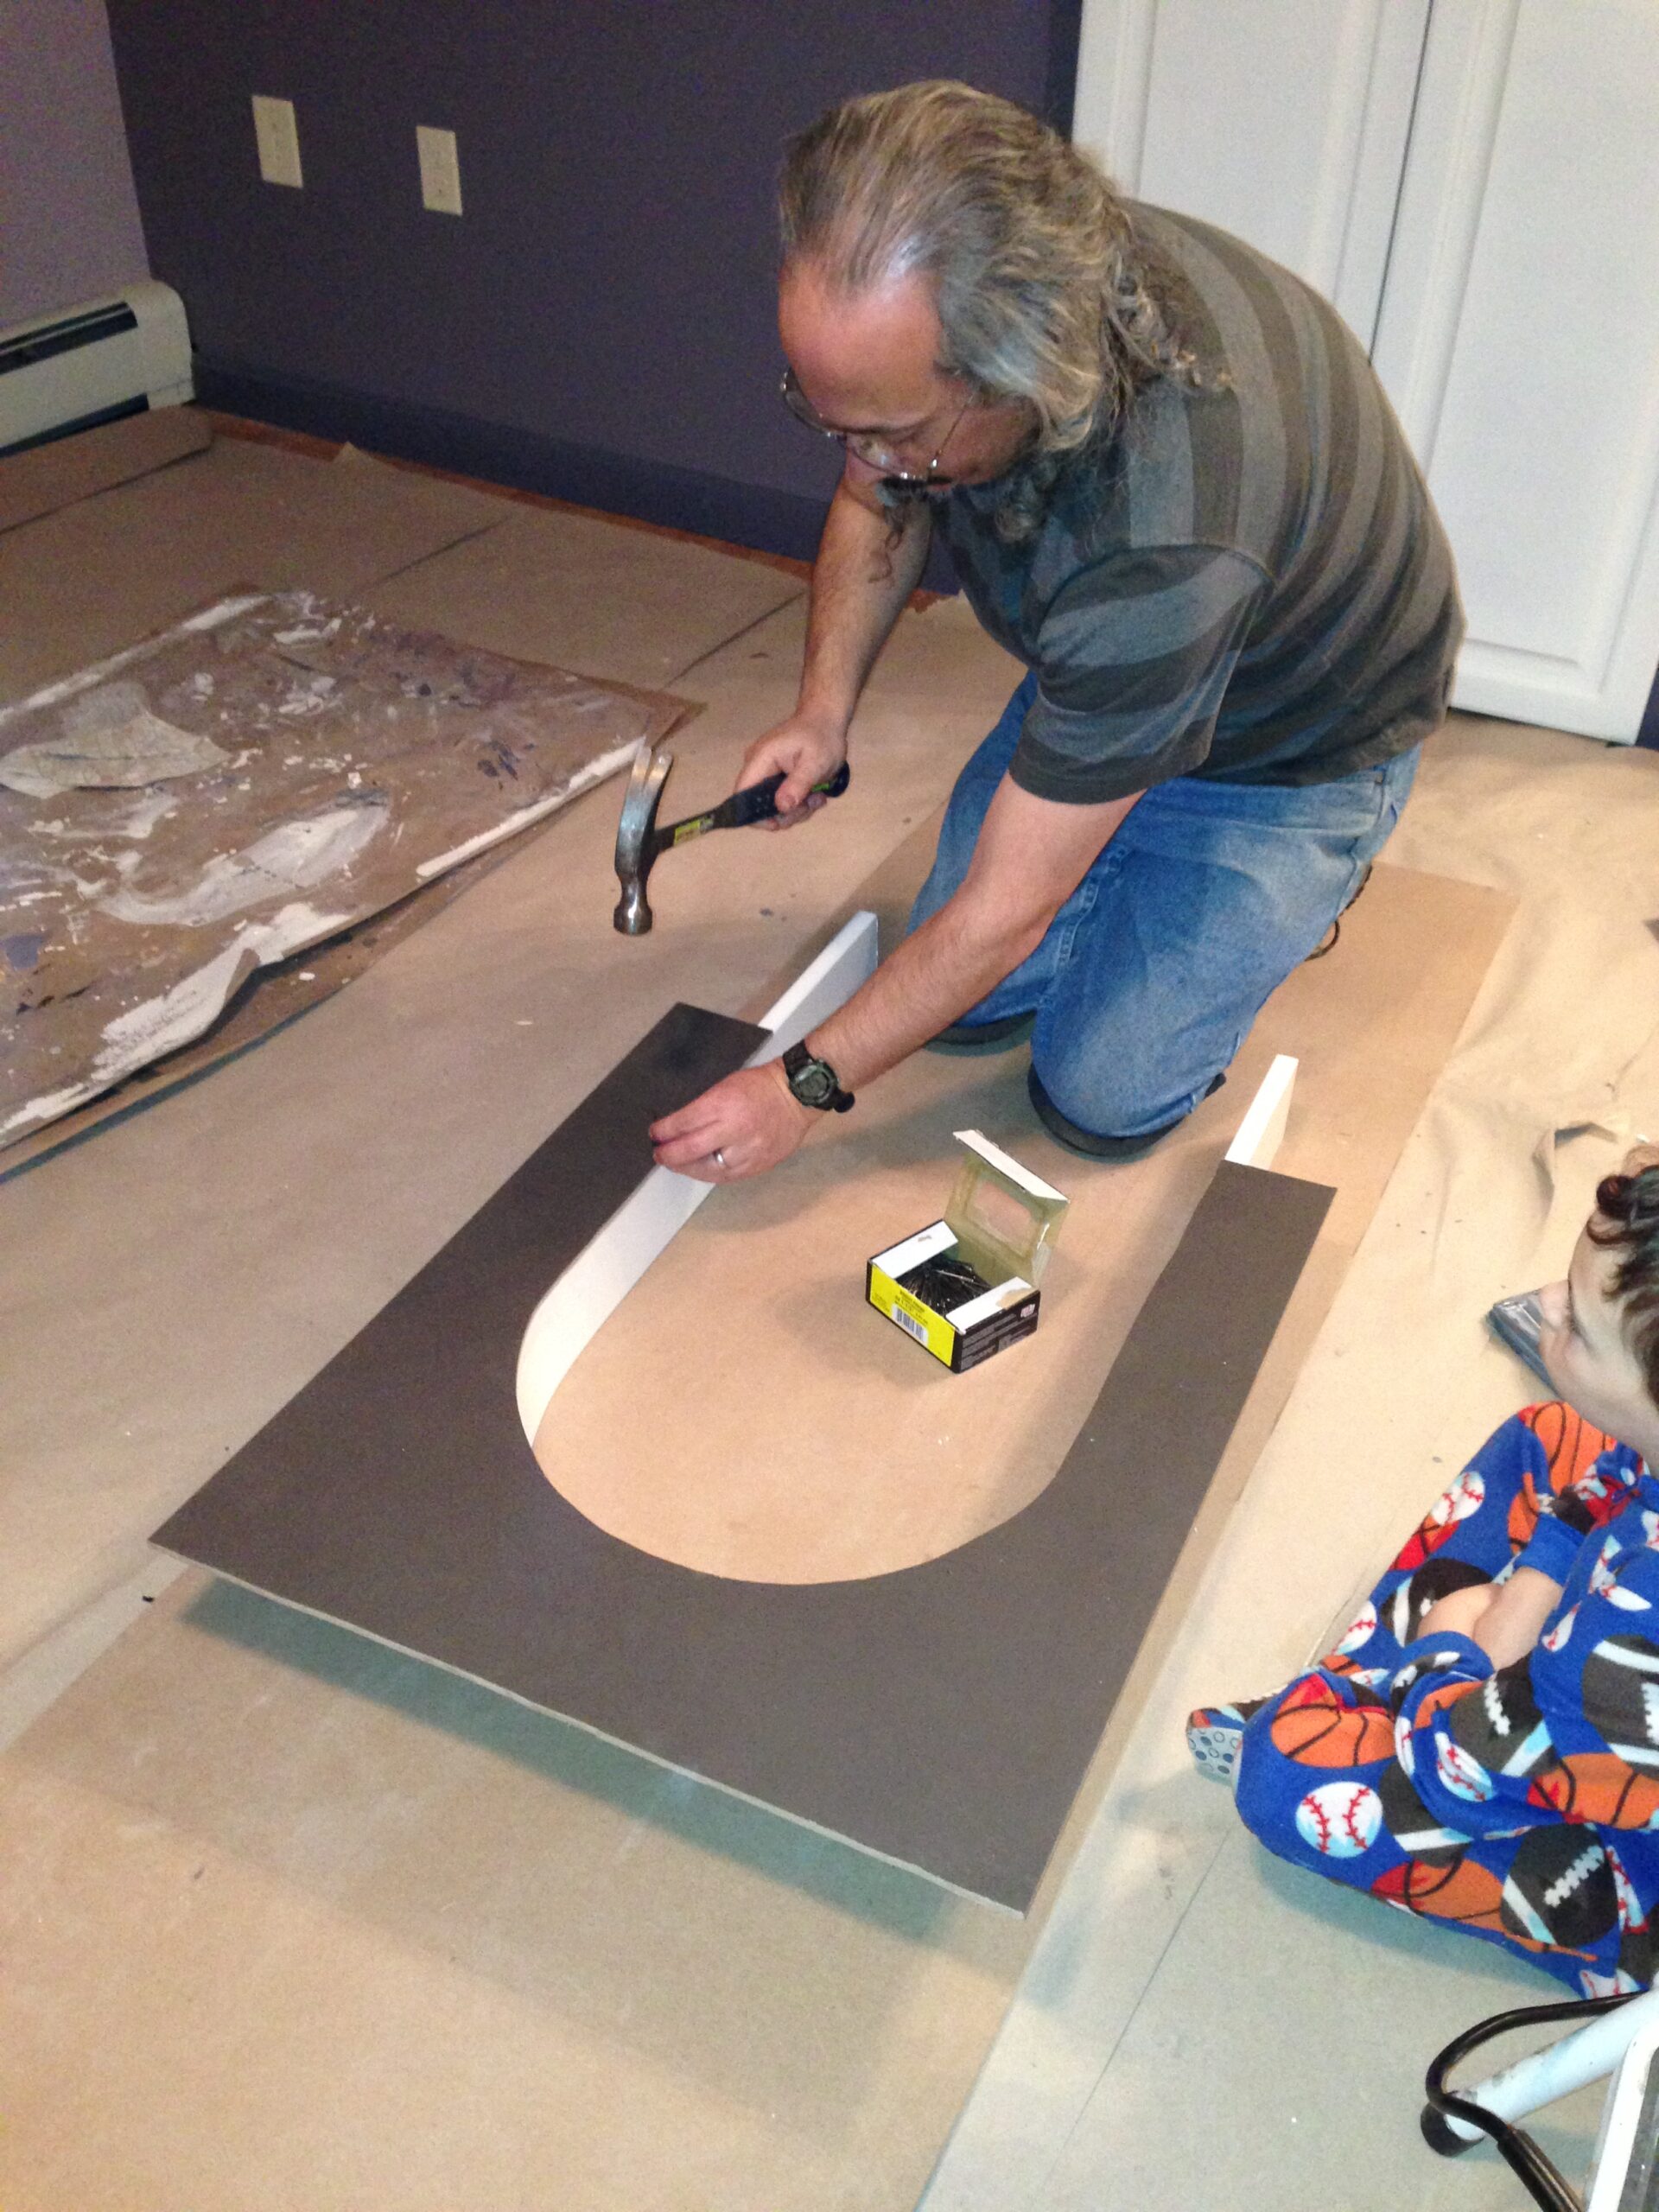
The dropped ceiling is covered with some cool plastic tiles my wife found online. They look very much like an embossed tin ceiling. These turned out to be easy to work. They cut easily and have an edge that is plenty wide enough for the decorative, black nails we used to attach them. The tiles and a couple strips of moulding makes for a dramatic, fancy ceiling that draws the eye. Every time I walk by the room I glance at it.
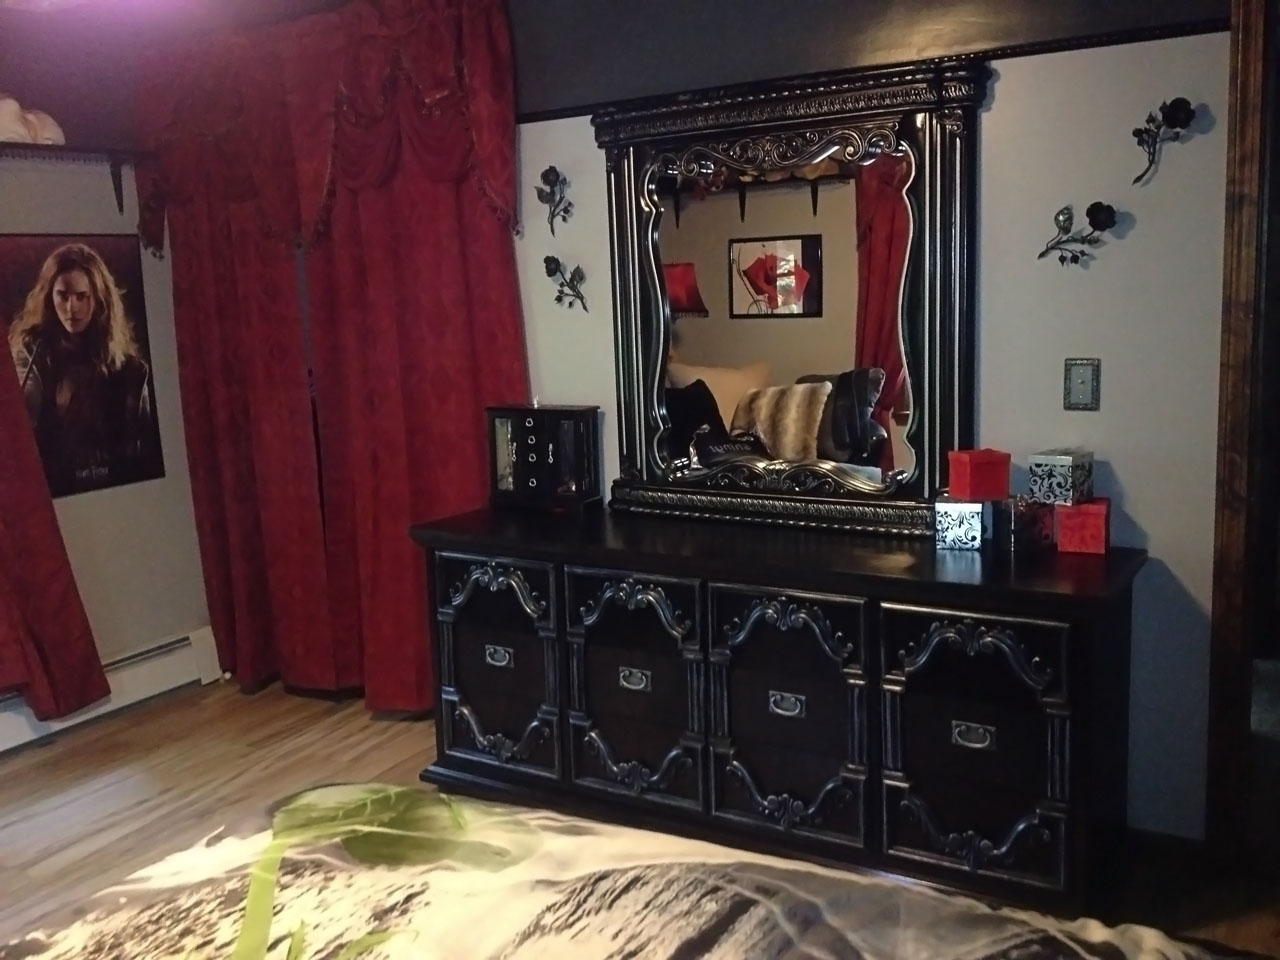
Yup, that’s Hermione on the wall
The bureau was a CraigsList find. It was free and you get what you pay for. It had to be completely refinished, parts had to be rebuilt, and all the drawer pulls and several of the drawer slides had to be replaced. Of course, it didn’t take standard sized drawer slides, so I had to heavily modify some I found at the big-box hardware store. Once it was painted black and silver it matched the mirror, headboard, shelves, and ceiling tiles quite well.
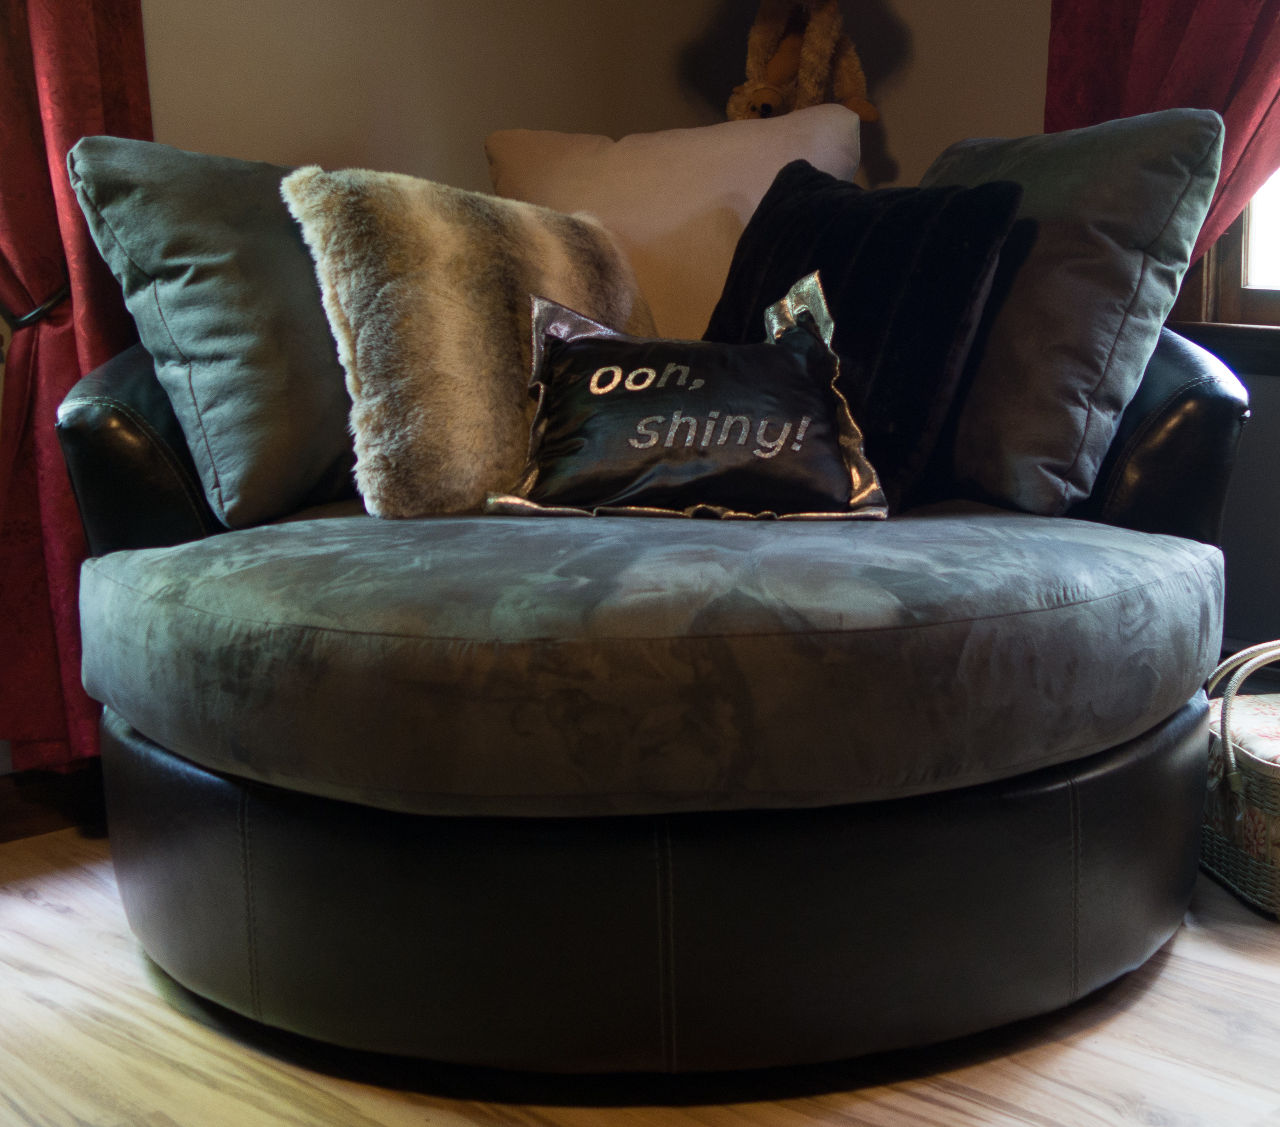
Ooh, shiny!
Miranda is easily distracted and when we see it we tease her and say, “Ooh, shiny!” It’s become such a thing she often says it on her own. So, my mom made a throw pillow for her new chair with those words. That new chair gets a lot of attention too. It is five feet in diameter and spins. Holly saw it in the furniture store when we were buying the mirror and headboard and fell in love with it. I took a photo of her kicked back in the chair, sent it to Miranda, and called her. She gave me a decision on her new chair in minutes. I still find it amazing how much technology has changed our lives. In the old days I would have had to drive 45 minutes home, pick up Miranda, and drive 45 minutes back to the store all in a rush since it was getting close to closing time. Instead, 5 minutes on the phone and she has enough of an understanding of the chair to make her decision.
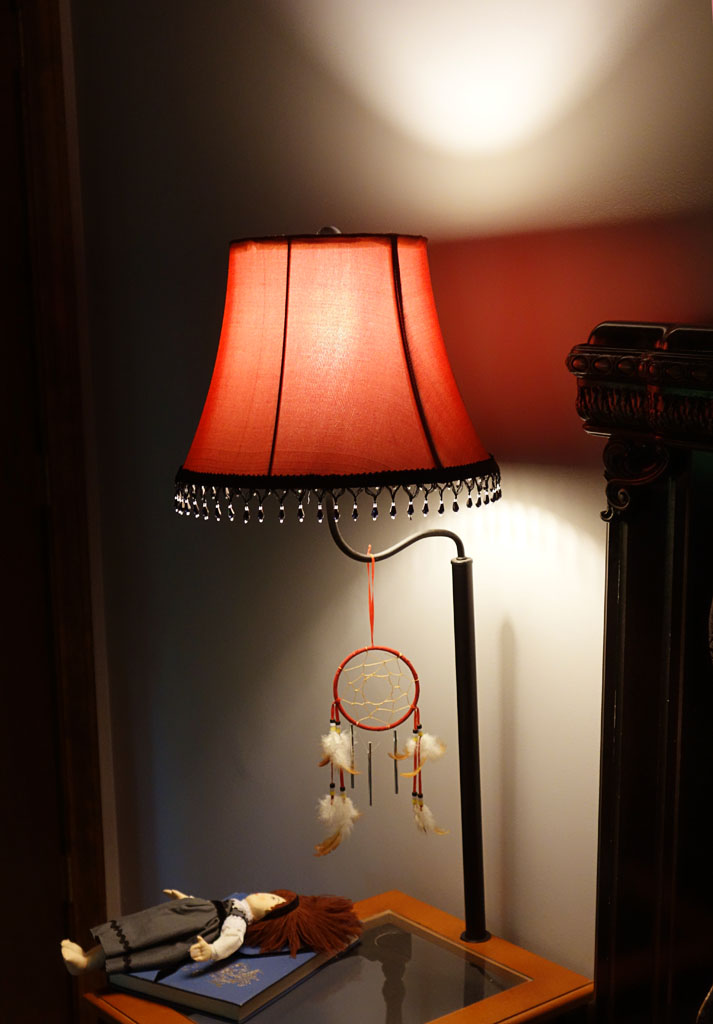
Holly always considers the little touches
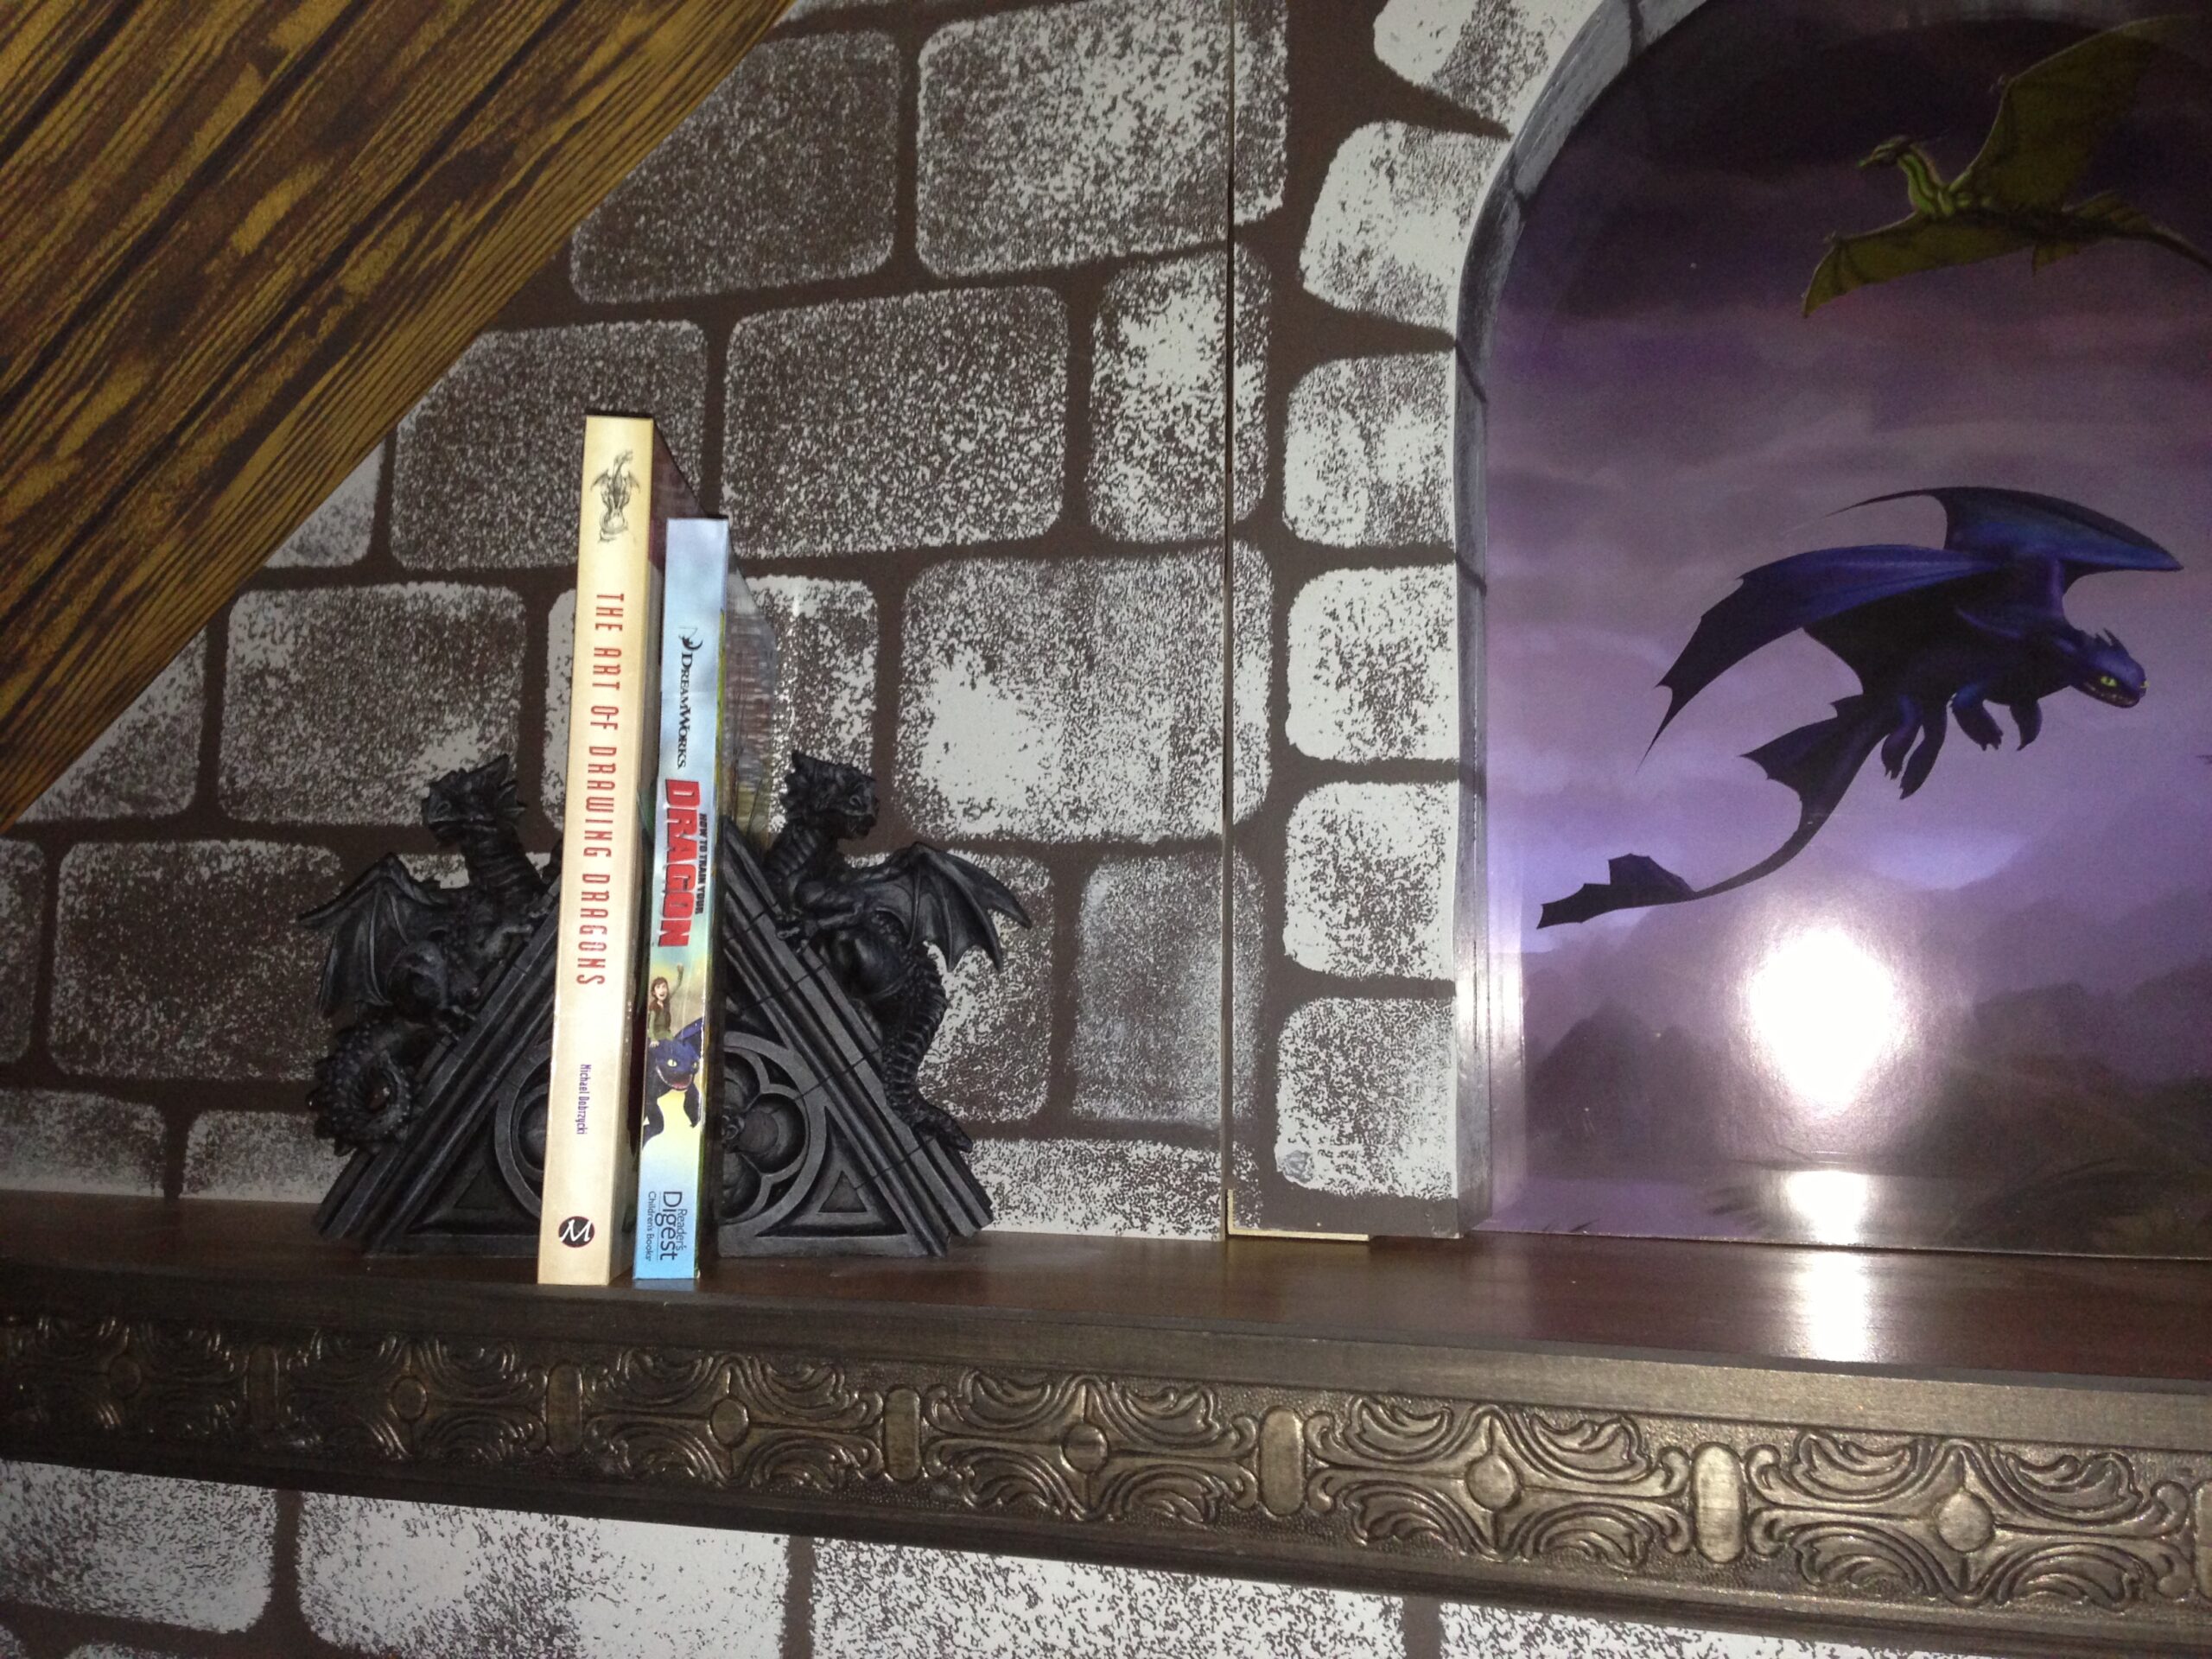
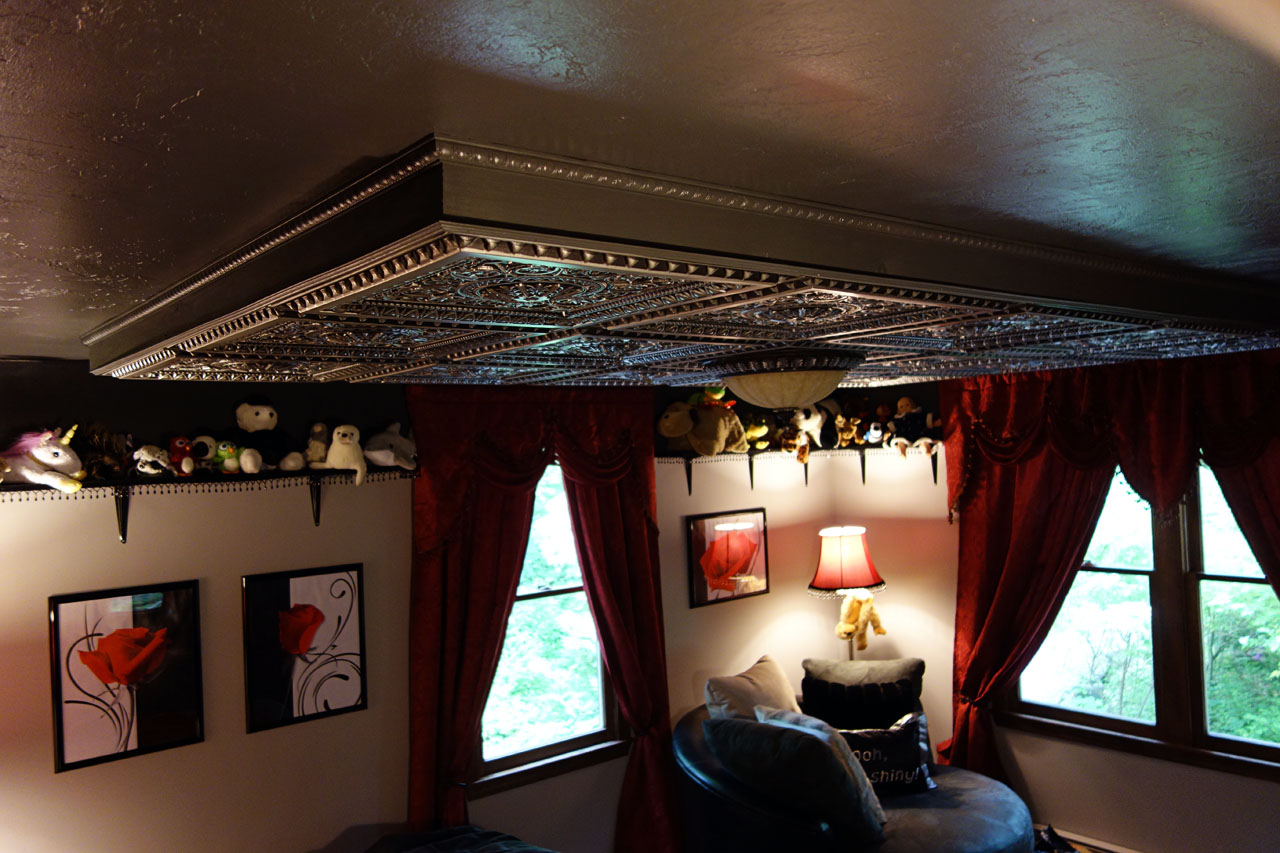
Holly found some red lamp shades and dressed up both them and the shelves with some beadwork. The beads came on a ribbon she hot glued to the shades and tacked to the front of the shelves all the way around the room with some decorative black nails.
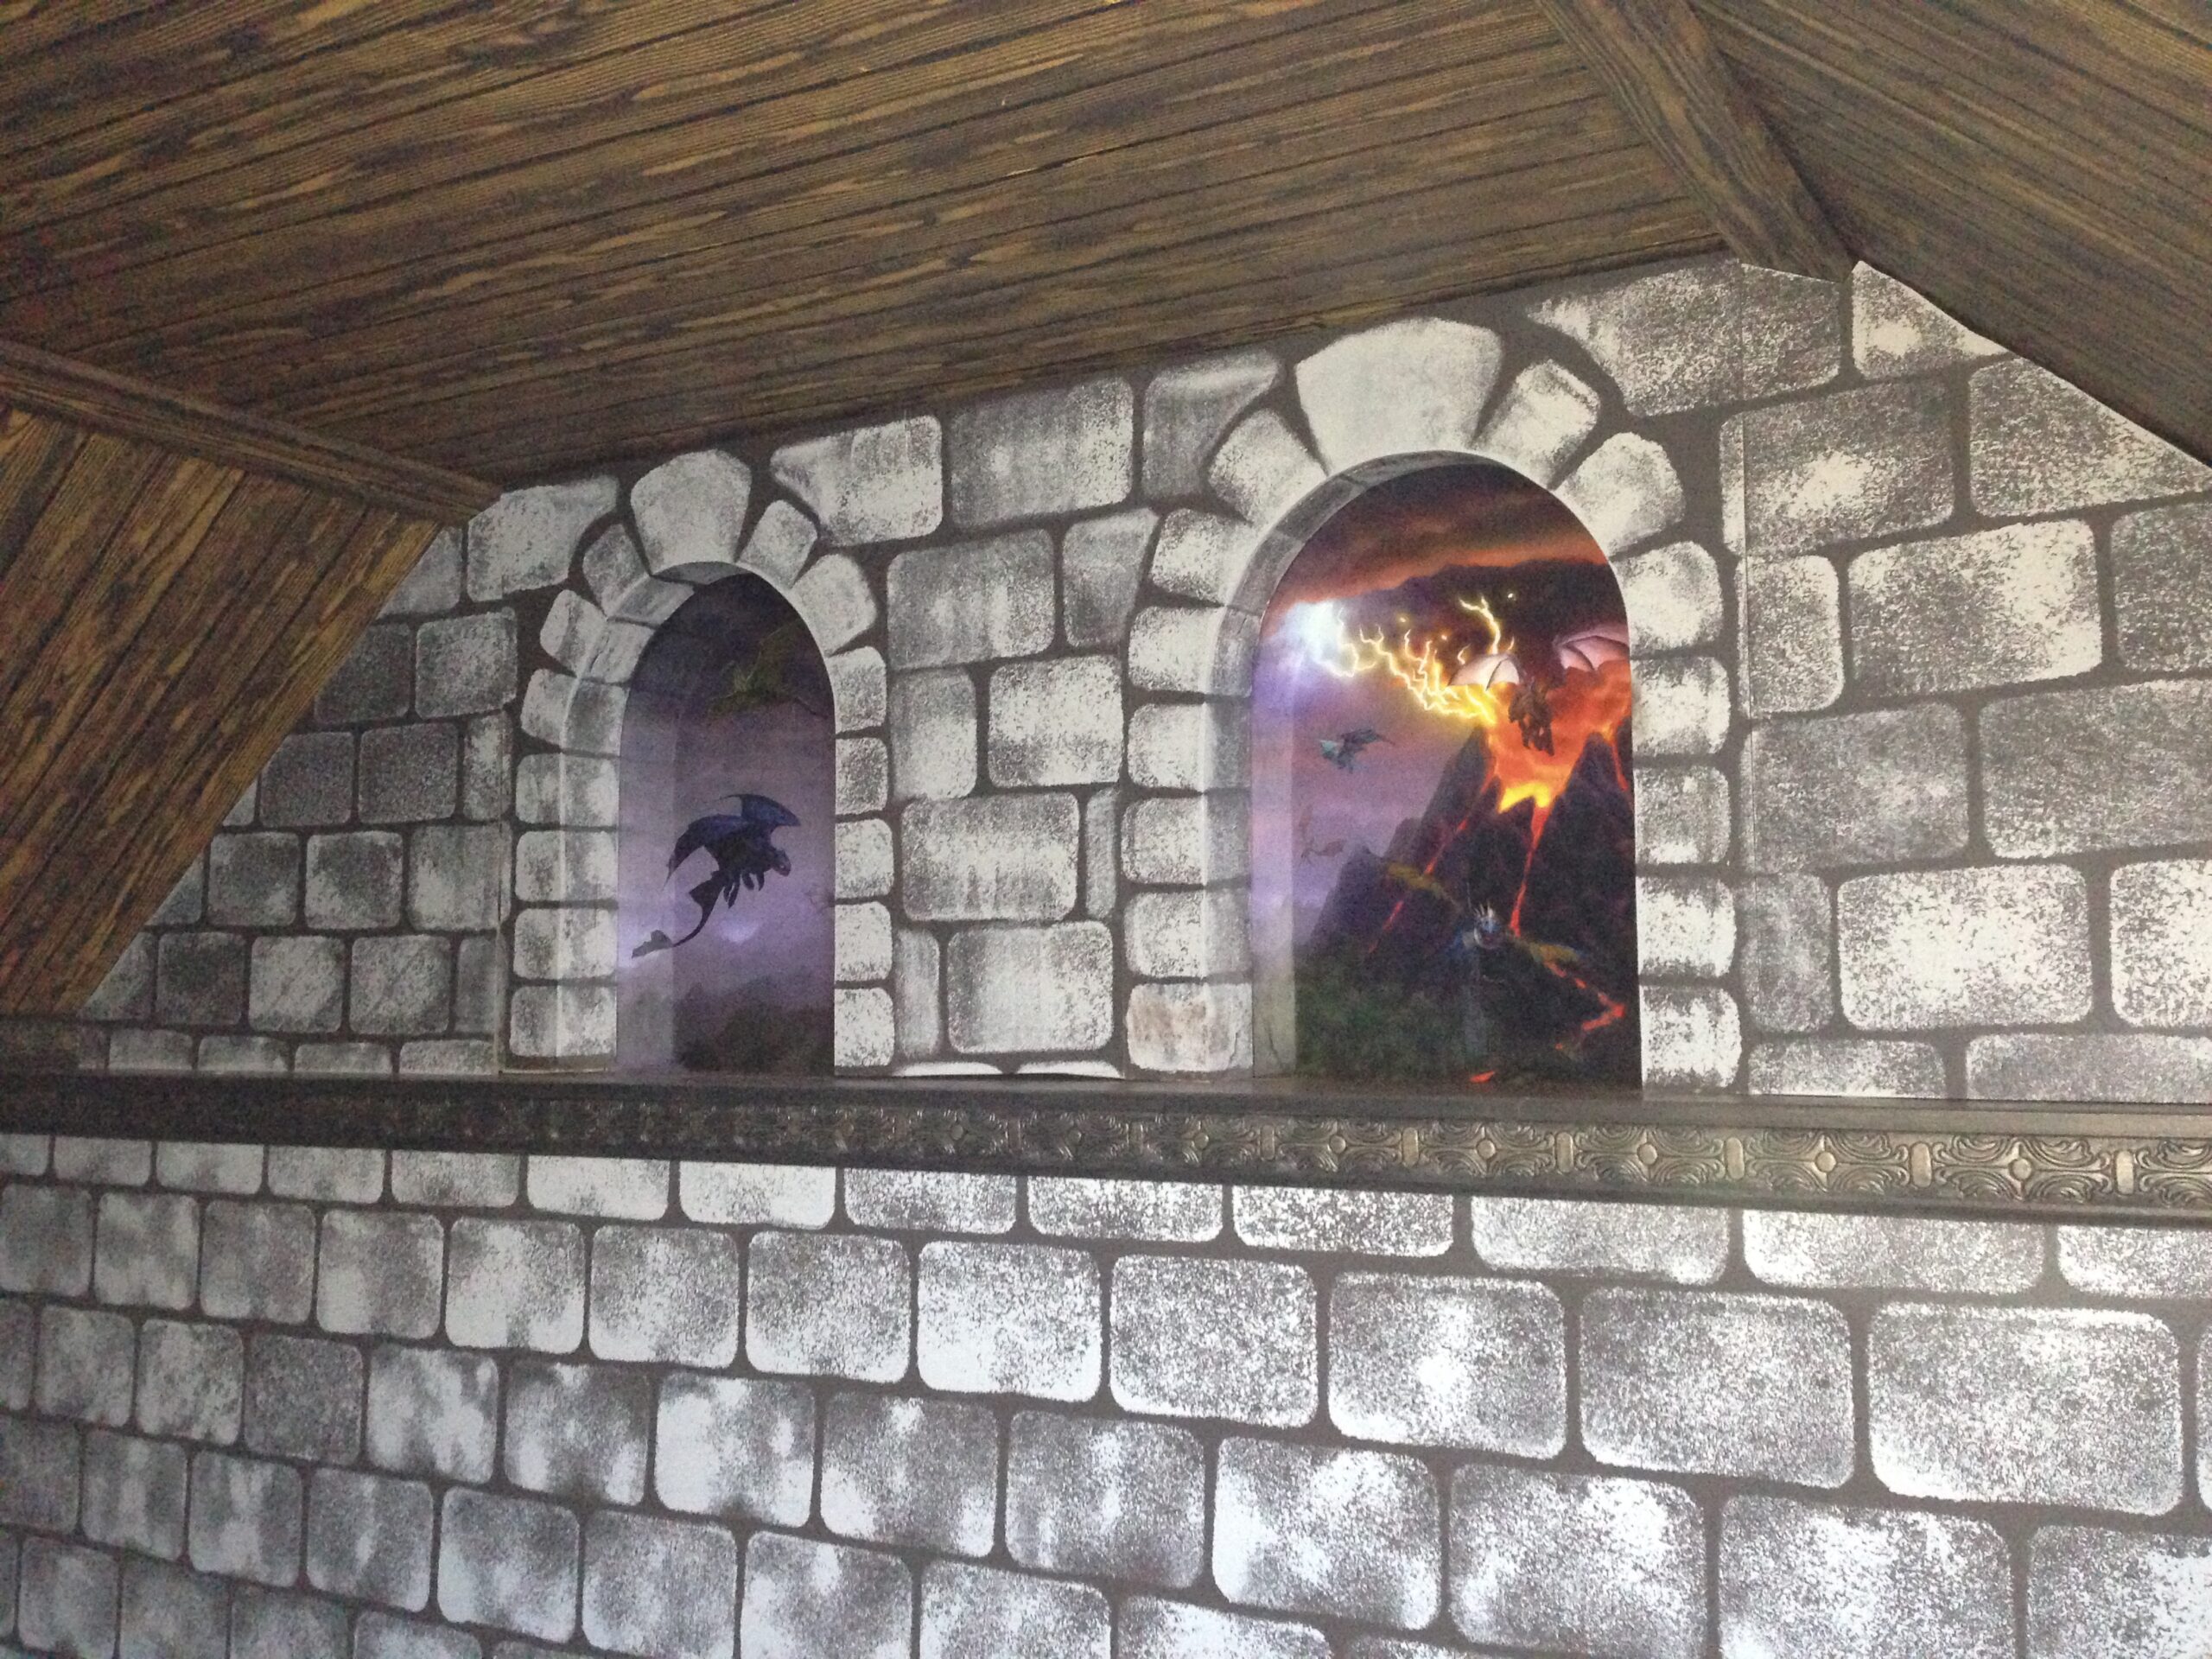
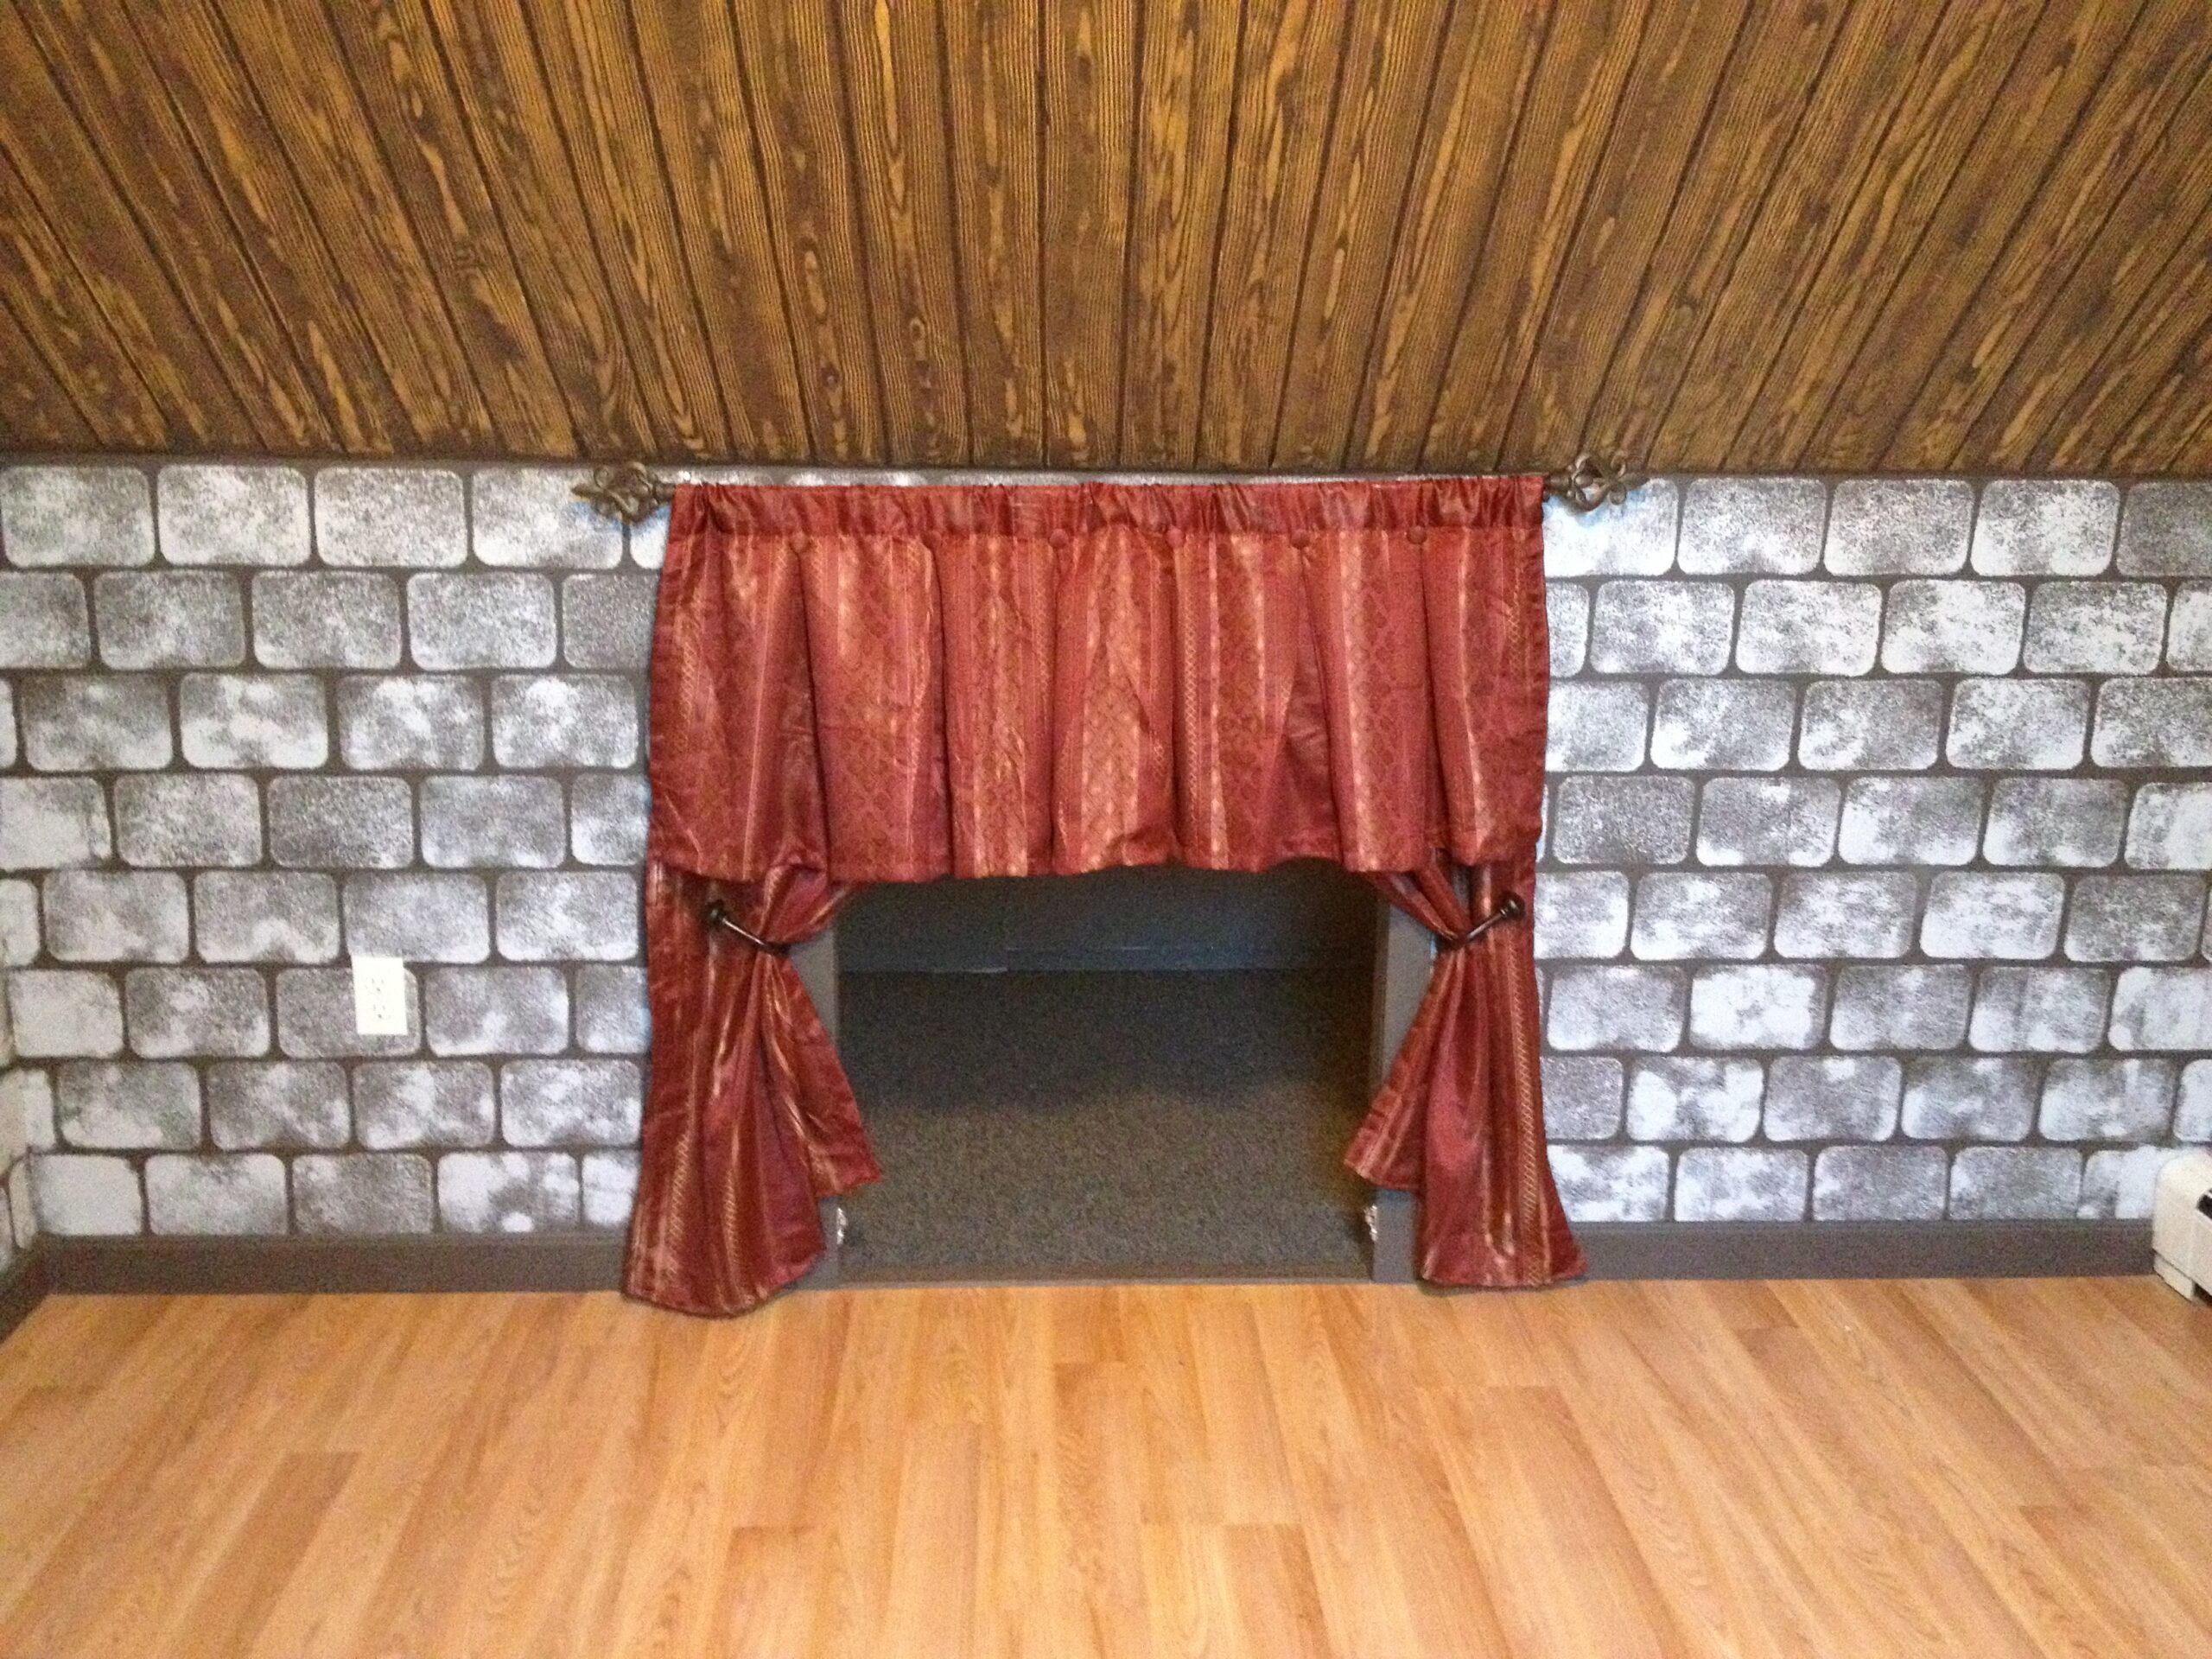
Even open, the curtains add a mild red tint to the light in the room that isn’t visible in the photos. When they are closed, the sun is up, and the lights are off the room is lit with an eerie red light and it has a dark, almost gothic feel to it. I find it a challenge to photograph a room. This one is much more dramatic in person then in these photos. I found the ceiling especially difficult to photograph because I just couldn’t get the light right. If I used the flash the paint looked very light grey even though it is dark. Without the flash you couldn’t see any of the detail on the sides of the box.
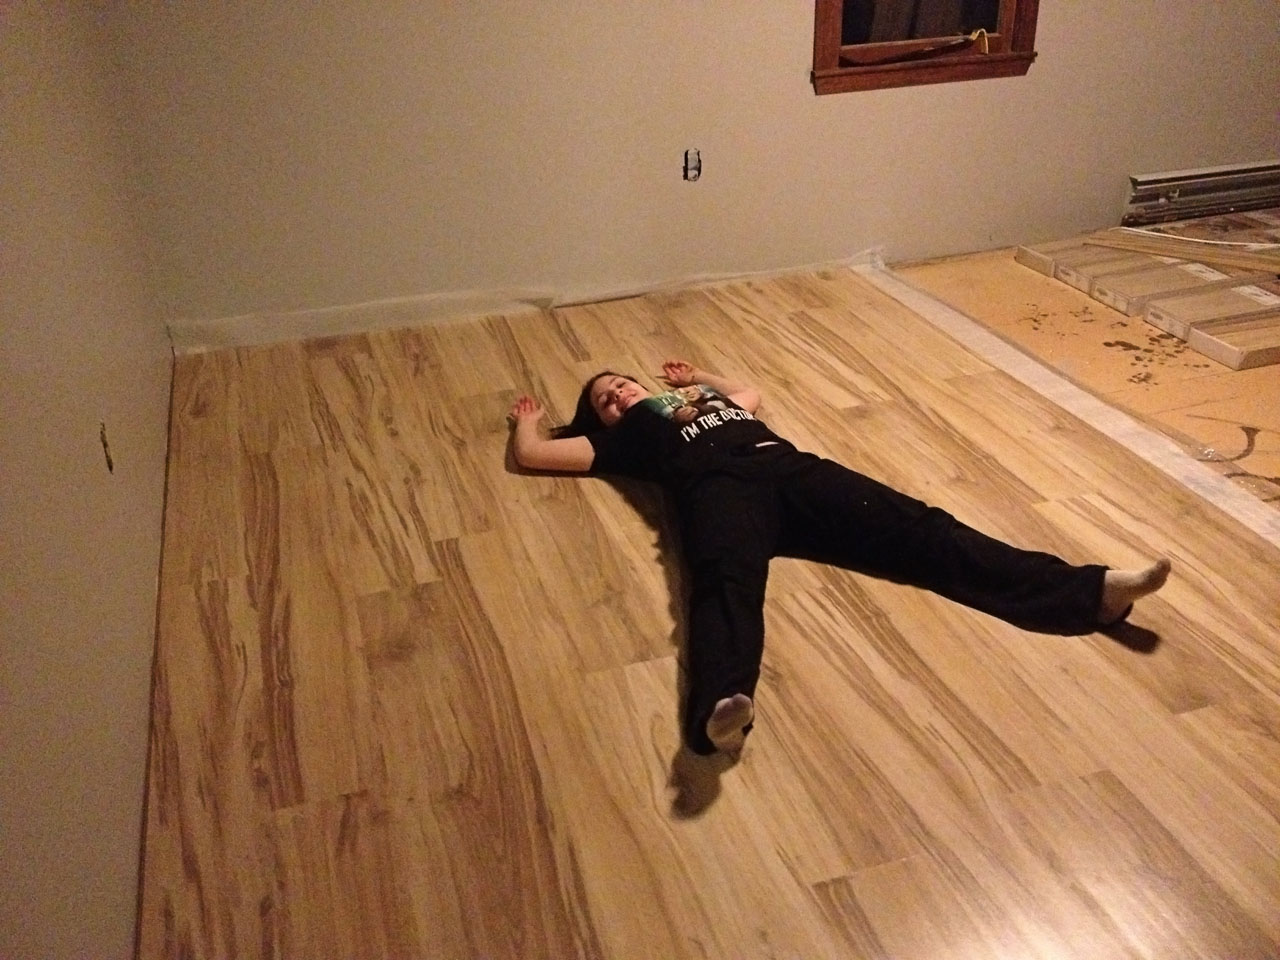
Trust me, I’m the Doctor!
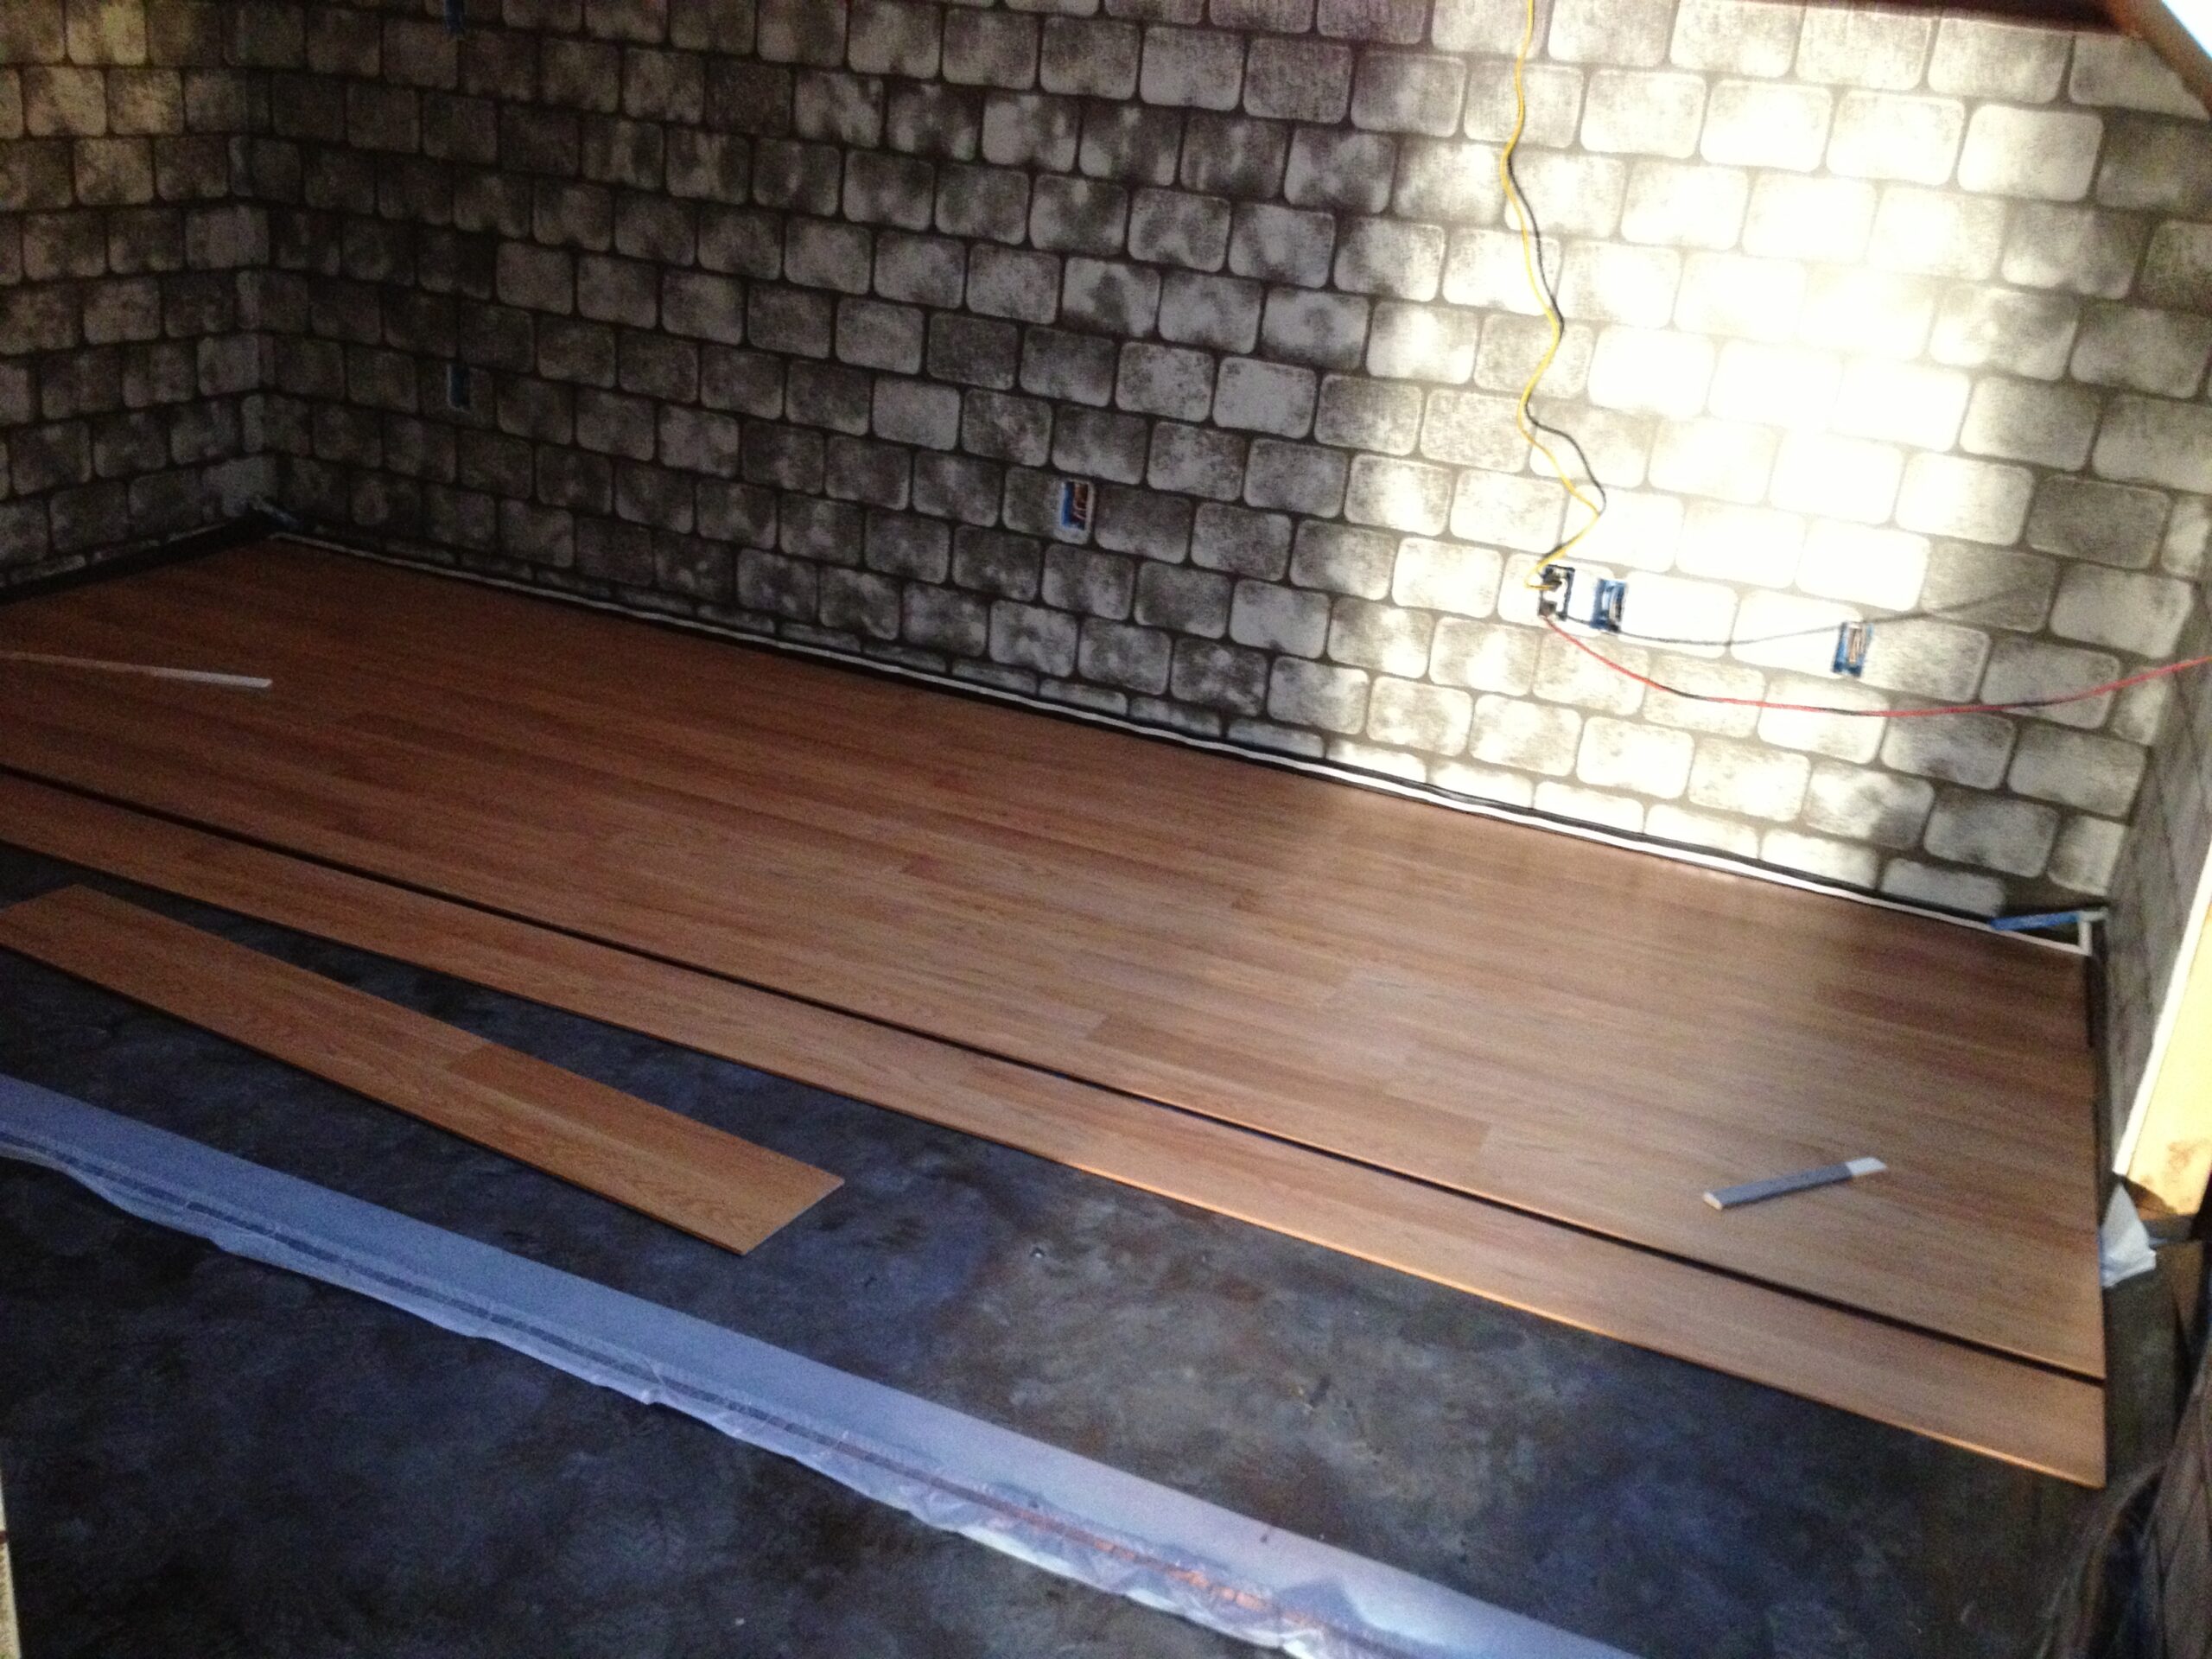
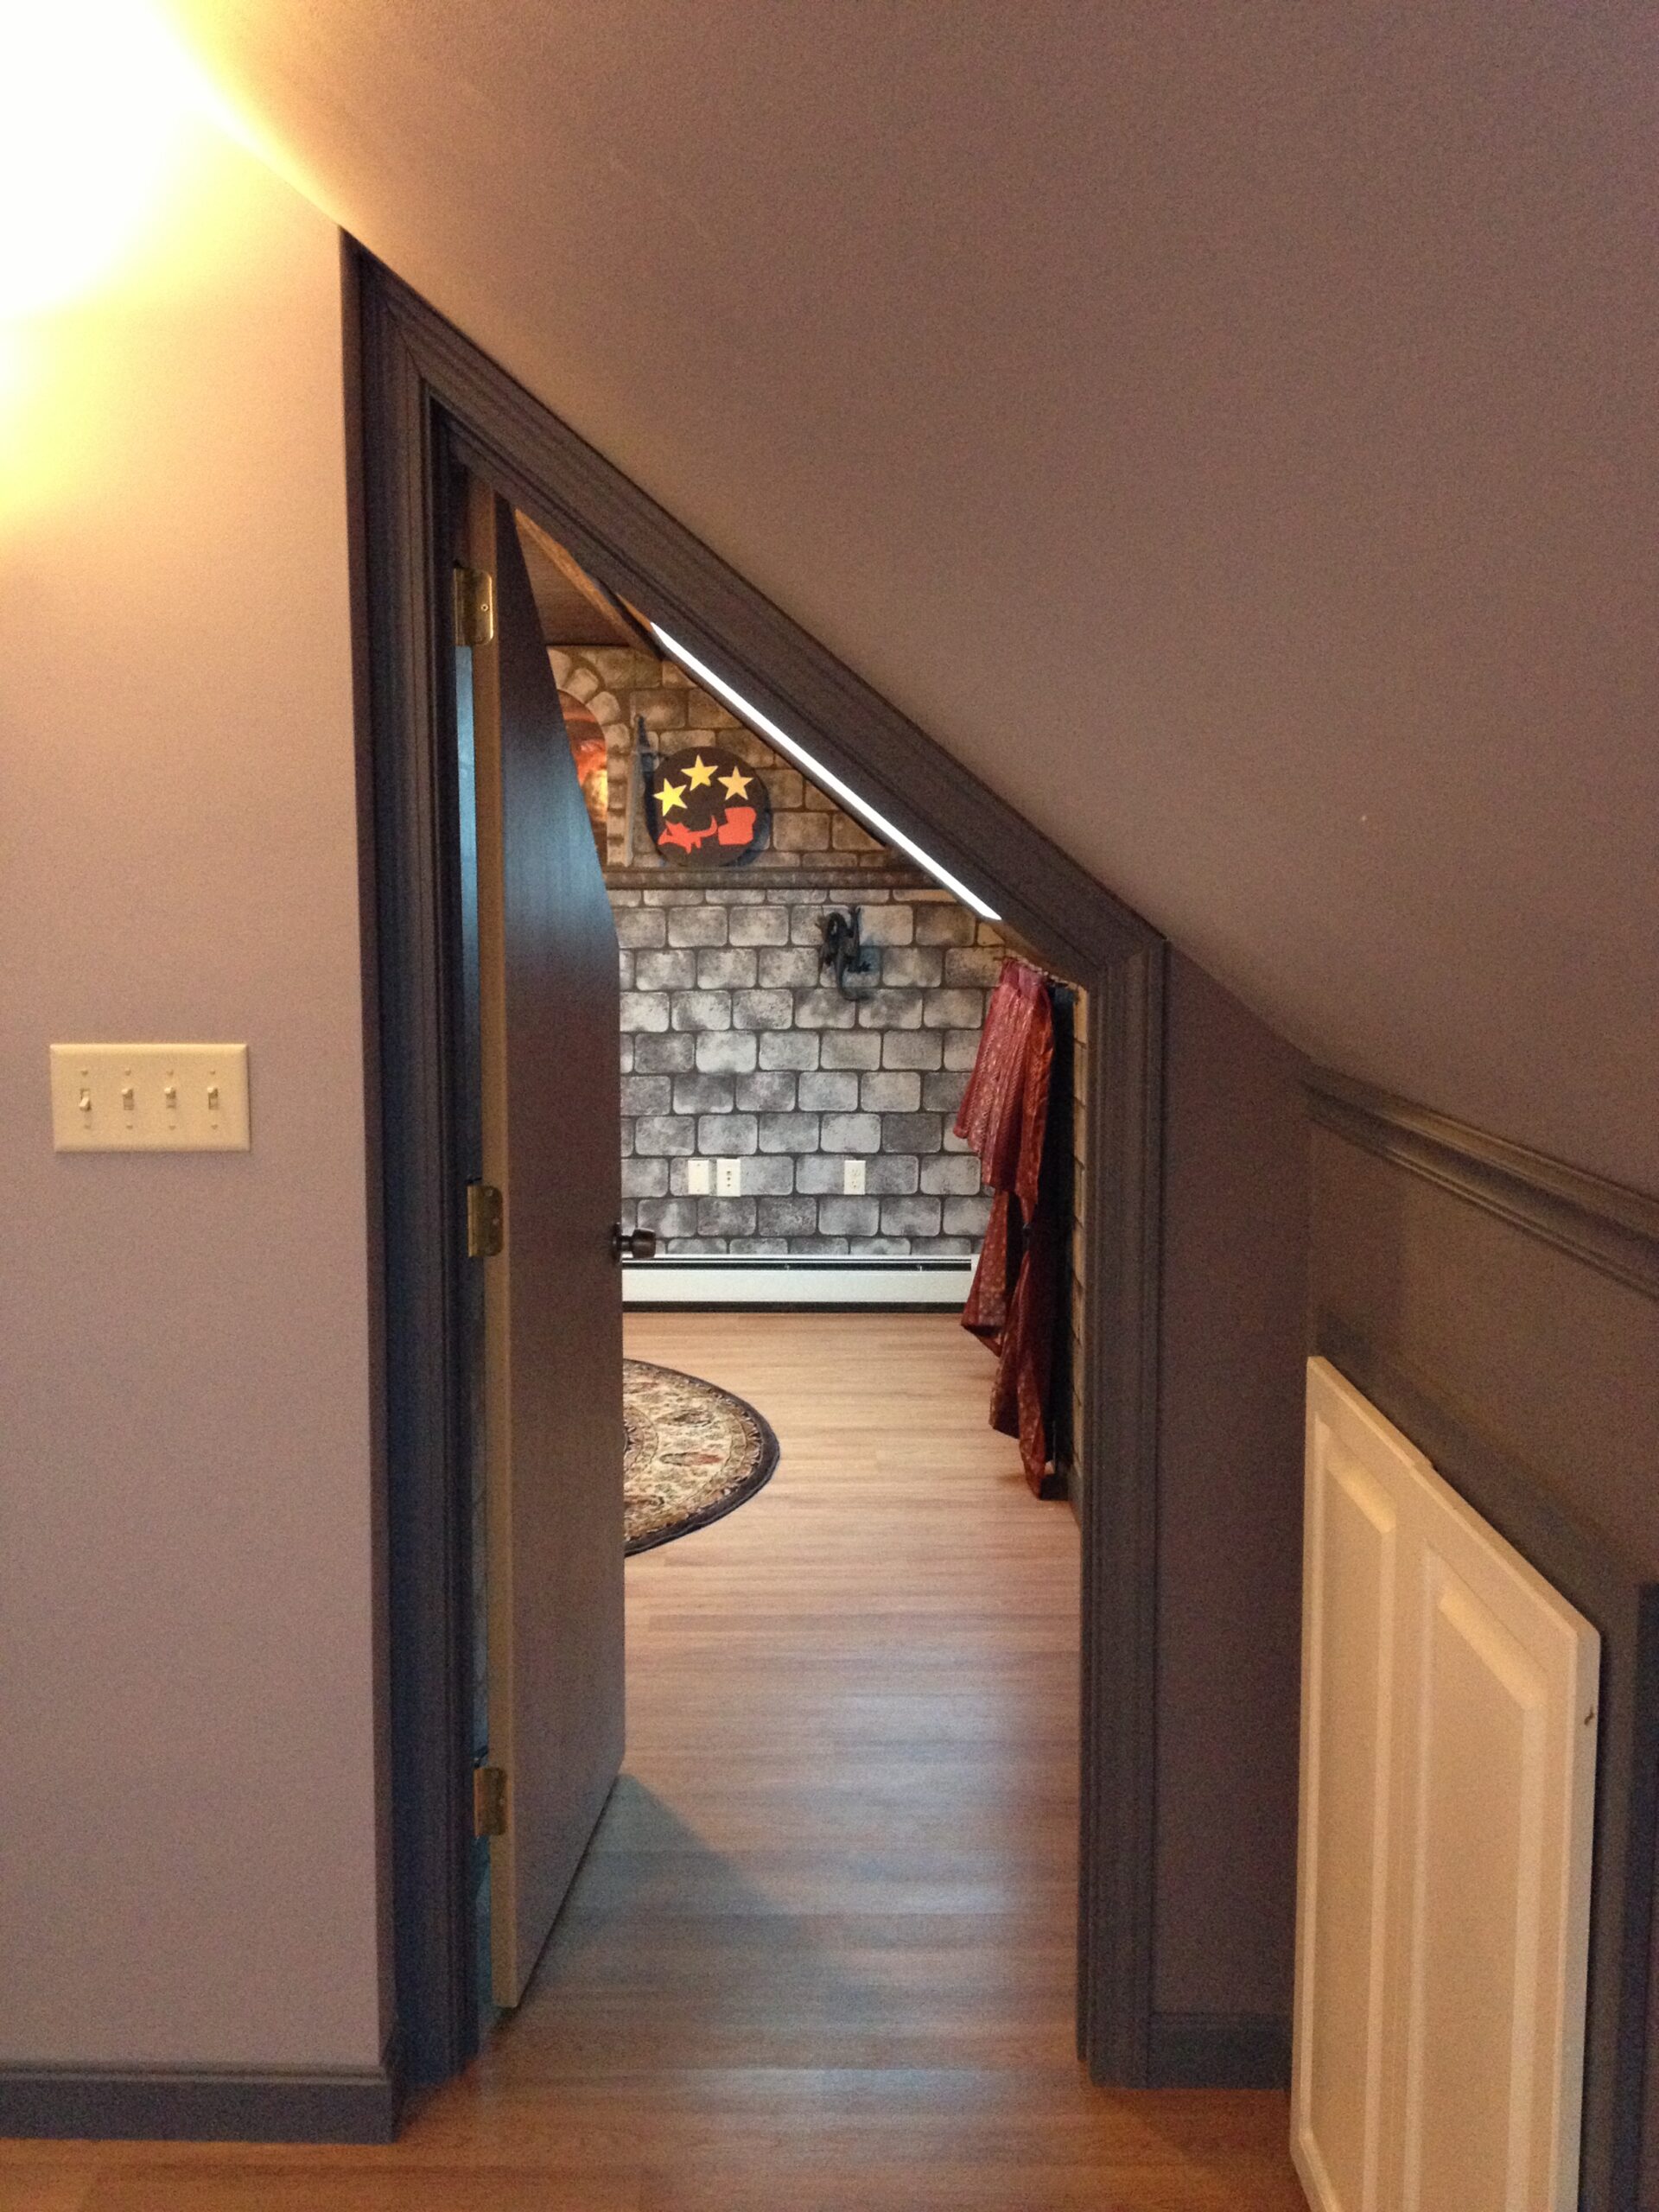
The floor is the same sort of $0.64/sq ft. laminate we used upstairs in Matt’s room and the playroom. Just like before, I found it very easy to install, and just like before it chewed through my saw blade. This stuff is incredibly hard, sparks when the saw cuts it, and destroys the blade. Make sure you consider the cost of a new blade as part of the cost of the floor if you use laminate for anything.
Miranda has been living in the room for a month or so now and she loves it. Once again I’m amazed at Holly’s ability to design unique, dramatic rooms. I think they come out great every time.
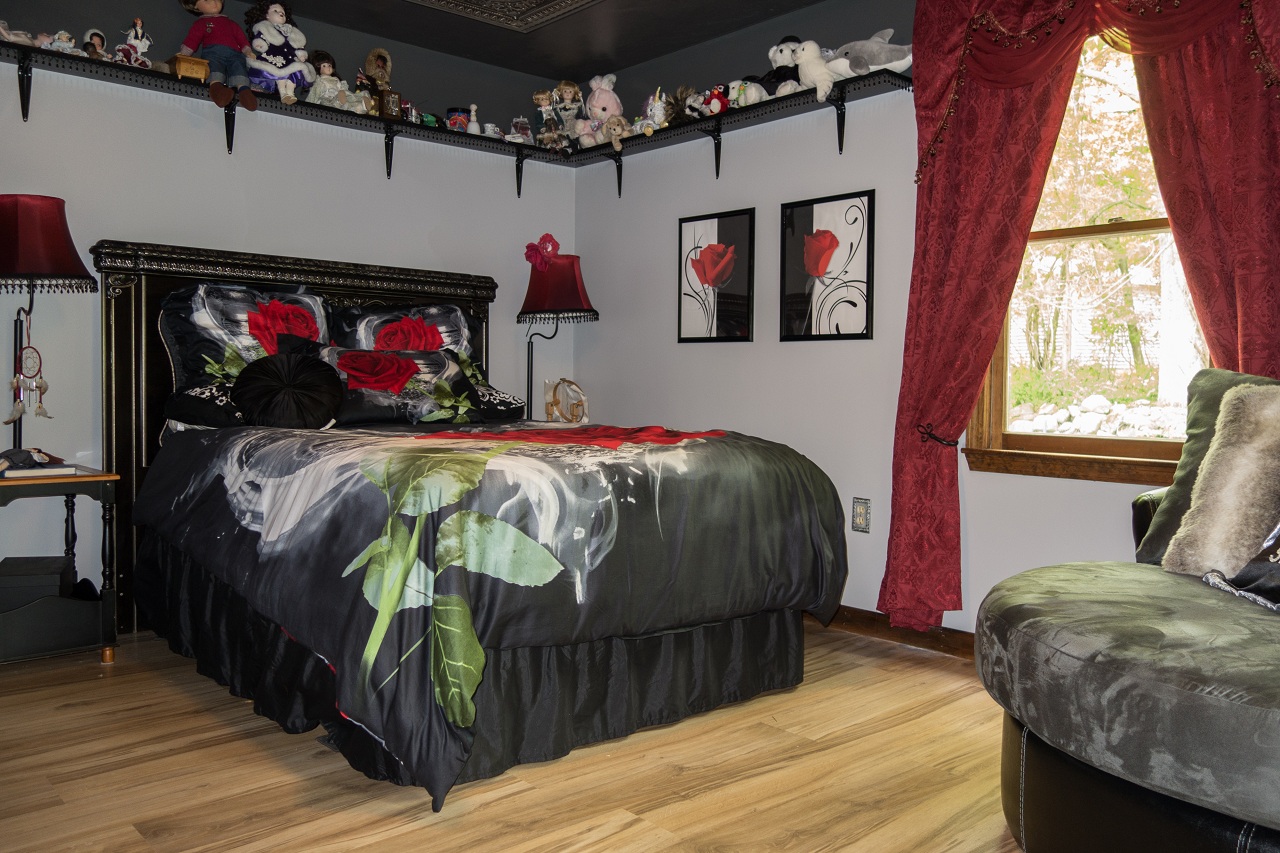
Photo copyright 2014 by Egils Zarins