day 105: first harvest

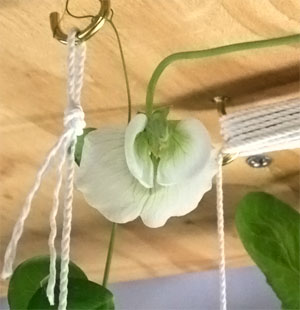
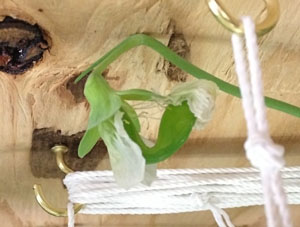
Today I picked one pea (0.03oz) from pot 7 and four peas (0.44oz) from pot 8. Unfortunately, we ate them before I thought to take a photo.  They were just enough to make you want more.

Posted in cellar garden experiment | Leave a comment

day 102: growth report

measured-tomatoMost of the pea plants continue to grow, but the one in pot 4 and one of the ones in pot 6 are dying.  Some of the others have lots of flowers and a few peas.  None of the peas are large enough to bother harvesting though.

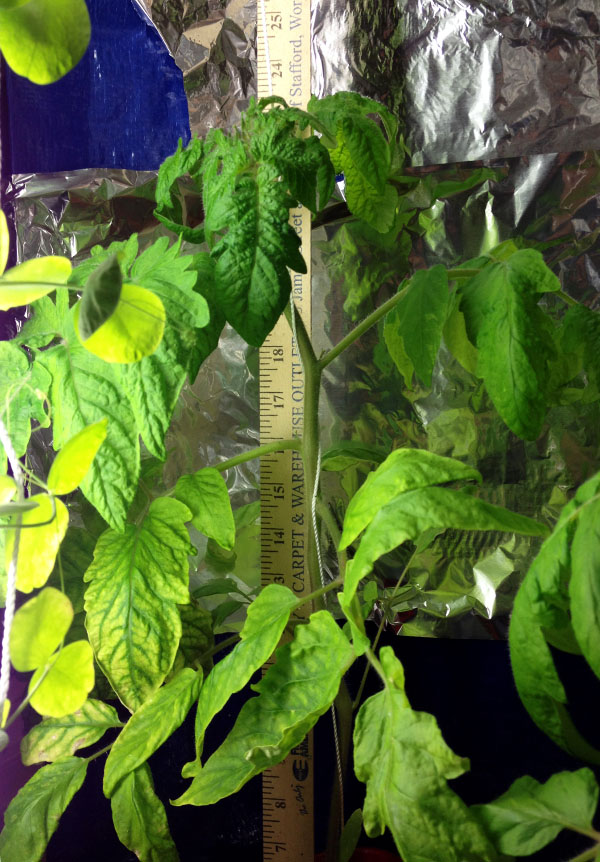
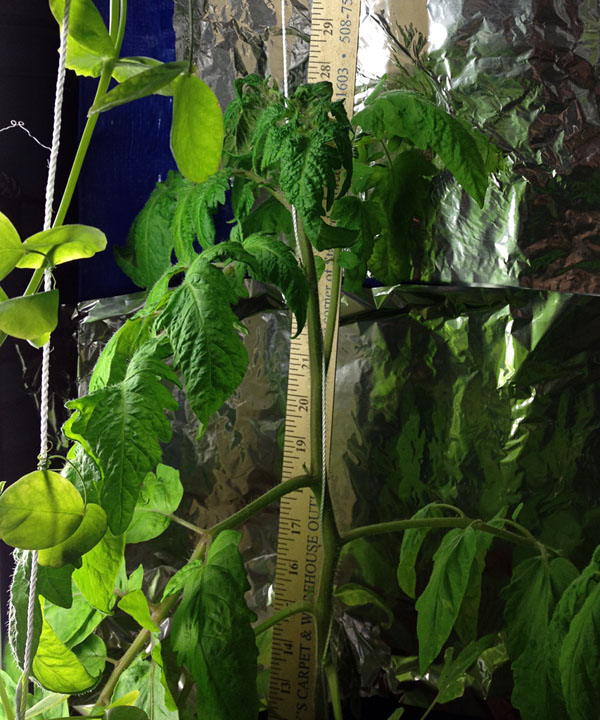
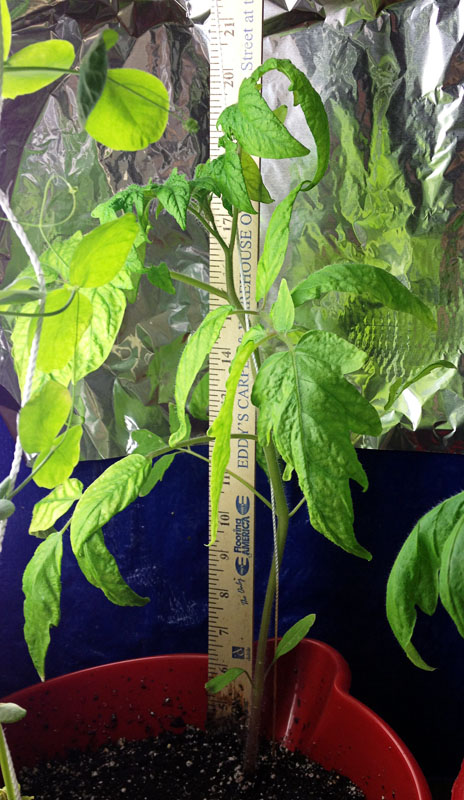
The measured tomato is up to about two feet tall.  Some of the tomatoes are doing better than others, but that was expected due to the premature transplantation.

Posted in cellar garden experiment | Leave a comment

the little snow blower that could

the-little-snowblower-that-could

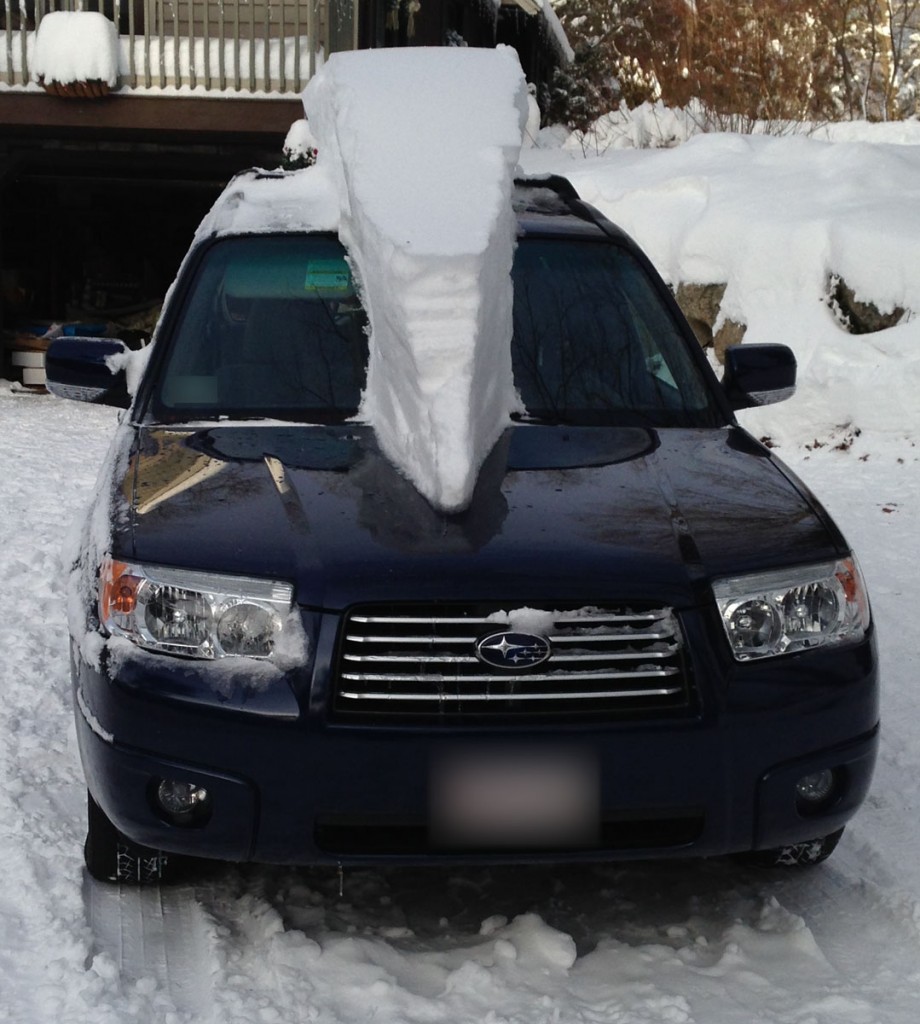
I swear I left a couple of cars somewhere around here.

I am thankful we own a snow blower.  It may just be a little Ariens, and the snow may have been taller than its cowling, but it got the job done.  I doubt my back could have taken shoveling two feet…

A car with style

A car with style

Posted in random | 2 Comments

smart objects, soft light, high pass

I use Adobe Photoshop for most of my photo manipulations.  I am far from an expert and have just barely begun to scratch the surface, but I have learned a few things.  A lot of my photos are taken with an iPhone in bad lighting conditions.  I often have to spend some time working on the soft focus and poor lighting to get a photo that conveys what I want to convey.  I know my photos will never win any sort of award, but if they can convey the idea I’m trying to get across, such as how big a tomato plant has gotten, I’m happy.

Smart Objects

Smart Object

Layer 0 has been converted to a Smart Object and I’ve applied the Reduce Noise filter twice.

I recommend trying Smart Objects if you never have.  It’s a layer that is more than a layer.  It contains the original pixels, plus any filters you have applied.  You can at any point change the settings on any of those filters and regenerate the layer output without loosing quality.

To create a Smart Object, right click on the layer of interest and choose Convert to Smart Object.  Now if you apply nearly any filter you’ll see it listed in the layer window.  You can double click the name of the filter to bring up the settings for that filter and change them.

You’ll also notice to the right of the filter name is a little icon that looks like two sliders.  If you double click that you can set a blending mode and opacity for that individual instance of the filter.  To the left of the filter name is an eye.  If you click the eye you can hide the effects of that filter.  Clicking in the same spot will bring them back.

Soft Light

The Soft Light blending mode gives you an interesting ability to make some of the details of your images a little more bold.  Duplicate the layer you are trying to enhance.  Change the blending mode for the top one to Soft Light.  Lower the opacity of that layer to 10 to 20%. Toggle that layer between visible and hidden to see the effect.  Adjust the opacity as you see fit.  If you want to reduce the details instead of making them more bold, invert this layer.

High Pass

The Soft Light effect mentioned above can be a little too much.  Highlight that top layer and apply Filter -> Other -> High Pass.  Set the opacity to 50% or so.  Toggle that layer between visible and hidden to see the effect.  Adjust the opacity as you see fit.  If you want to reduce the details instead of making them more bold, invert this layer.  Be aware that applying too strong a High Pass layer can make the edges of the objects in your image look odd.  Look closely at the edges and make sure they look ok before saving your image.
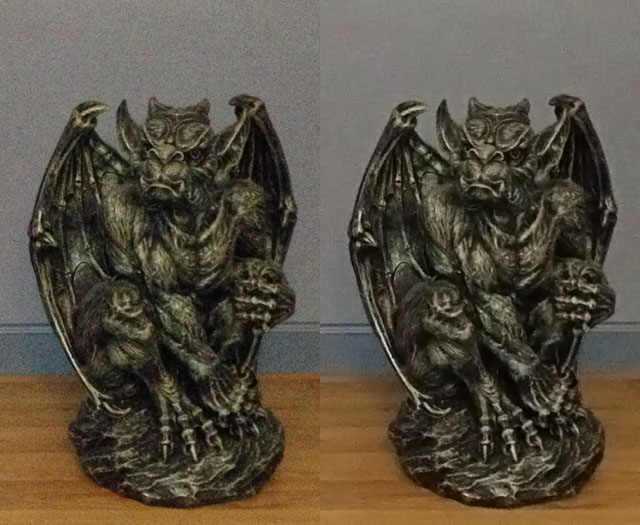
The original image is on the left.  I applied the Reduce Noise filter twice, duplicated the layer, switched the top layer blending mode to Soft Light, and applied a High Pass filter to yield the image on the right.

The original image is on the left. I applied the Reduce Noise filter twice, duplicated the layer, switched the top layer blending mode to Soft Light, applied a High Pass filter, and set the opacity to 50% to yield the image on the right.
Posted in photoshop | Leave a comment

constructing the castle

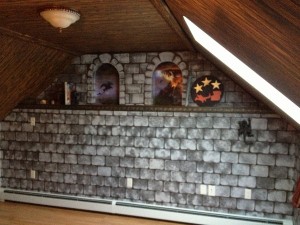
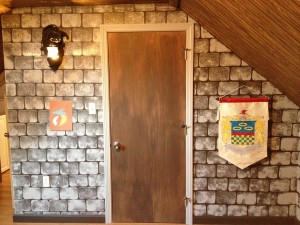
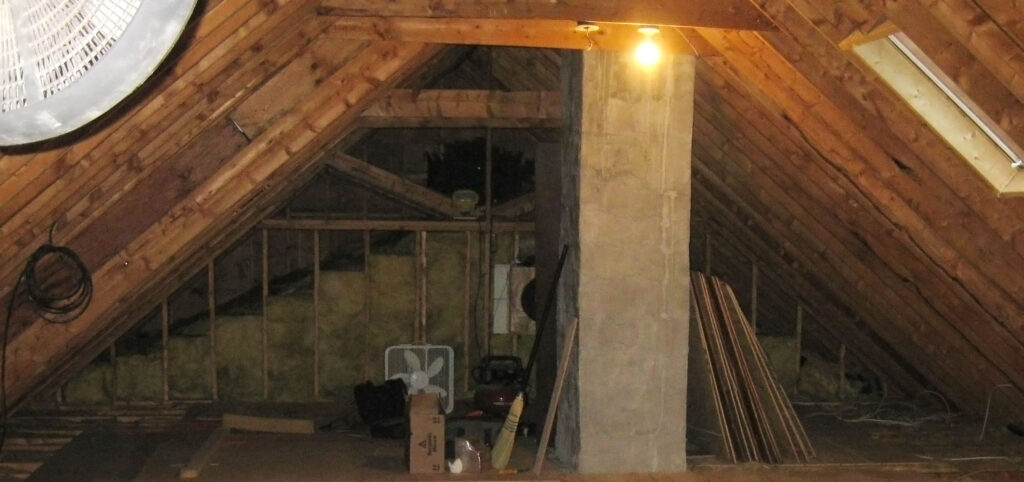
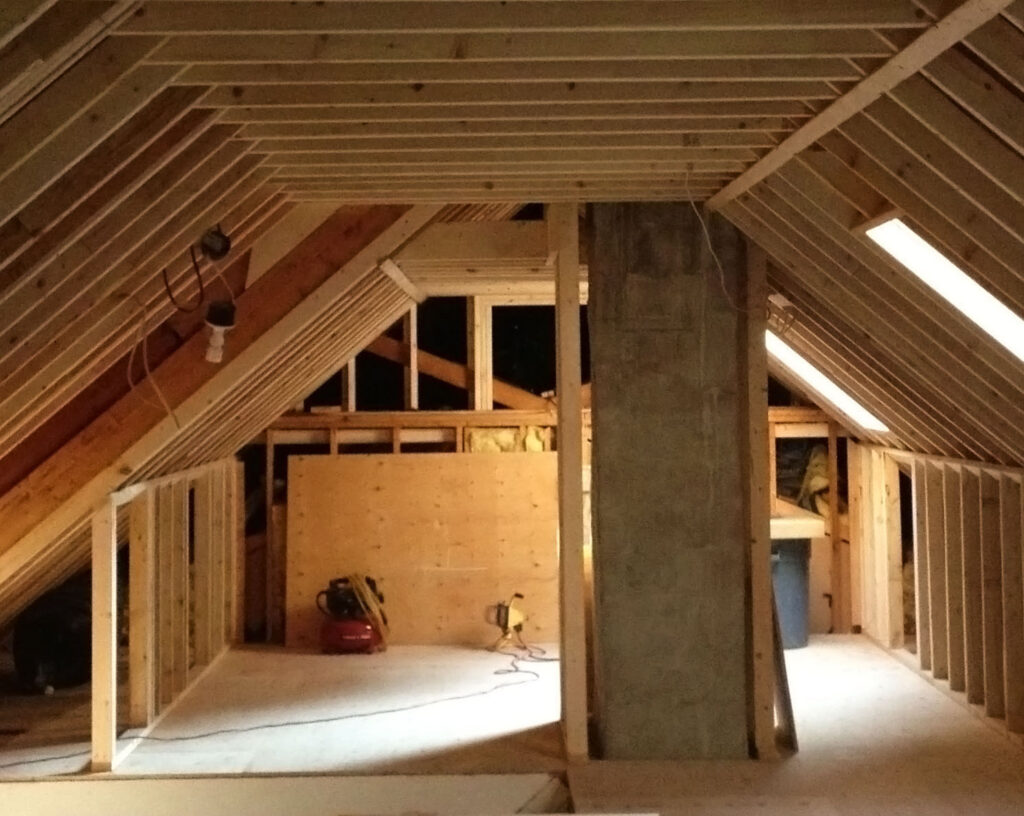
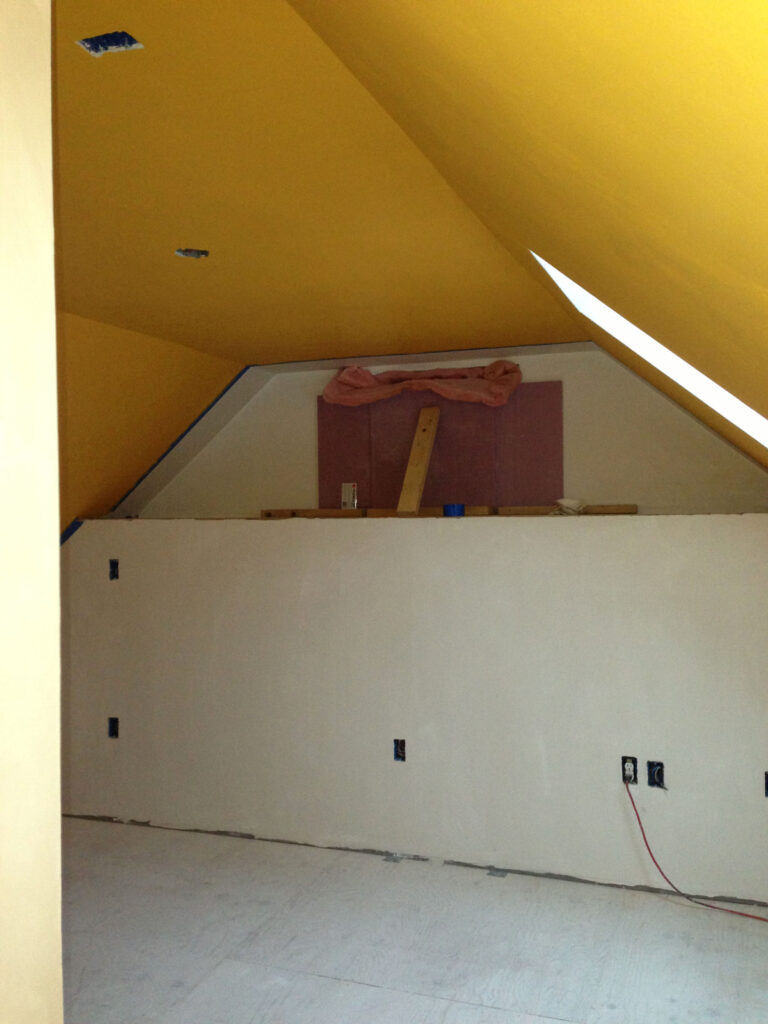
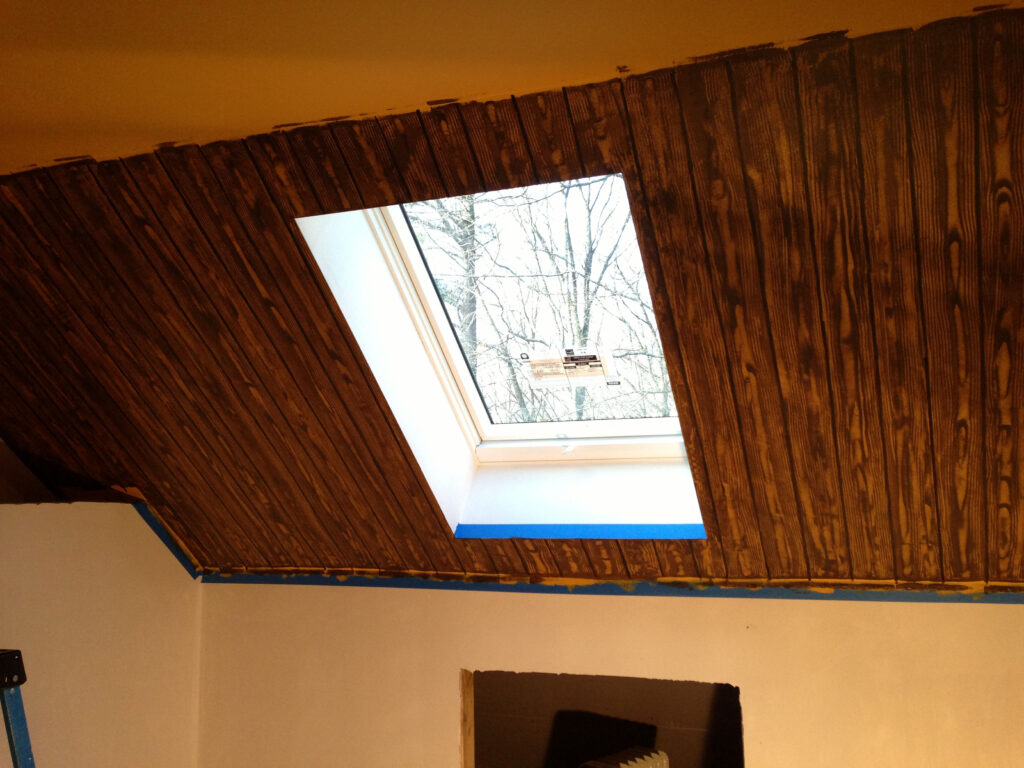
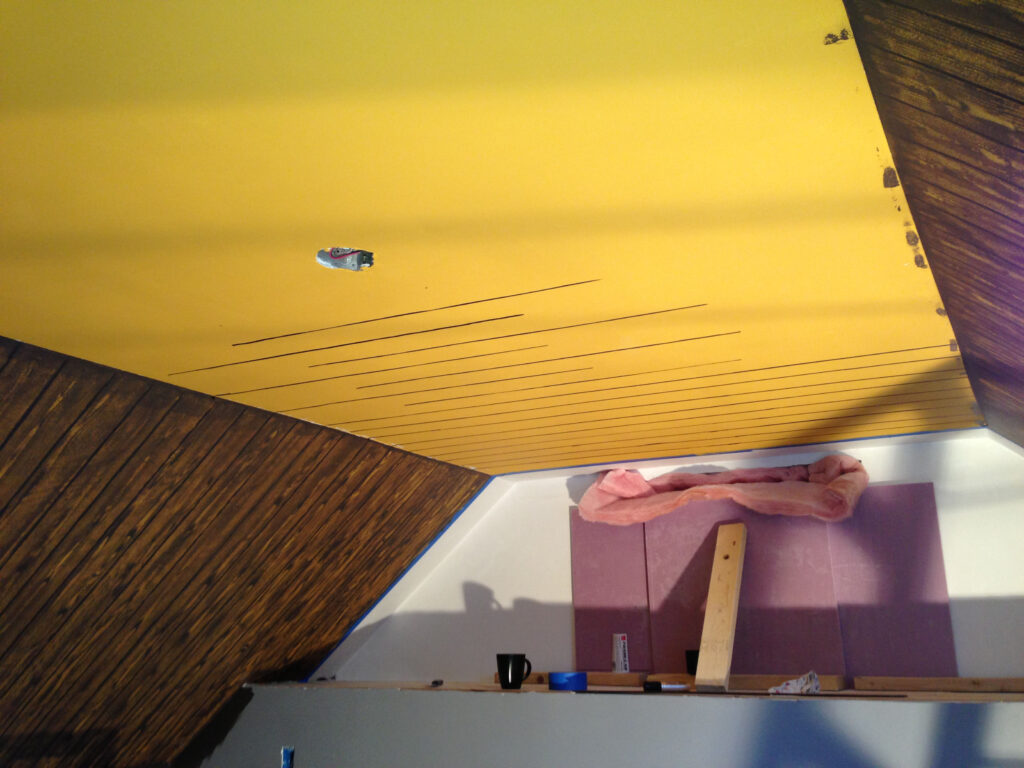
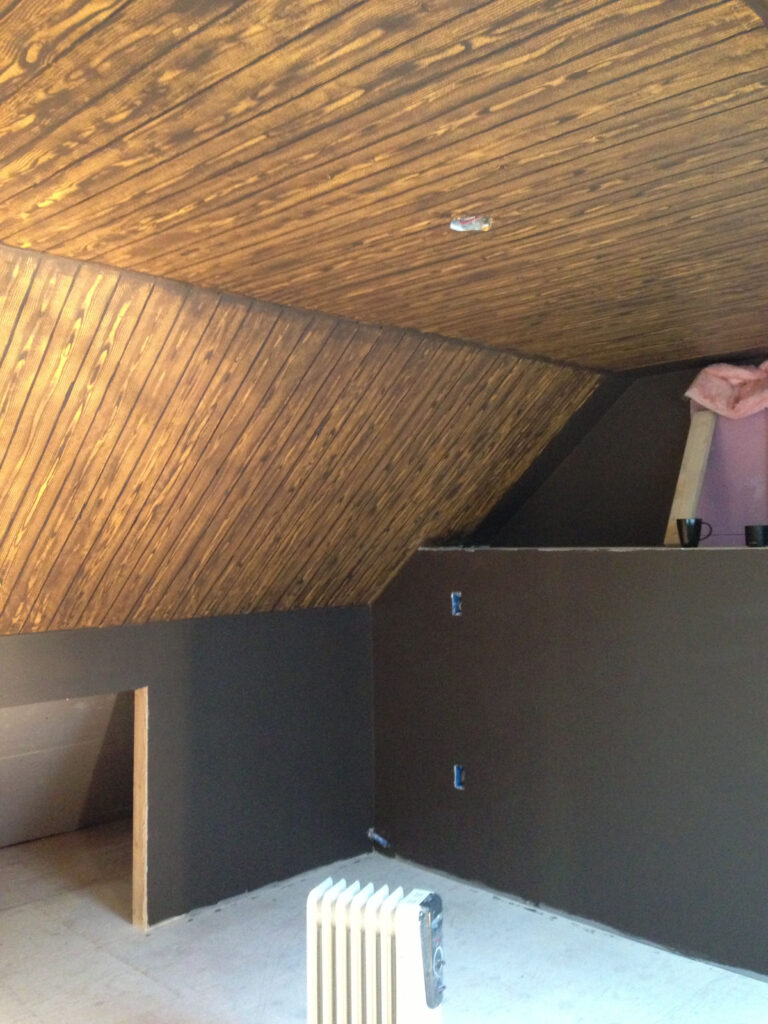
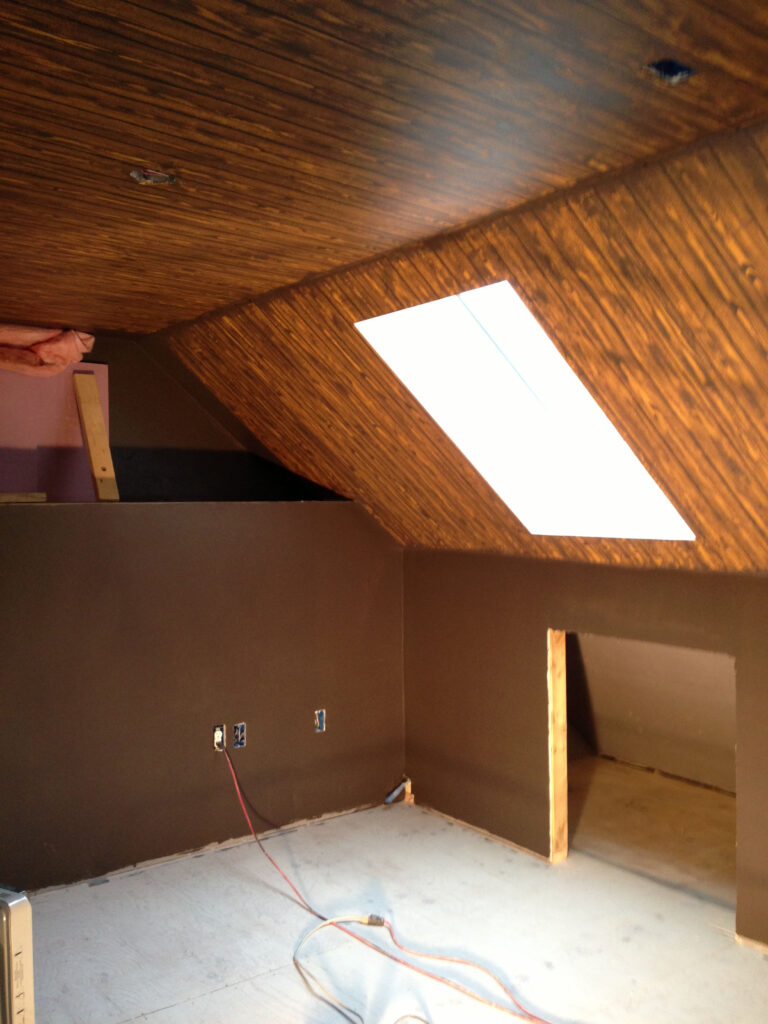
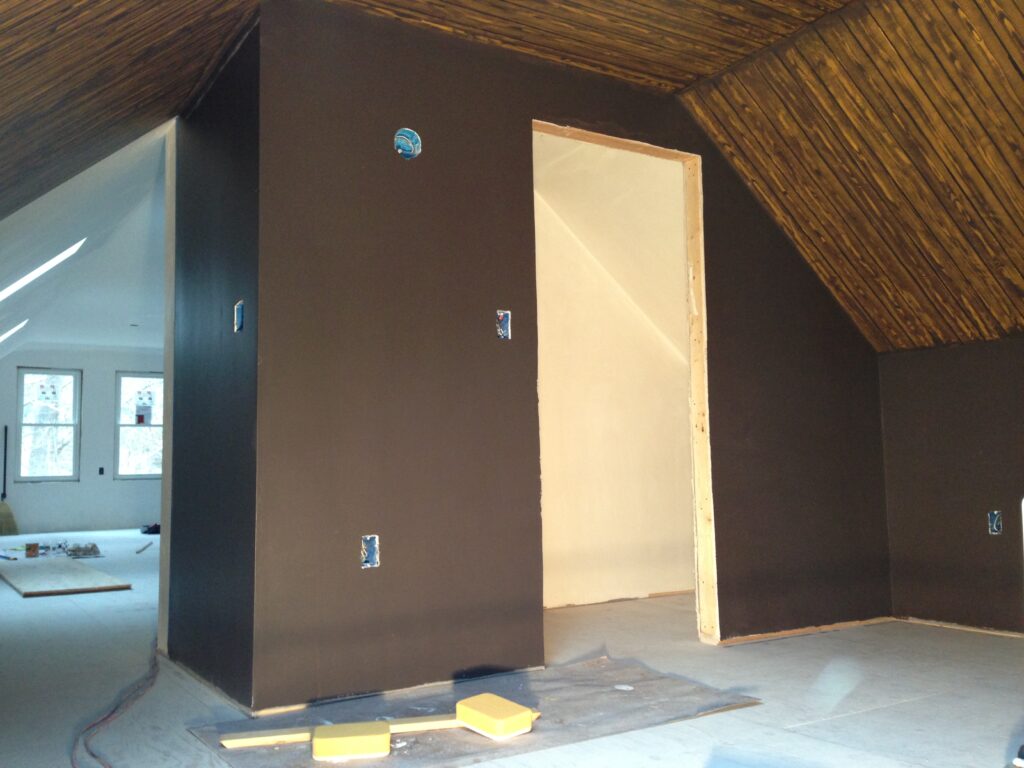
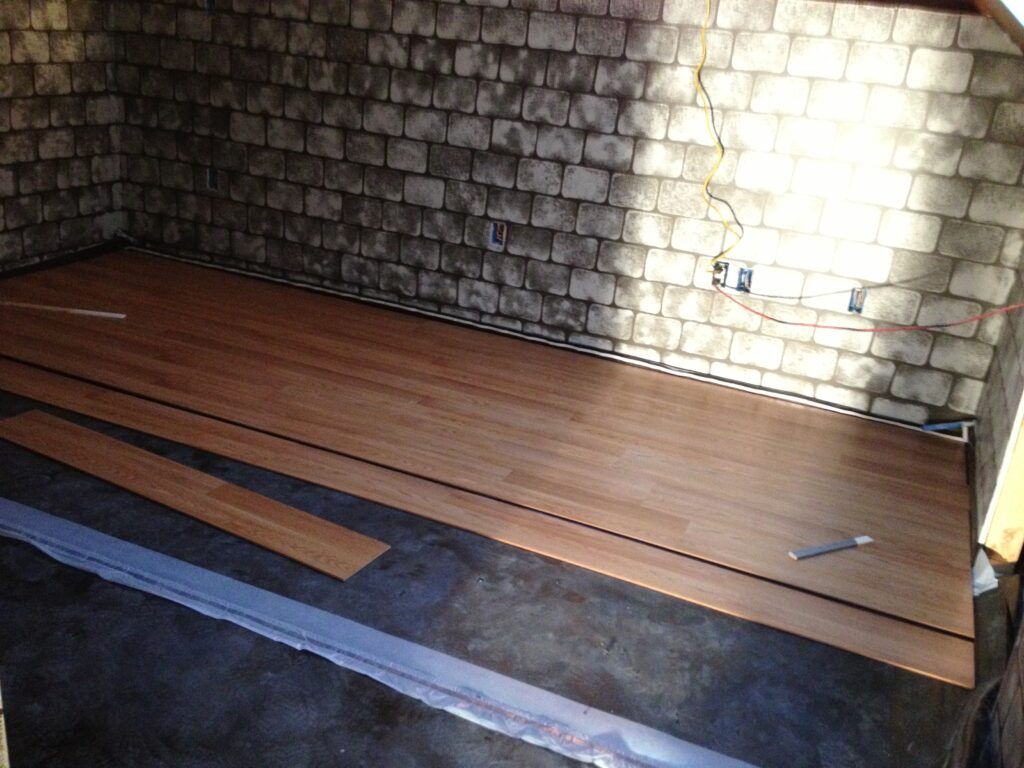
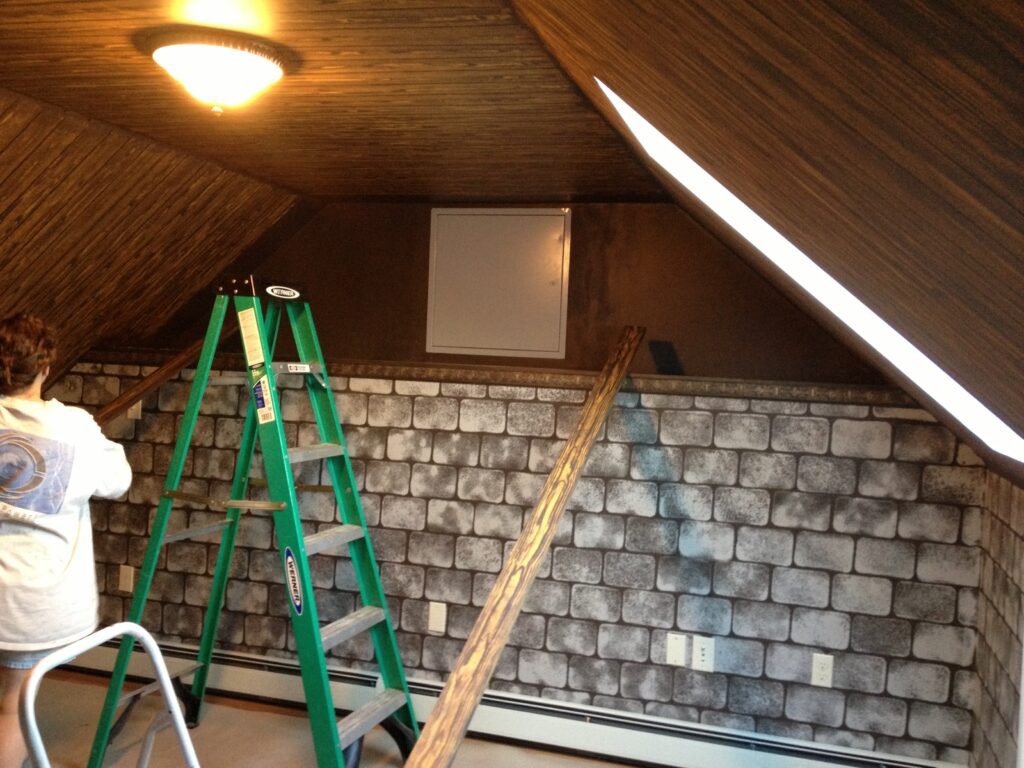
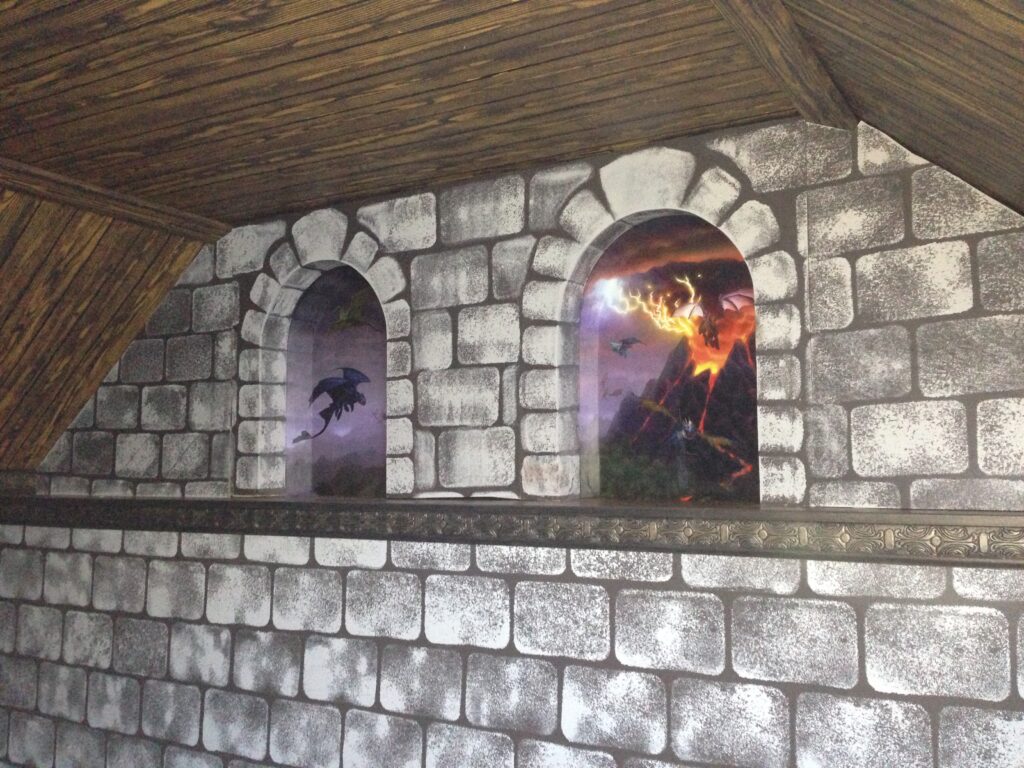
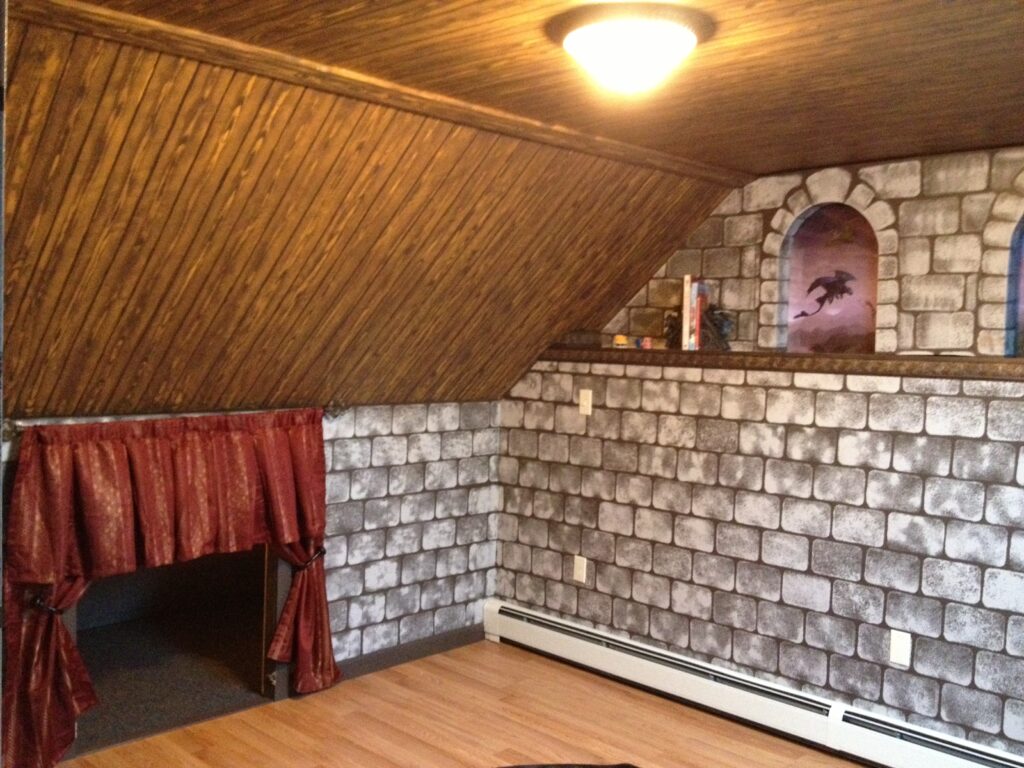
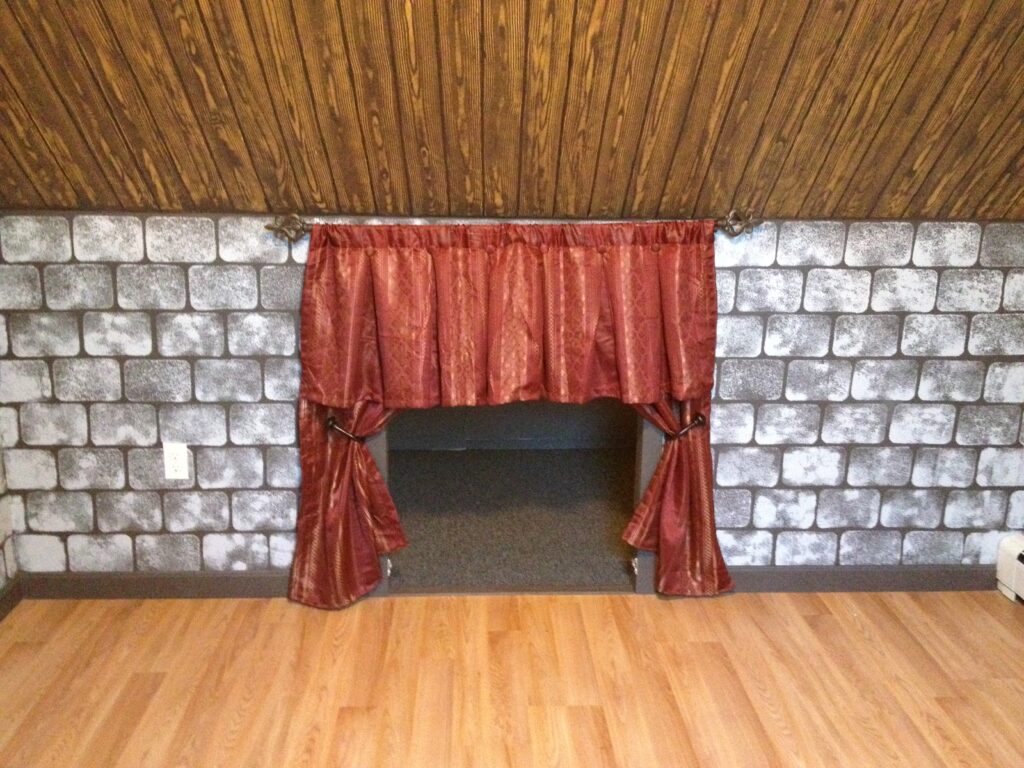
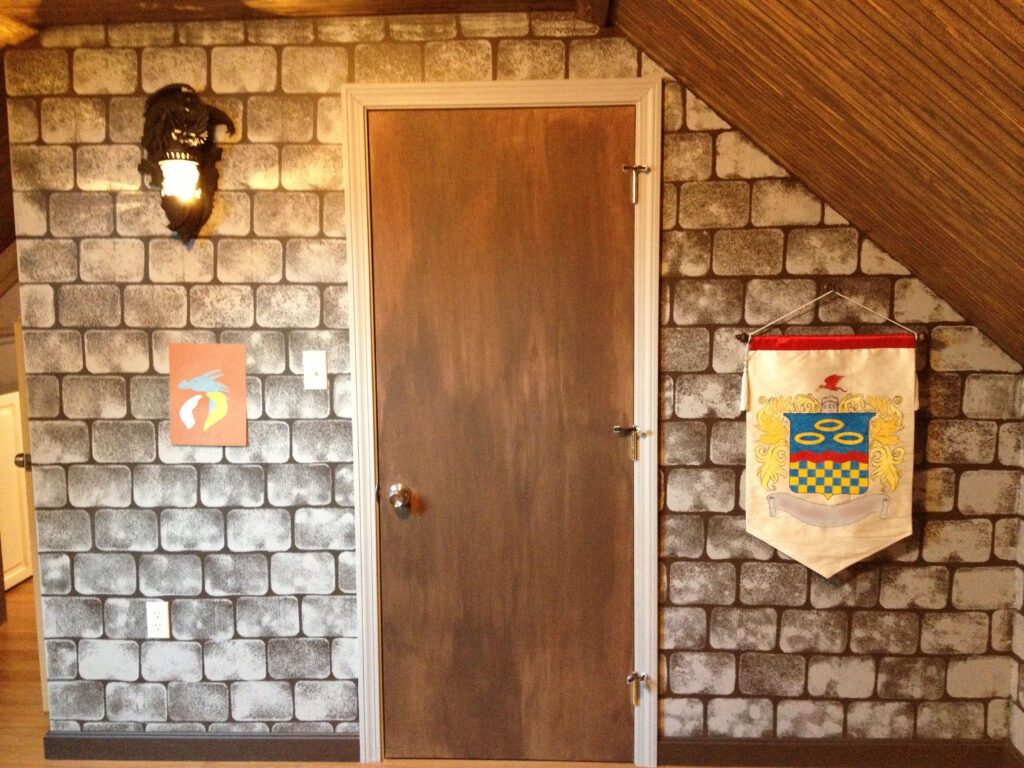
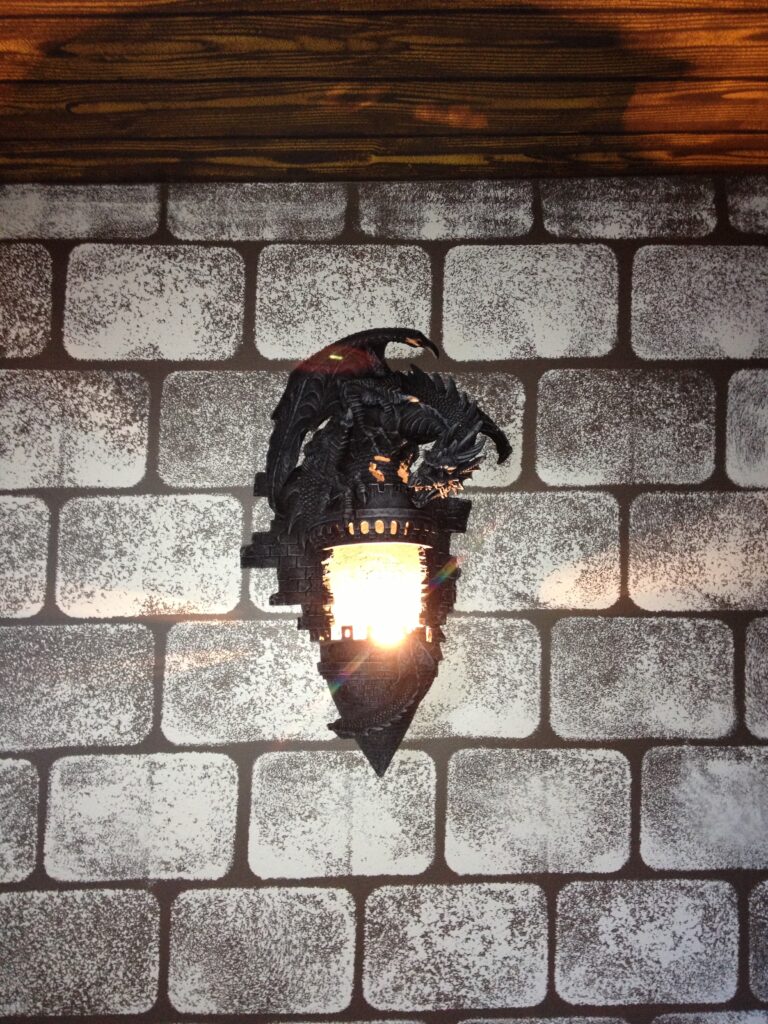
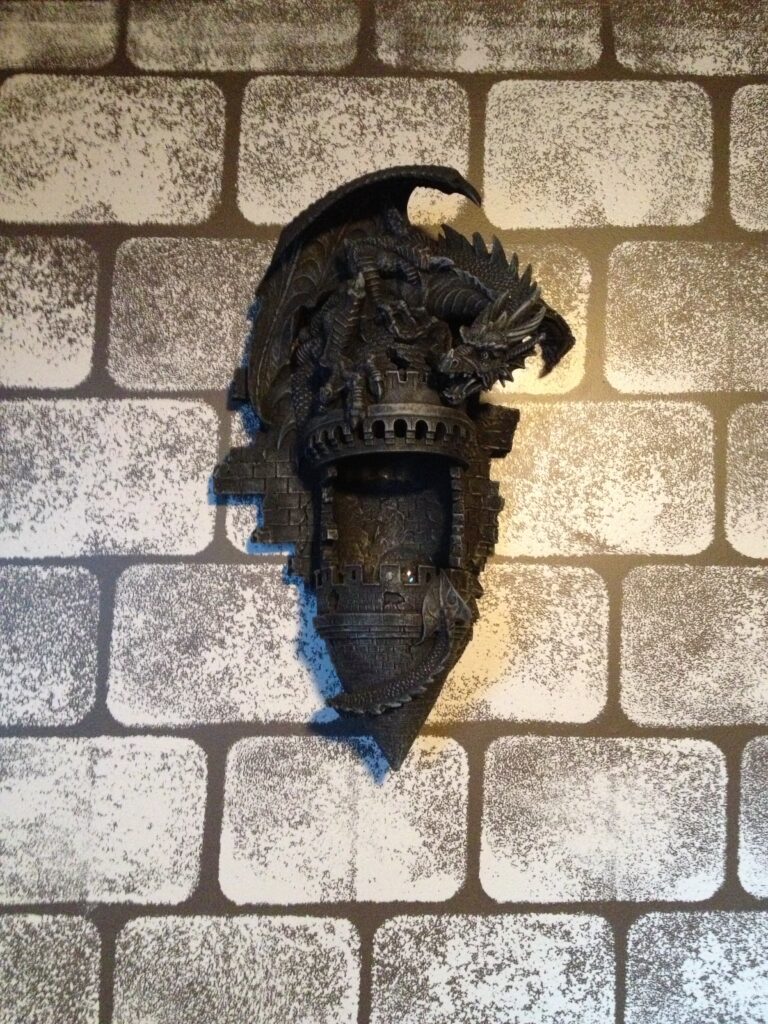
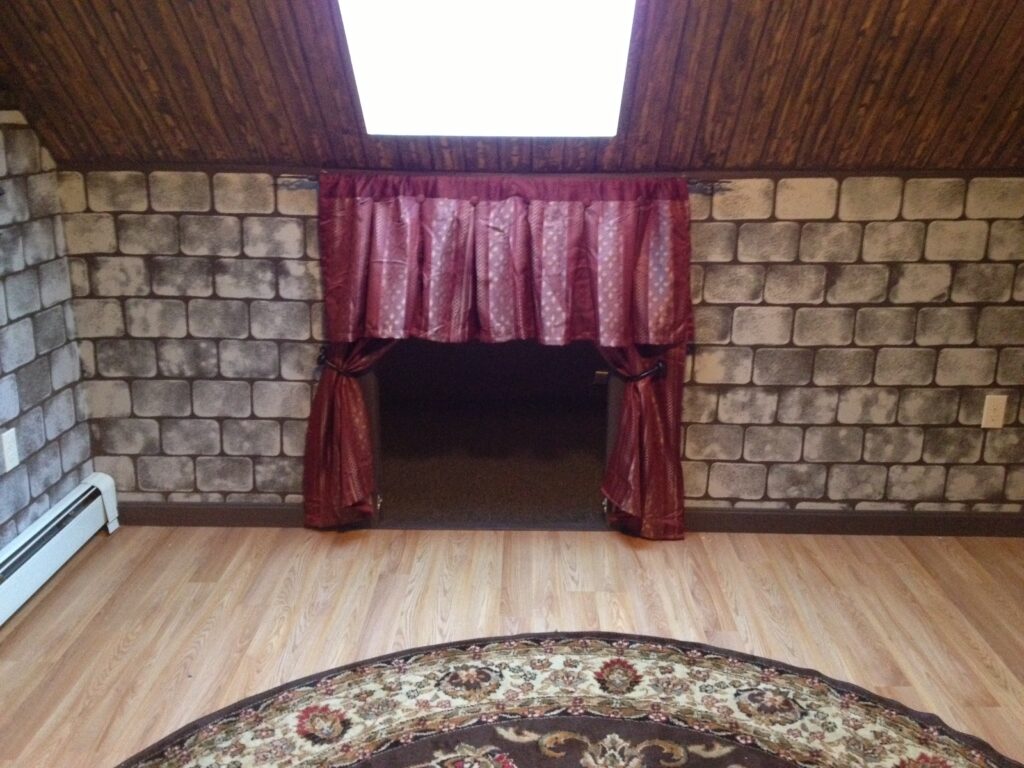
033Two years ago we started working toward finishing our attic.  Our goal was a big playroom for the family and an office our six year old son could use as a bedroom.  We started out by adding a dormer and skylights in 2011.  In 2012 we started work on the interior.  We told our son about the new bedroom in June and told him he could have any decorating scheme he wanted.  He asked for dragons.  We suggested making a castle room for the prince with dragon decorations. He loved the idea and work started.

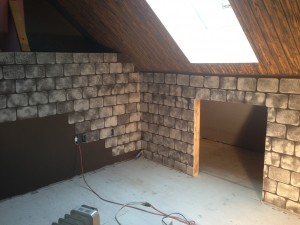
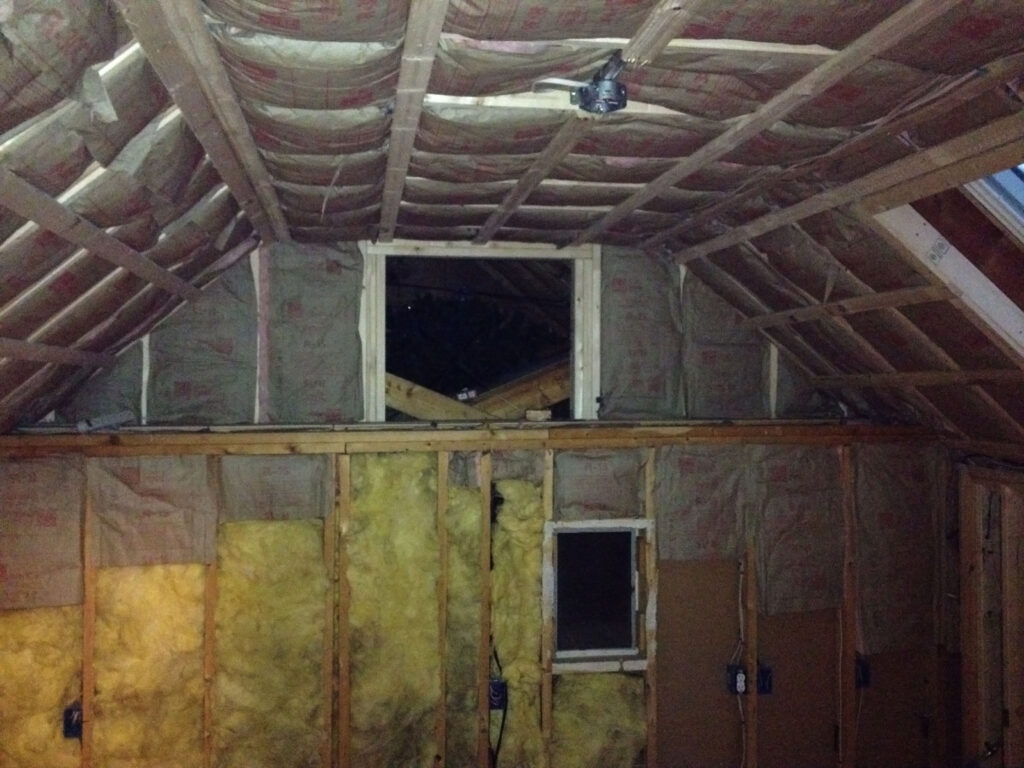
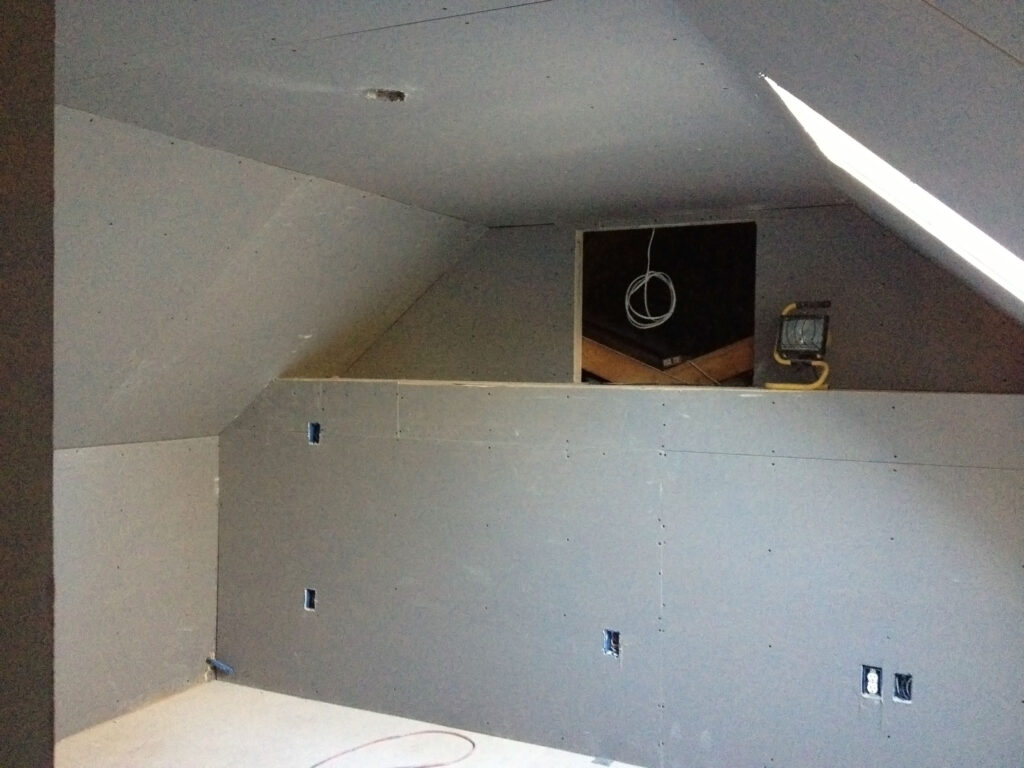
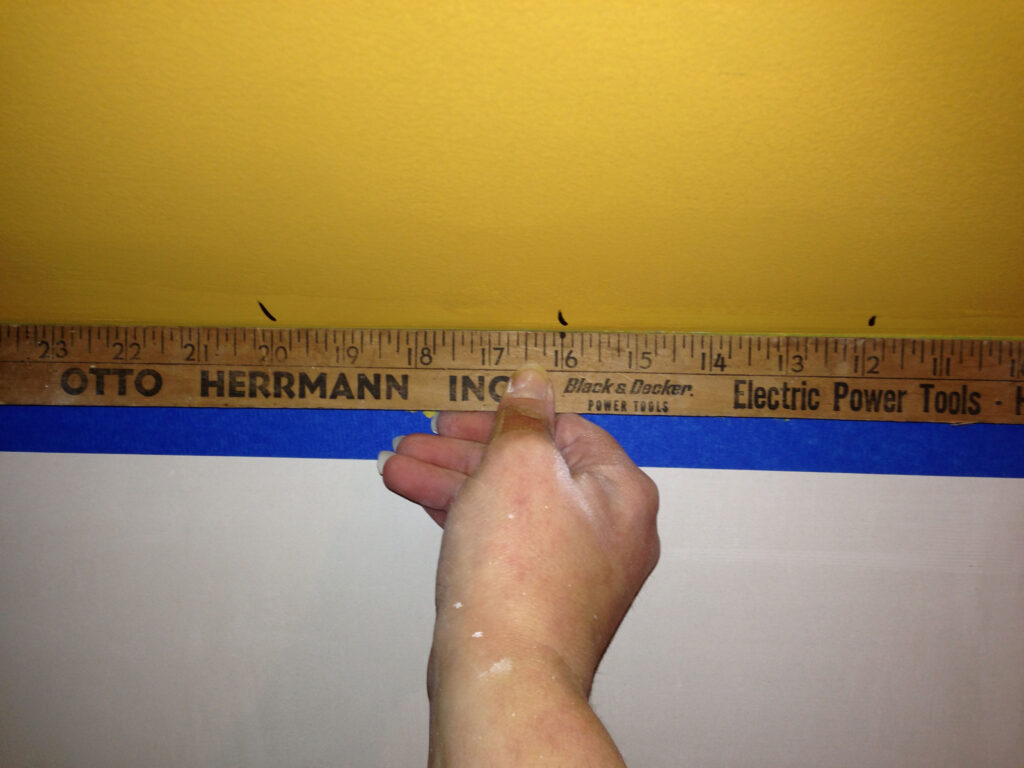
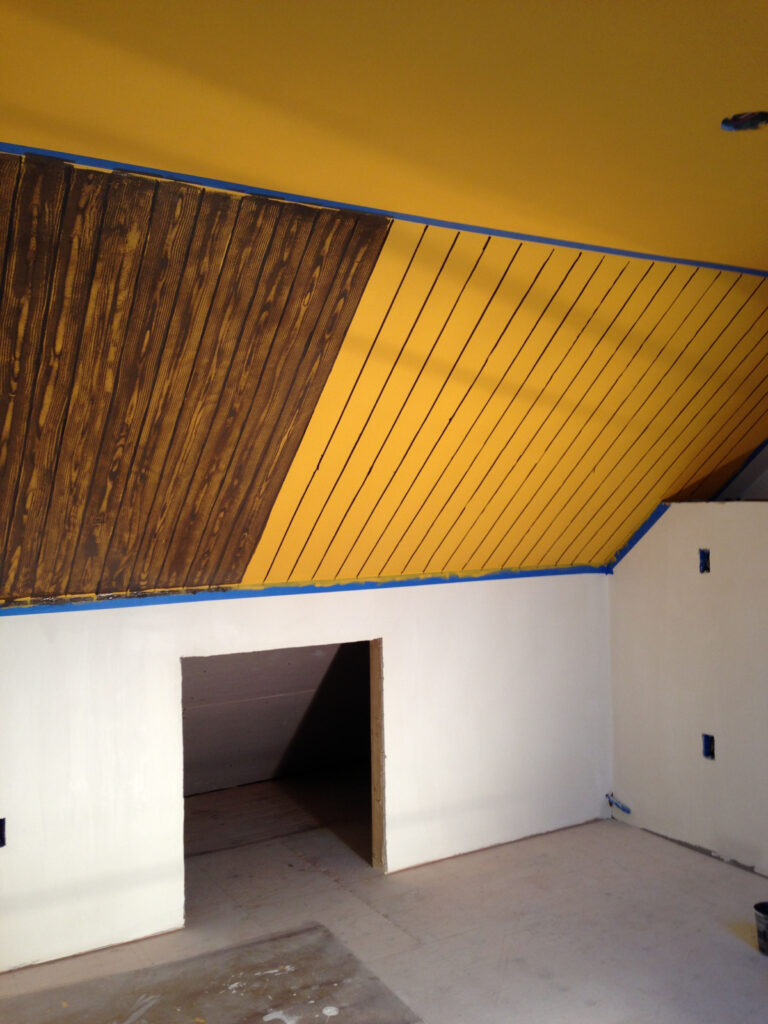
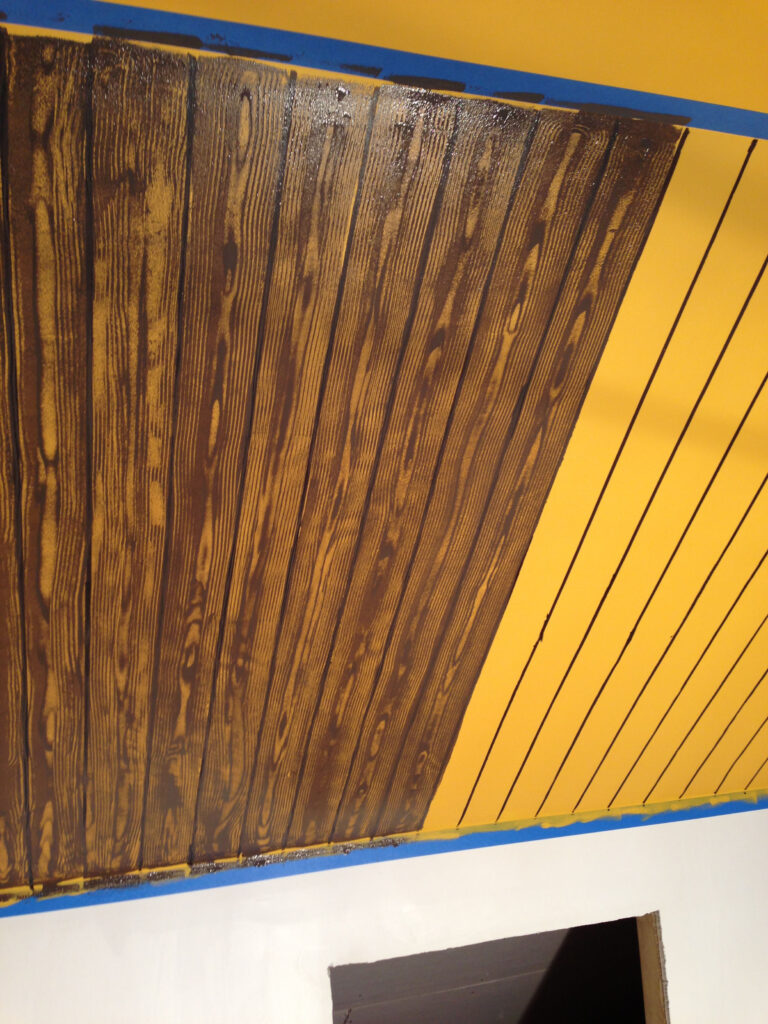
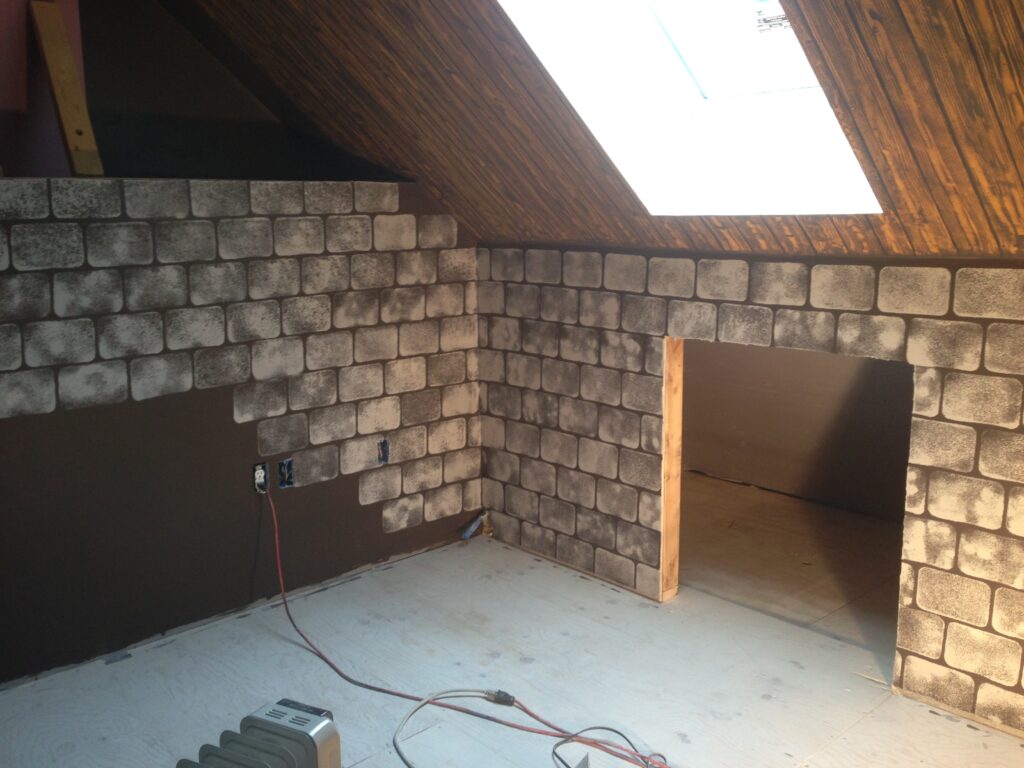
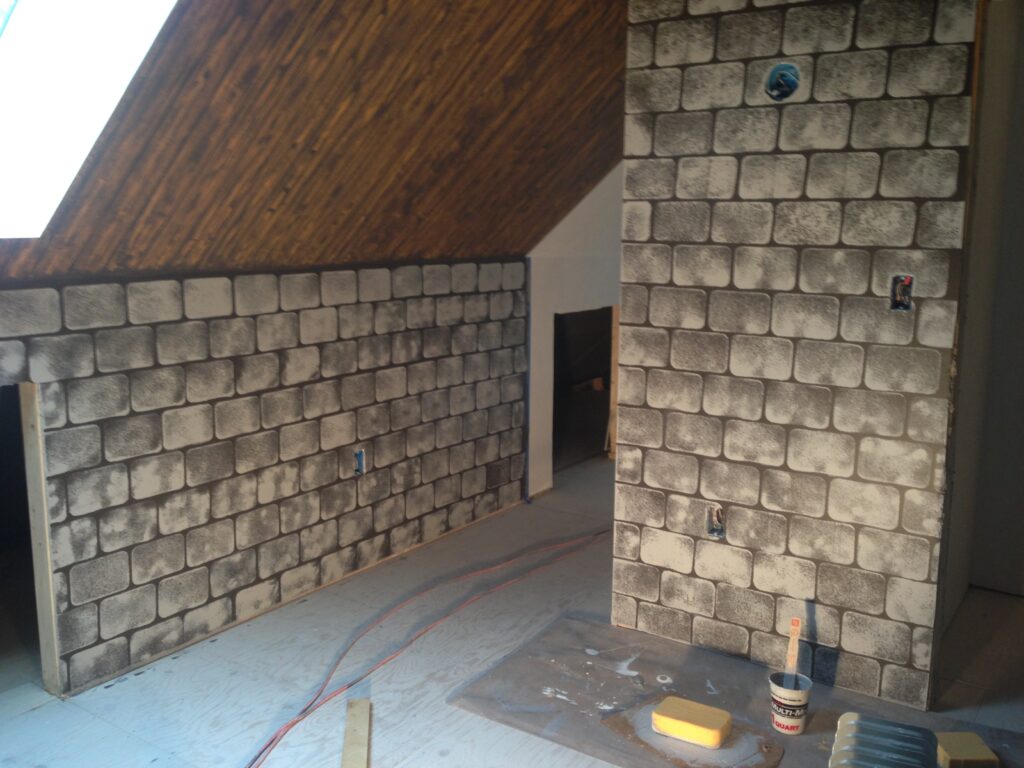
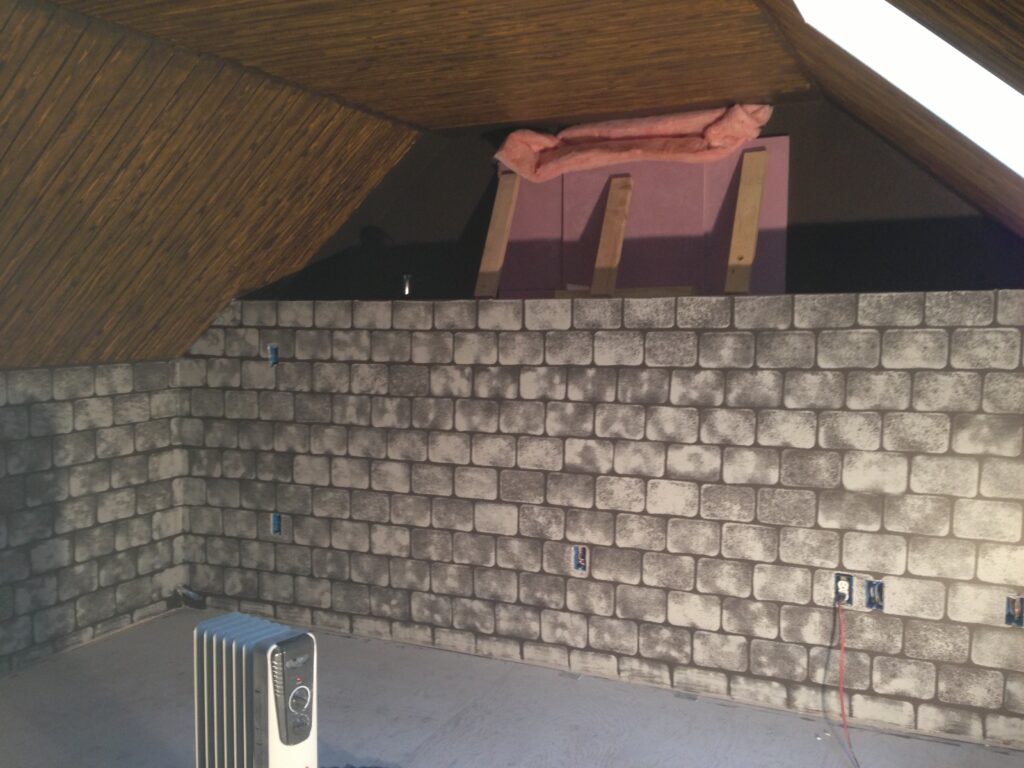
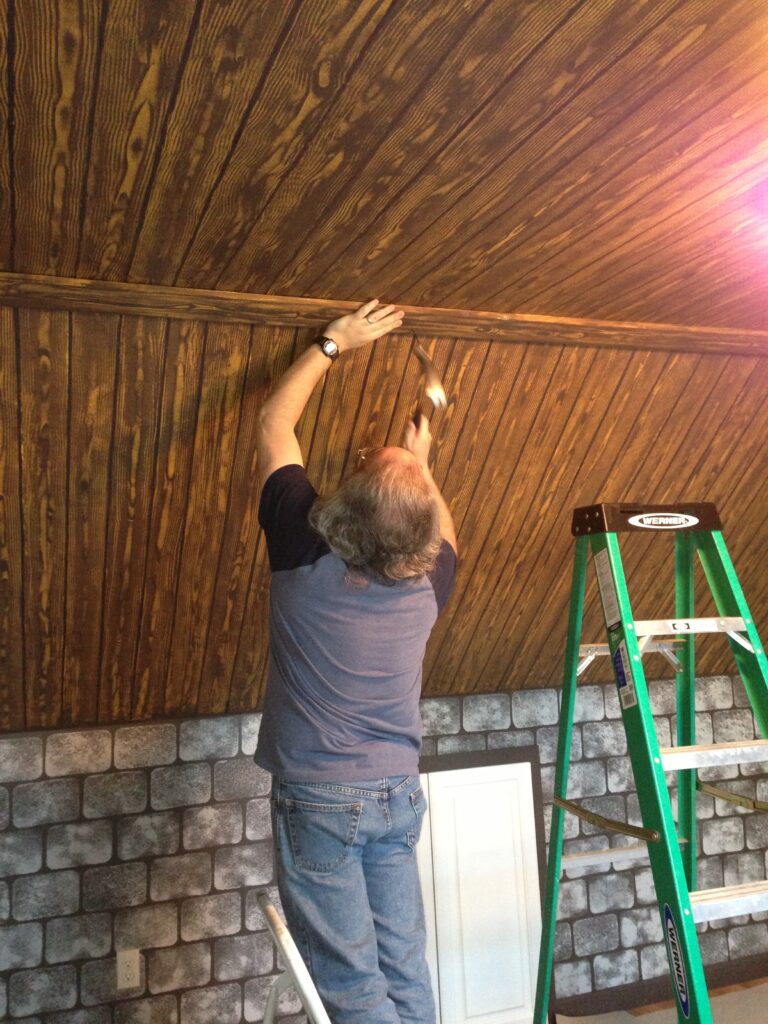
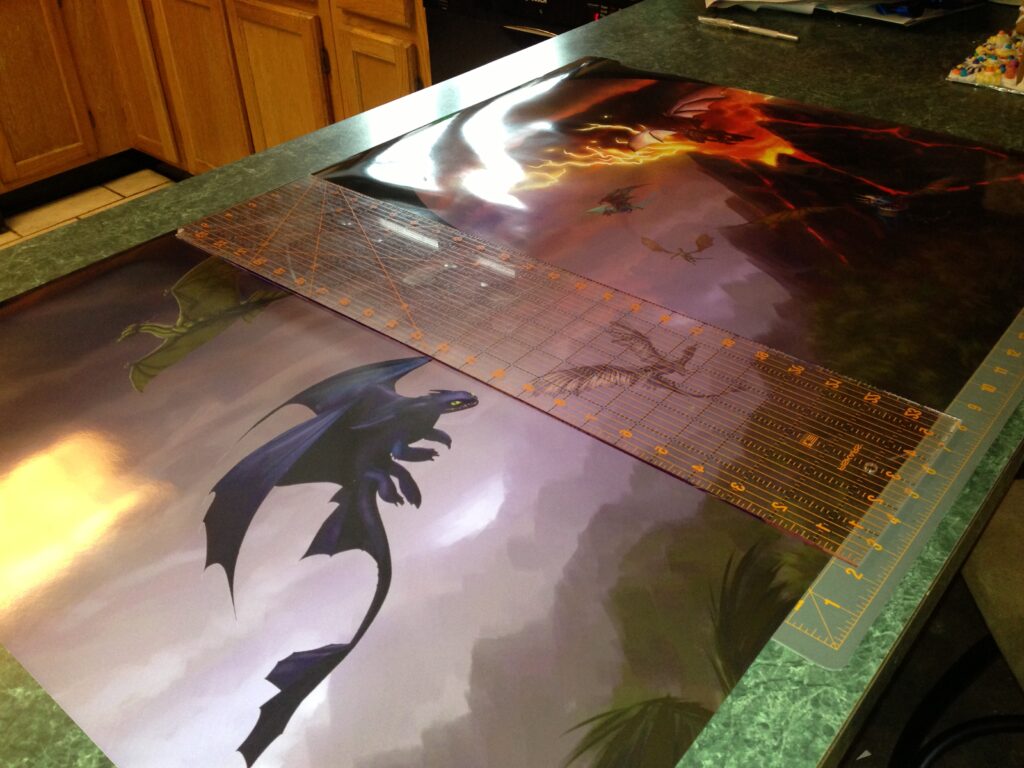
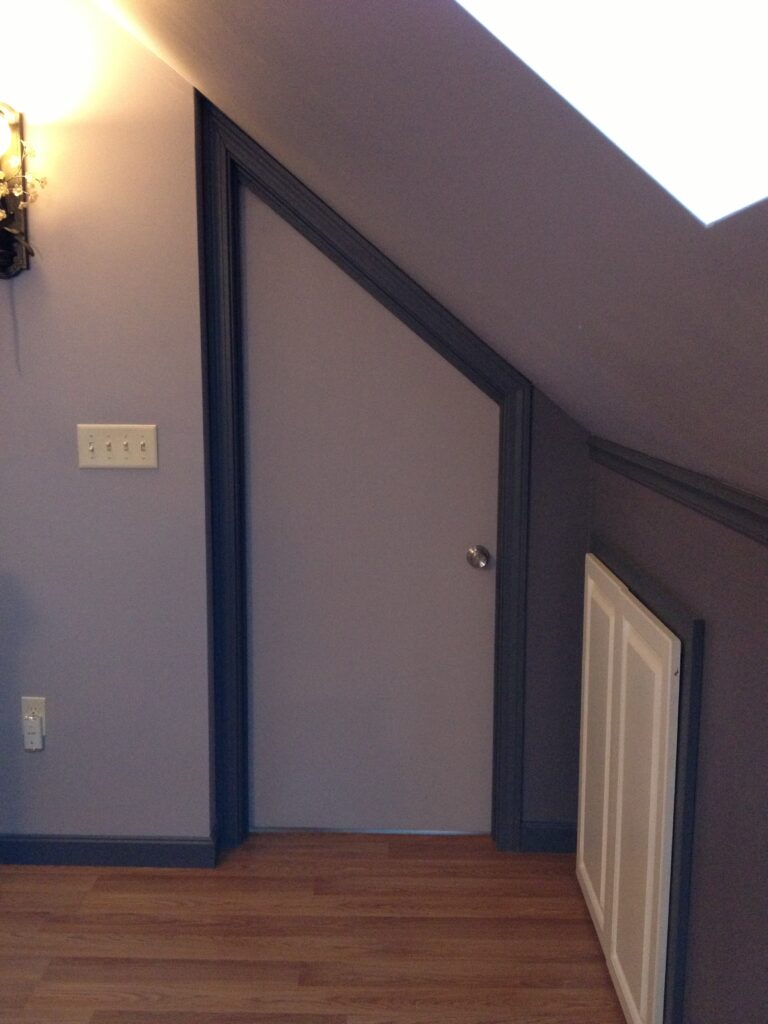
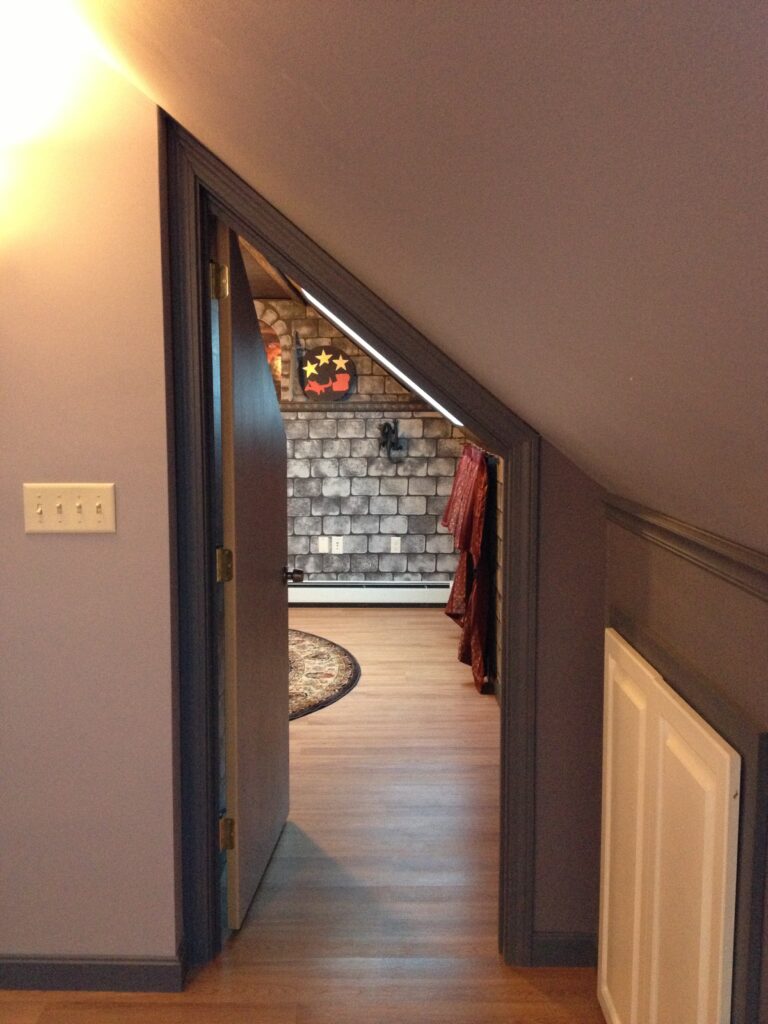
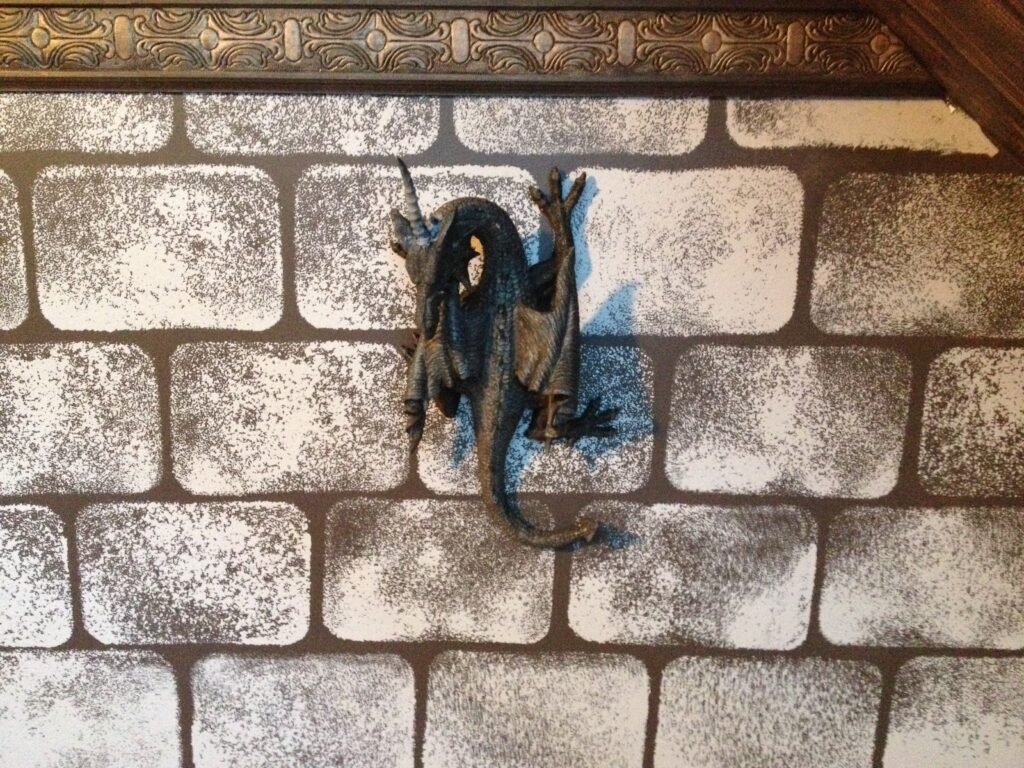
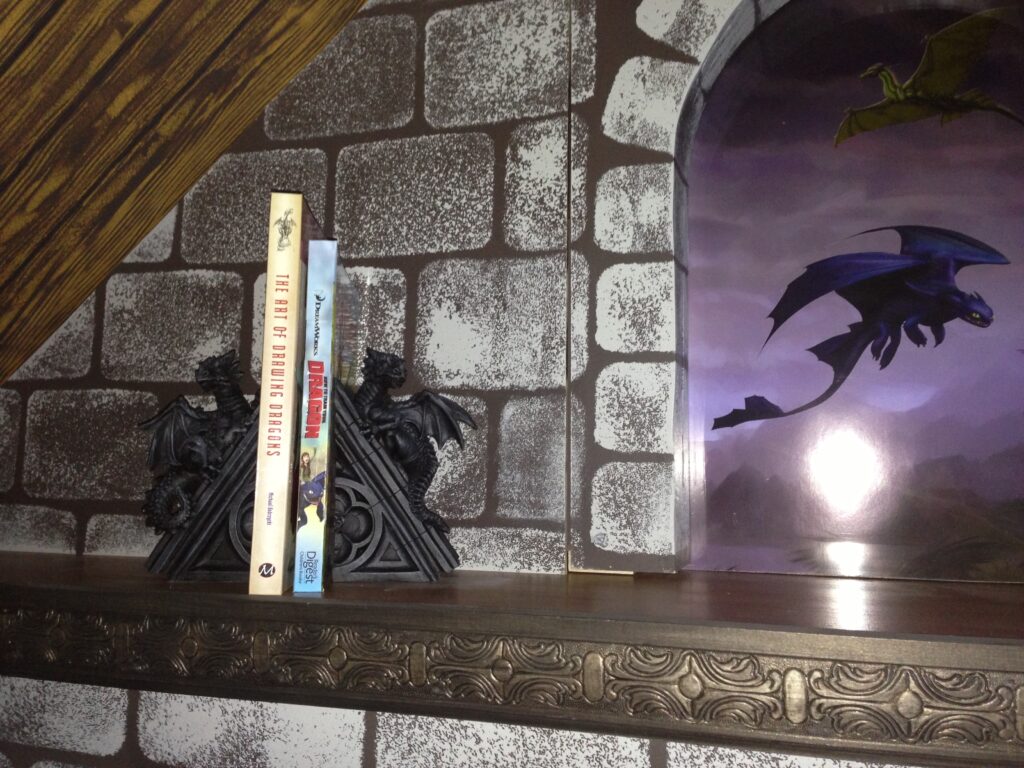
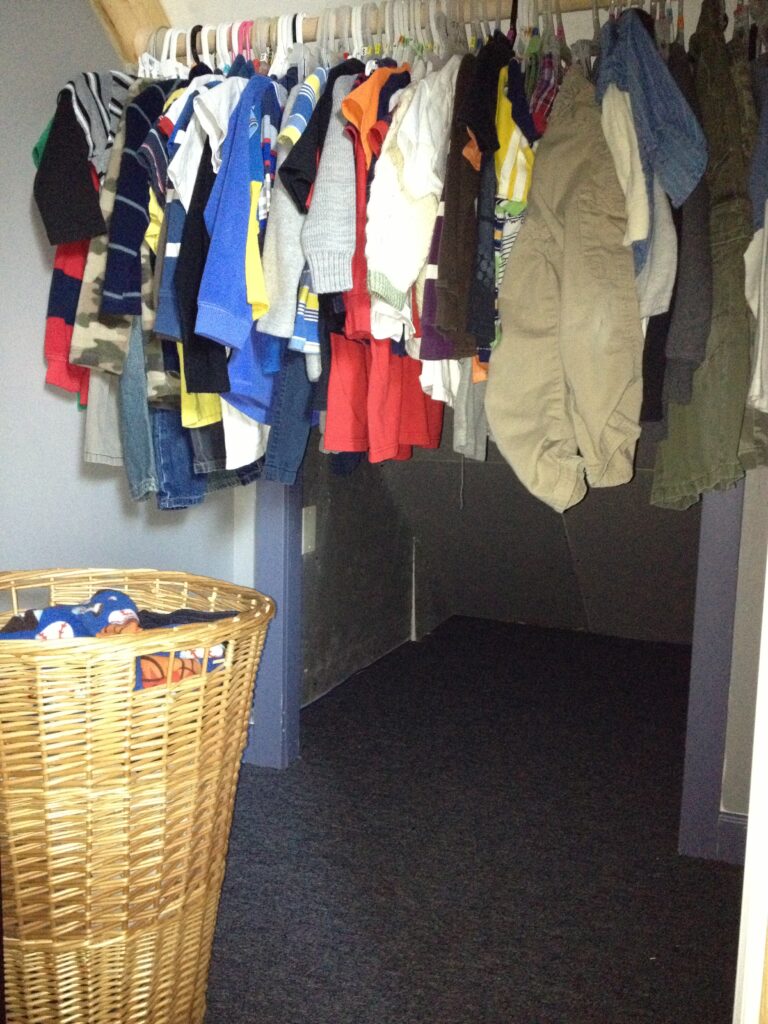
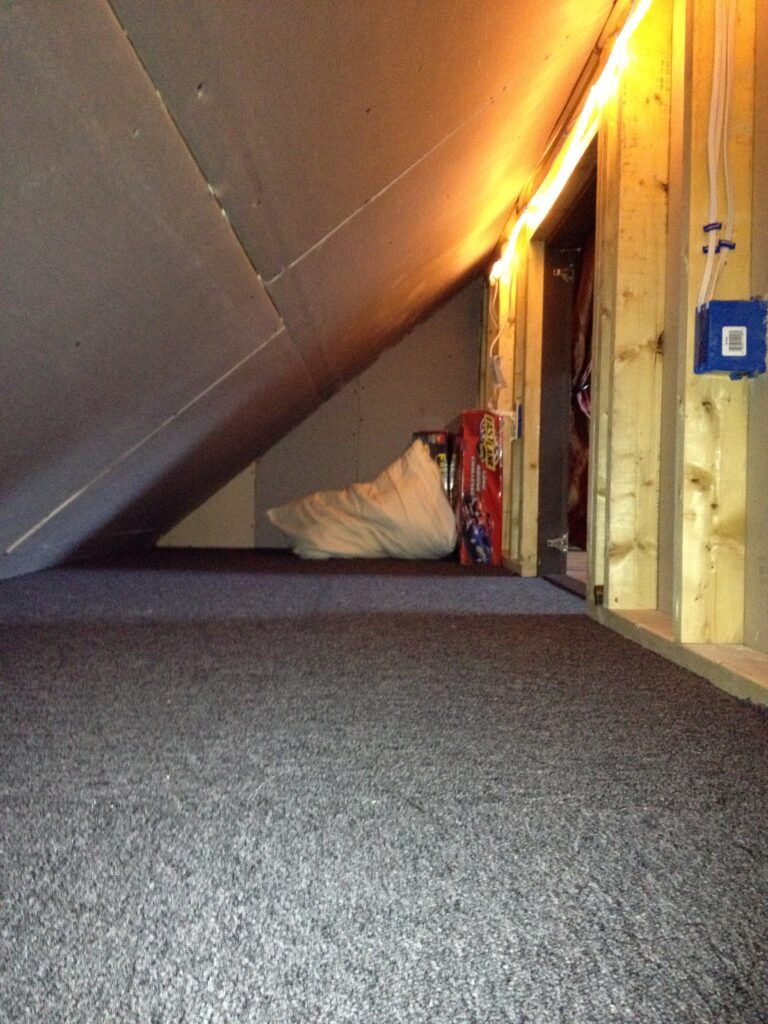
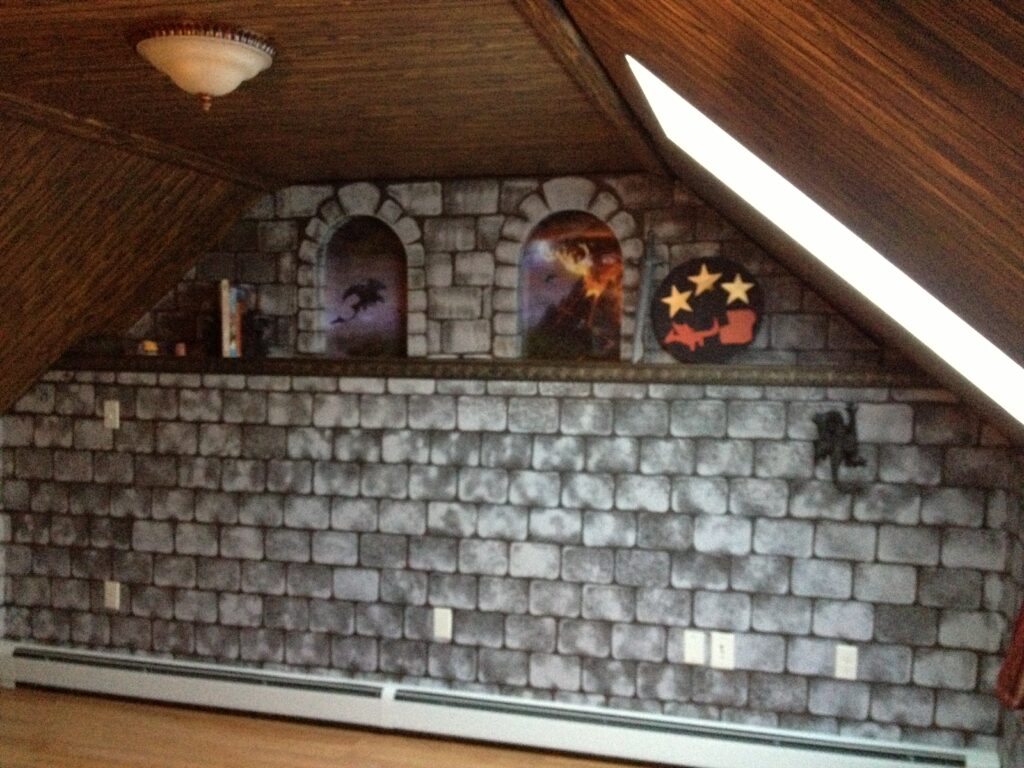
039My wife painted the walls to look like stonework and the ceiling to look like wood. She and I made a pair of fake windows looking out over a volcano with dragons flying around. The area behind the knee walls is insulated like the rest of the room, so he can use that as play space.  In addition, we put his mattress in one of them.  There is a door within his closet leading to one of the crawl spaces so it is like a secret tunnel.

015My wife made the stonework by dipping a mason sponge in paint and pressing it against the wall.  She made the boards for the ceiling using a tool designed for that purpose, similar to this one.

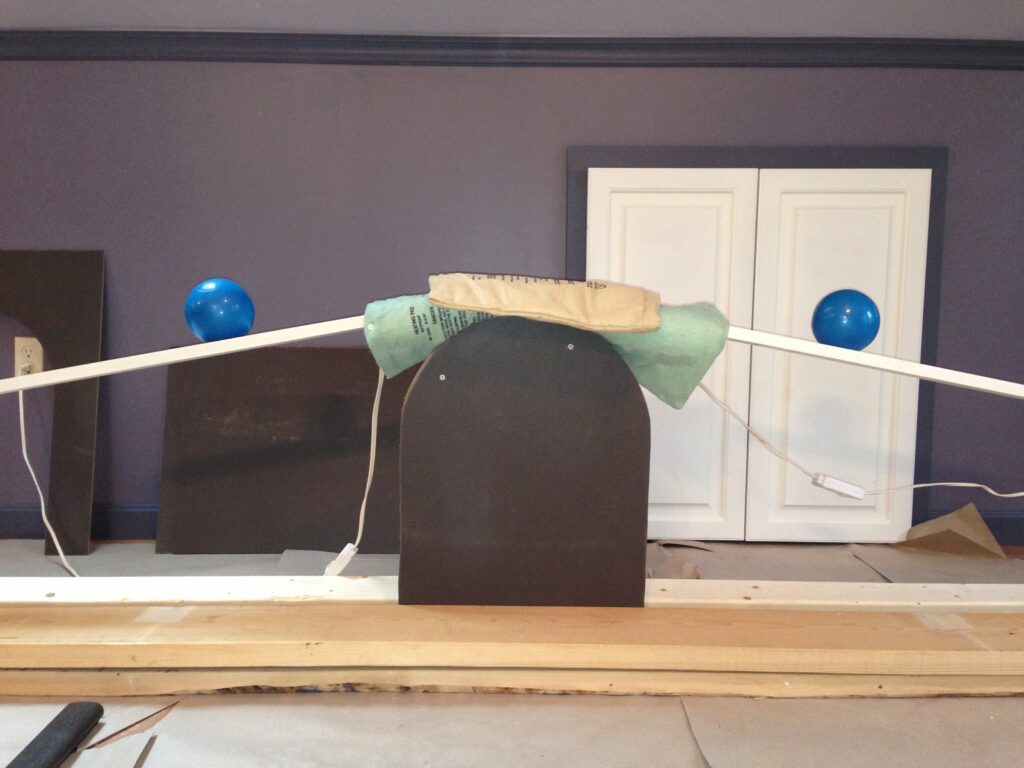
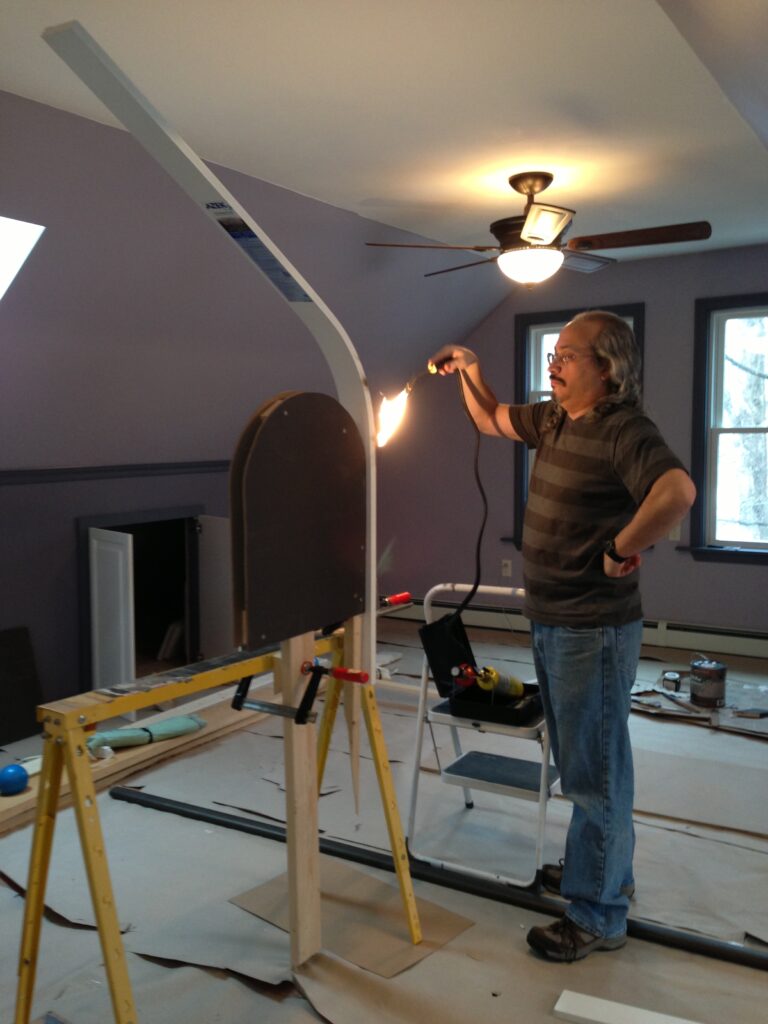
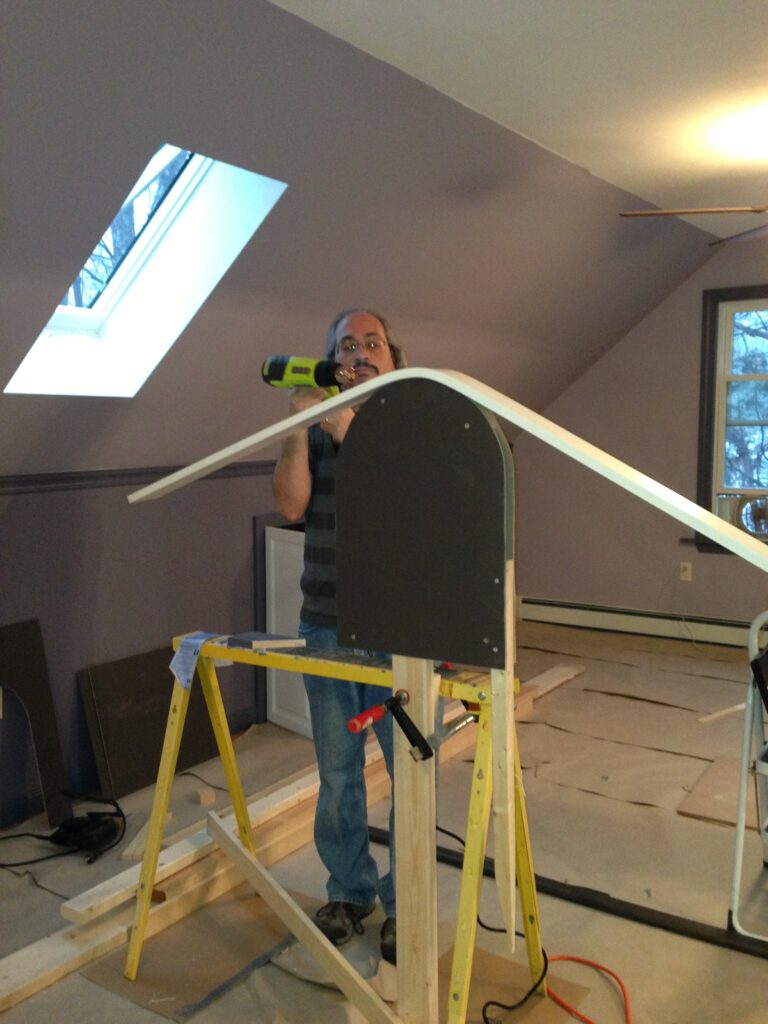
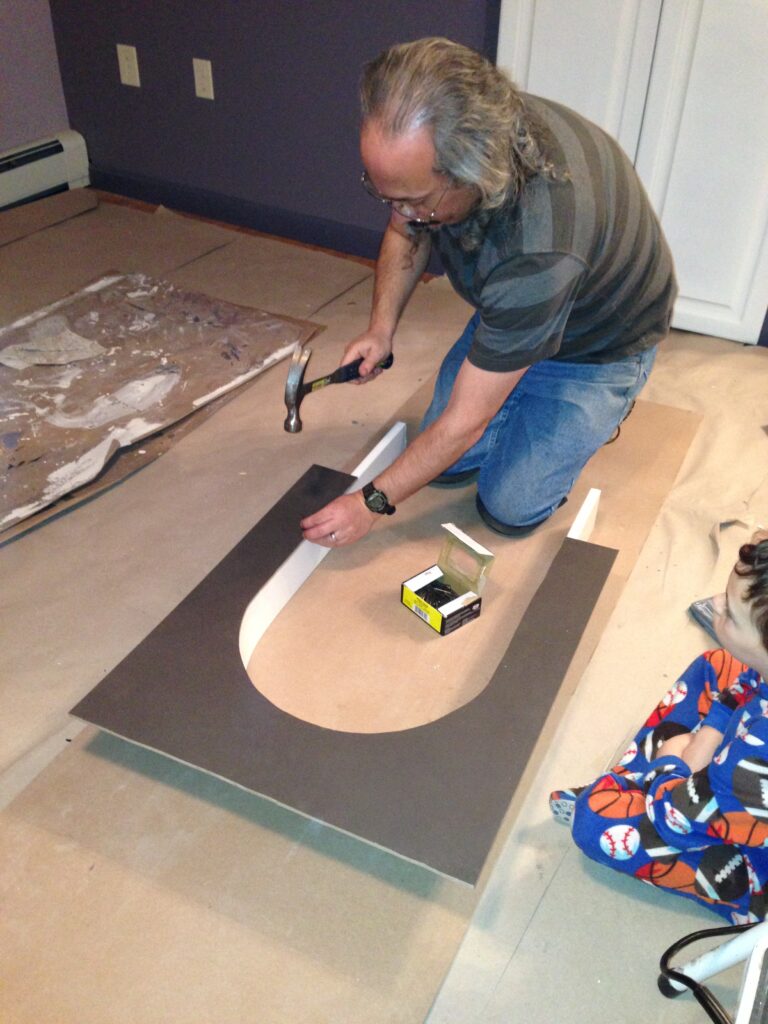
We built the fake windows from MDF, Azek, and 1×3 pine boards.  The front is MDF with a couple of arches cut out.  The inside of the arches is made from Azek we bent into that shape.  That was a bit of an adventure. Bending Azek is usually done with an expensive heat blanket.  We don’t have one of those and weren’t about to spend the money on one.  First, my wife tried using a normal electric blanket, but it wasn’t getting hot enough.  Then I tried using a torch at a very low temperature.  DO NOT USE A TORCH!  Not only is it a pain in the neck, but the Azek released all sorts of fumes.  Finally we used a heat gun.  That worked.  The unit stands up because we attached some board to the back that mate with a lip on the wall behind the fake windows.
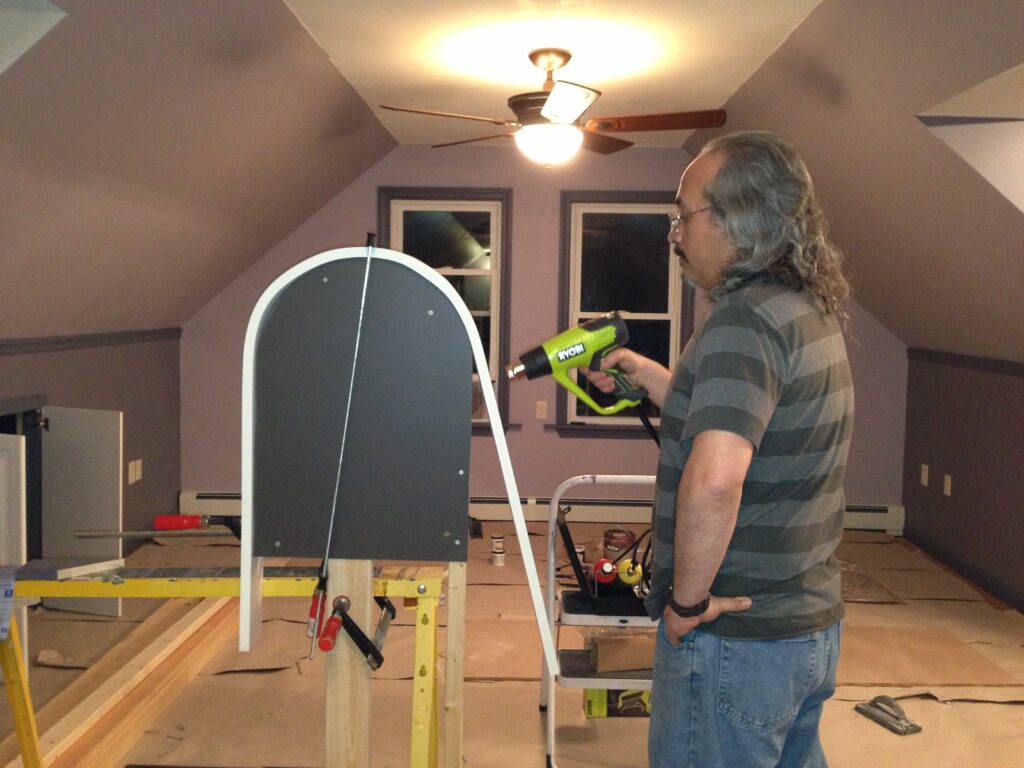
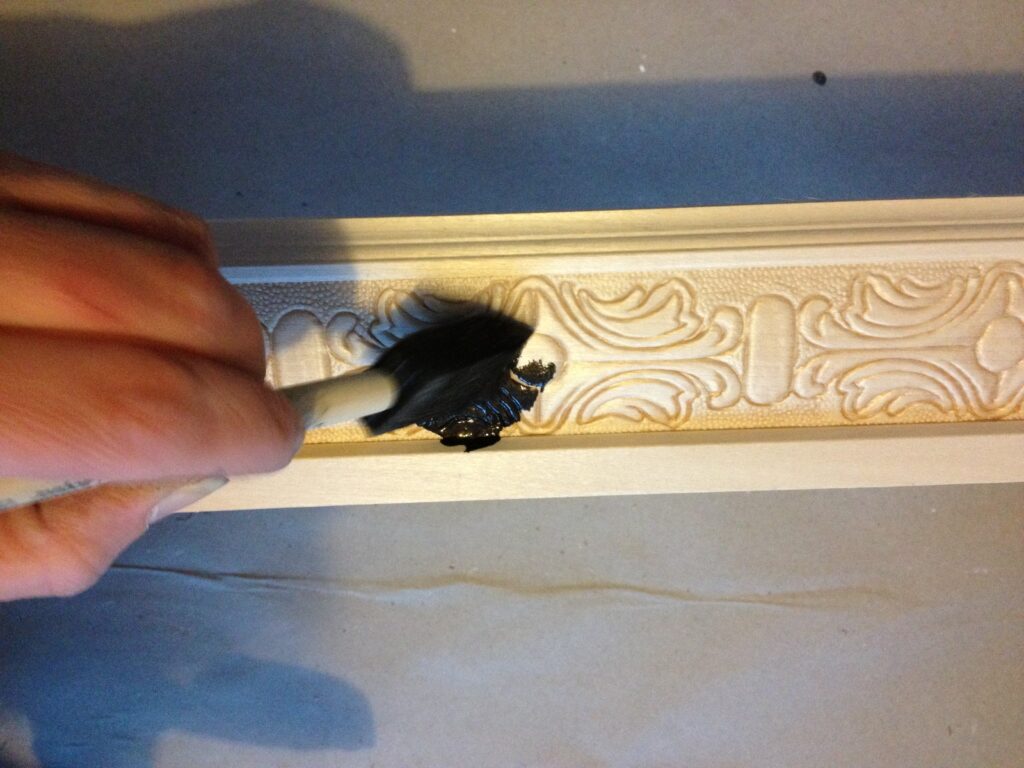
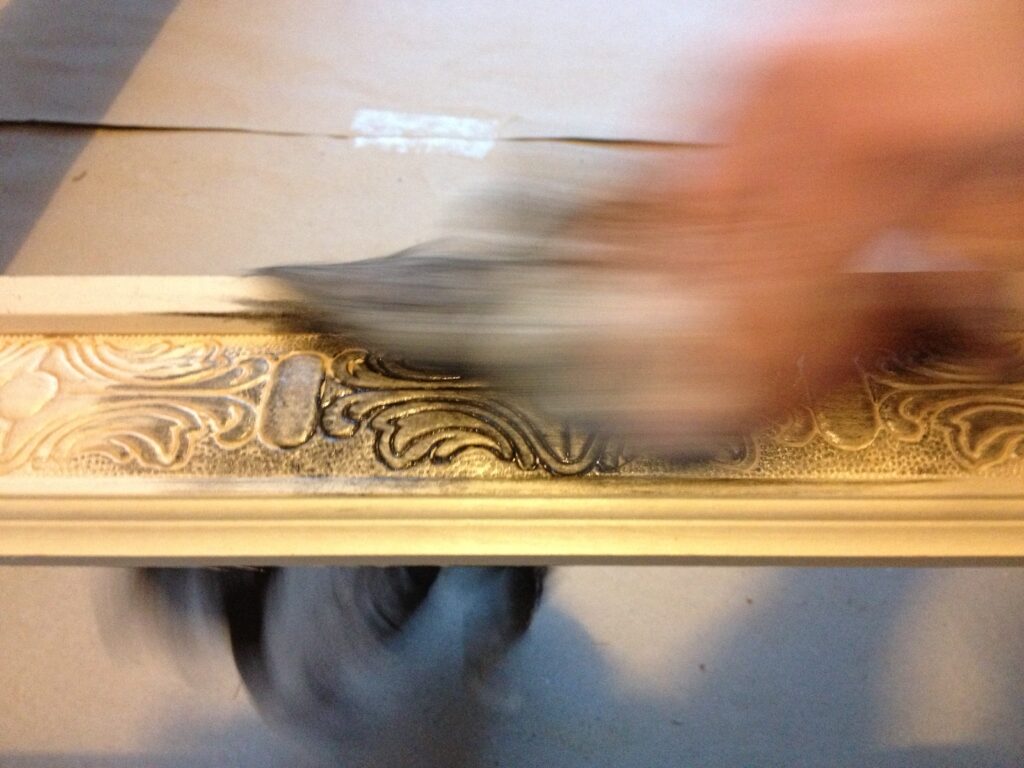
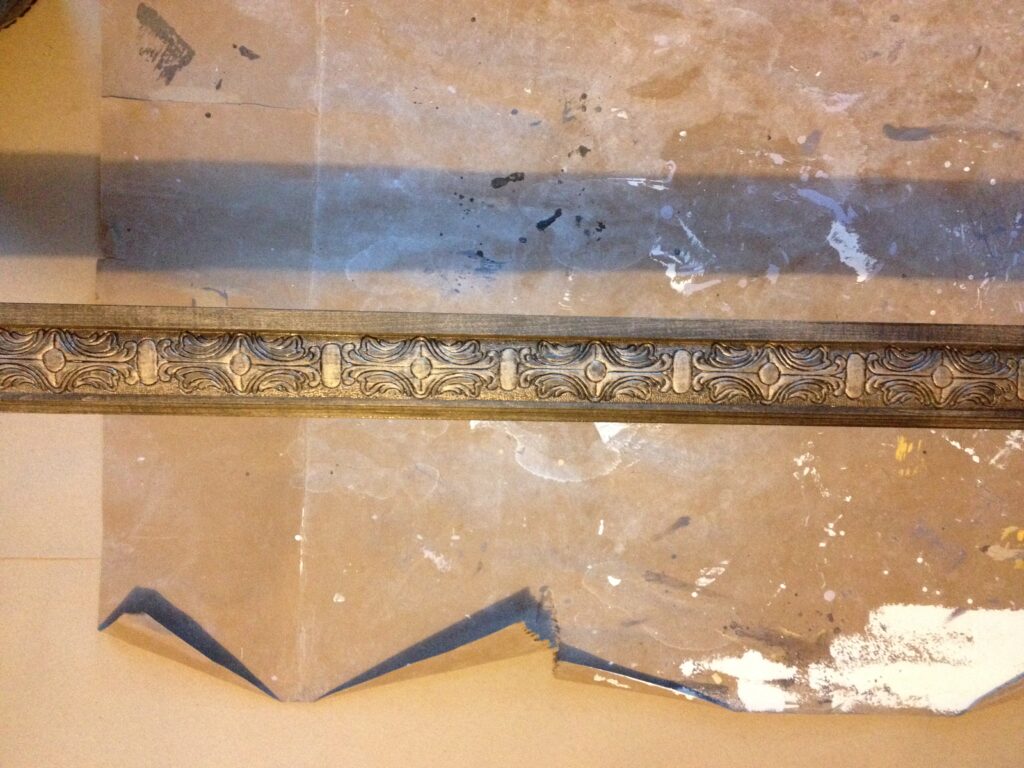
You can browse through this gallery to see the room being built and decorated by clicking the small arrows on either side of the photos.  You can see a slideshow by moving your mouse down to the word Thumbnails and clicking the Slideshow option that appears.

Photos of the castle room

Posted in home | 4 Comments

up goer five

Recently the web comic xkcd described the Saturn V rocket using only the 1,000 most common words in the English language.  At the time I laughed, shared the link with a friend, and moved on.

Today I came across a New Scientist article talking about how we communicate science topics and how this comic inspired the Up-Goer Five text editor, science explanations, movie descriptions, classic work rewrites (such as the Hamlet link at the start of this page), and so forth and so on.  Can you guess what the item titled “Mouth” on the Hall of Fame page is about?

If you have a little time browse though some of those links and have a good chuckle.  Then think about how you choose to explain anything to anyone.  Perhaps using simple language, without going to the 1,000 word extreme, will help get your point across a little easier.

Posted in random | Leave a comment

day 89: growth report

Pea flowerThe peas in pot eight, the densely packed pot near the right hand light, are getting quite crowded.  If the tomatoes in that pot grow they’ll be struggling for room.

I’ve seen several flowers and several peas, but none have gotten large enough for me to think they are ripe yet.  I did pick three tiny ones because their edge was turning brown.

The tomatoes continue to grow slowly.  The measured one in pot one is now 19 1/2 inches tall.  Although it looks very healthy, it just isn’t growing very fast. (The yellow tint in the photo is just from the bright lights.)  Perhaps they just need more light or warmth.

Tomato

Posted in cellar garden experiment | Leave a comment

creating and expanding stations

PandoraOnce in a while I go music surfing.  This is when I listen to a Pandora station until I hear a song I like.  Then I create a station based on that song and listen to it until I hear a song I like.  Rinse.  Repeat.  This is a great way to be introduced to new music I wouldn’t have found otherwise.

Normally though I just pick one of my permanent stations that fits my mood and let it play. Therefore, I like to have a set of stations that I know will play music I enjoy.  I put some care into keeping them full of good music while mostly excluding the bad.  Sometimes I’ll find a song or artist that makes a station good enough that it doesn’t need any modification. For example, I like the station I created based on the band Delain as is.  I haven’t modified it in any way.

Most of the stations I create need some expansion.  You can get this a little bit if you give songs you like a thumbs up, but that is rarely enough.  You can greatly expand a station by using the Add Variety feature to add more songs or artists as station seeds.  However, this often makes the station much too broad.
I’ve found a little trick that works for me.  Once in a while if I’m going to be at my computer for a while I’ll take one of my existing stations and use the Add Variety feature to add more songs or artists as station seeds.  As the station plays I’ll give new songs I like a thumbs up. Then before I leave the computer for the day I’ll edit the station and remove the extra seeds I added at the start of the day.  That will remove the influence of those seeds, but the songs I gave thumbs up will still play and once in a while a similar song will play.  This allows me to slowly expand a station without the dramatic effects of adding new seeds.

Posted in music | Leave a comment

day 73: first pea

First PeaToday I saw my first pea peeking out from one of the flowers.  The pea plants continue to grow.  The vines on a couple of them are getting seriously thick.  The peas in the middle aren’t as thick and healthy looking, but I saw a bud on one of them.  The tomatoes continue to grow.  I think they are starting grow a little faster now, but they’re still nothing like the peas.
tomato

Posted in cellar garden experiment | Leave a comment

day 66: first flower

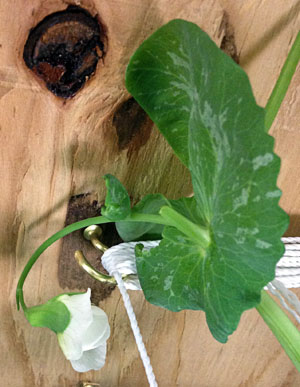
First FlowerToday I saw my first flower.  One of the pea plants blossomed.  This plant is in pot eight, which is right next to a light.  That pot has four pea plants and two tomato plants growing in it.  I also found two other buds on other peas.

The tomatoes continue to grow as well.  They aren’t shooting to the ceiling like the peas, but they are developing more leaves and branches while slowly growing taller.

It is clear that the plants close to the lights are doing better than those in the middle of the row.  It’ll just be interesting to see how many of them produce food.

Posted in cellar garden experiment | Leave a comment