My son can be a bit obsessive when it comes to his hobbies. When he was younger he got into Thomas the Train and accumulated an unbelievable number of toy trains. I built him eleven feet of shelf space in his room and even with them lined up side by side as close as they could get, it only held some of his collection. He’s gotten past that stage and gotten rid of all those toy trains, but now he’s starting to get into “realistic trains” as he’d say.

Given his nature, I’m thinking this could either be a quickly passing fad or this may be one of those wild hobbies which involves lots of money and time and lasts for years. So, when it came time to build him a table for his trains, I decided to think about how to build something that would last a while. Since a piece of plywood is 4×8, we all initially thought of going with a table that size. Then I went out and did some research. On every web site I visited there was someone talking about the evil 4×8 rectangle. I kept reading over and over how people initially getting into the hobby build a 4×8 rectangle for their first track and some other shape for their second.
Since you can’t reach all the way across a four foot wide table you need to be able to access it from at least three sides. That means once you include a two foot wide aisle around three or four sides of the table you are really taking up an 8×10 or an 8×12 rectangle of floor space. If you have that much floor space, there are better designs which give you a lot more table space without taking up any more floor space. This didn’t stop me from starting with a 4×8, but it certainly made me think I ought to consider the future given my son’s nature.
My second concern was the movement of the table. While we are initially letting our son place the table in the middle of the play/hobby room the whole family shares, eventually it may move to another part of the house or maybe even to a different house/apartment if he still has it when he moves out. Given the tight corners and small doors in our house it is important no part of the table be large.
My third concern is Matt is going to grow. What is an appropriate height for him today may not be appropriate a few years from now. I wanted to be able to replace the legs of the table as he grows older if we decide it needs to be taller.

My final design is modular. The table top is made of four 2×4 rectangles joined together and the legs are removable. In the future if we go with a shape other than a simple rectangle, these four segments can be rearranged into other shapes. We could build more of them or other shapes to further customize it. All of these pieces are small enough to fit through the smallest doors and around the tightest corners in my house.
Building the table
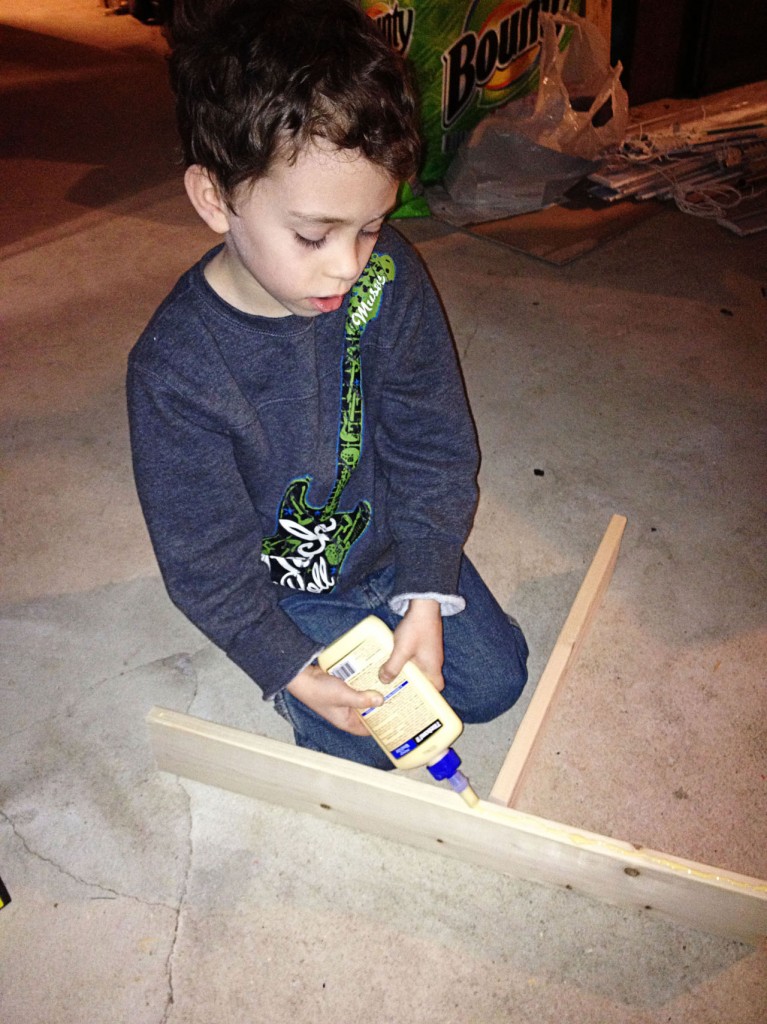
When making permanent joints in this table we used both wood glue and finish nails. Most of the nails were 1 1/2 inch 4 pound. However, the MDF we used for the surface was so hard, I had to step up to 2 inch 6 pound nails to avoid bent nails.
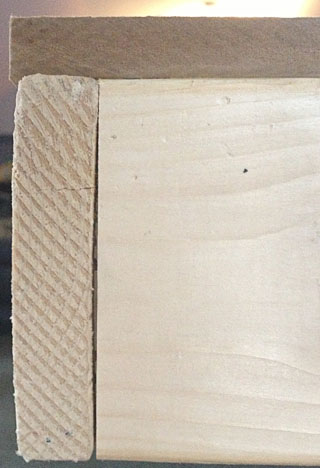
In order to keep this a reasonable price I decided to use ultra cheap, over sized strapping (furring strip) instead of quality wood. This stuff is 3/4 inches thick and 3 1/2 inches wide just like any normal 1×4. However, the quality leaves a lot to be desired. They are bent, twisted, warped and have a rough finish, but they were only $2.07 for each 8 foot piece. I made a point of designing this table with that in mind. I picked through the pile at Home Depot and selected the straightest ones I could find. They weren’t straight at all, but they were far better than the rest of the pile.
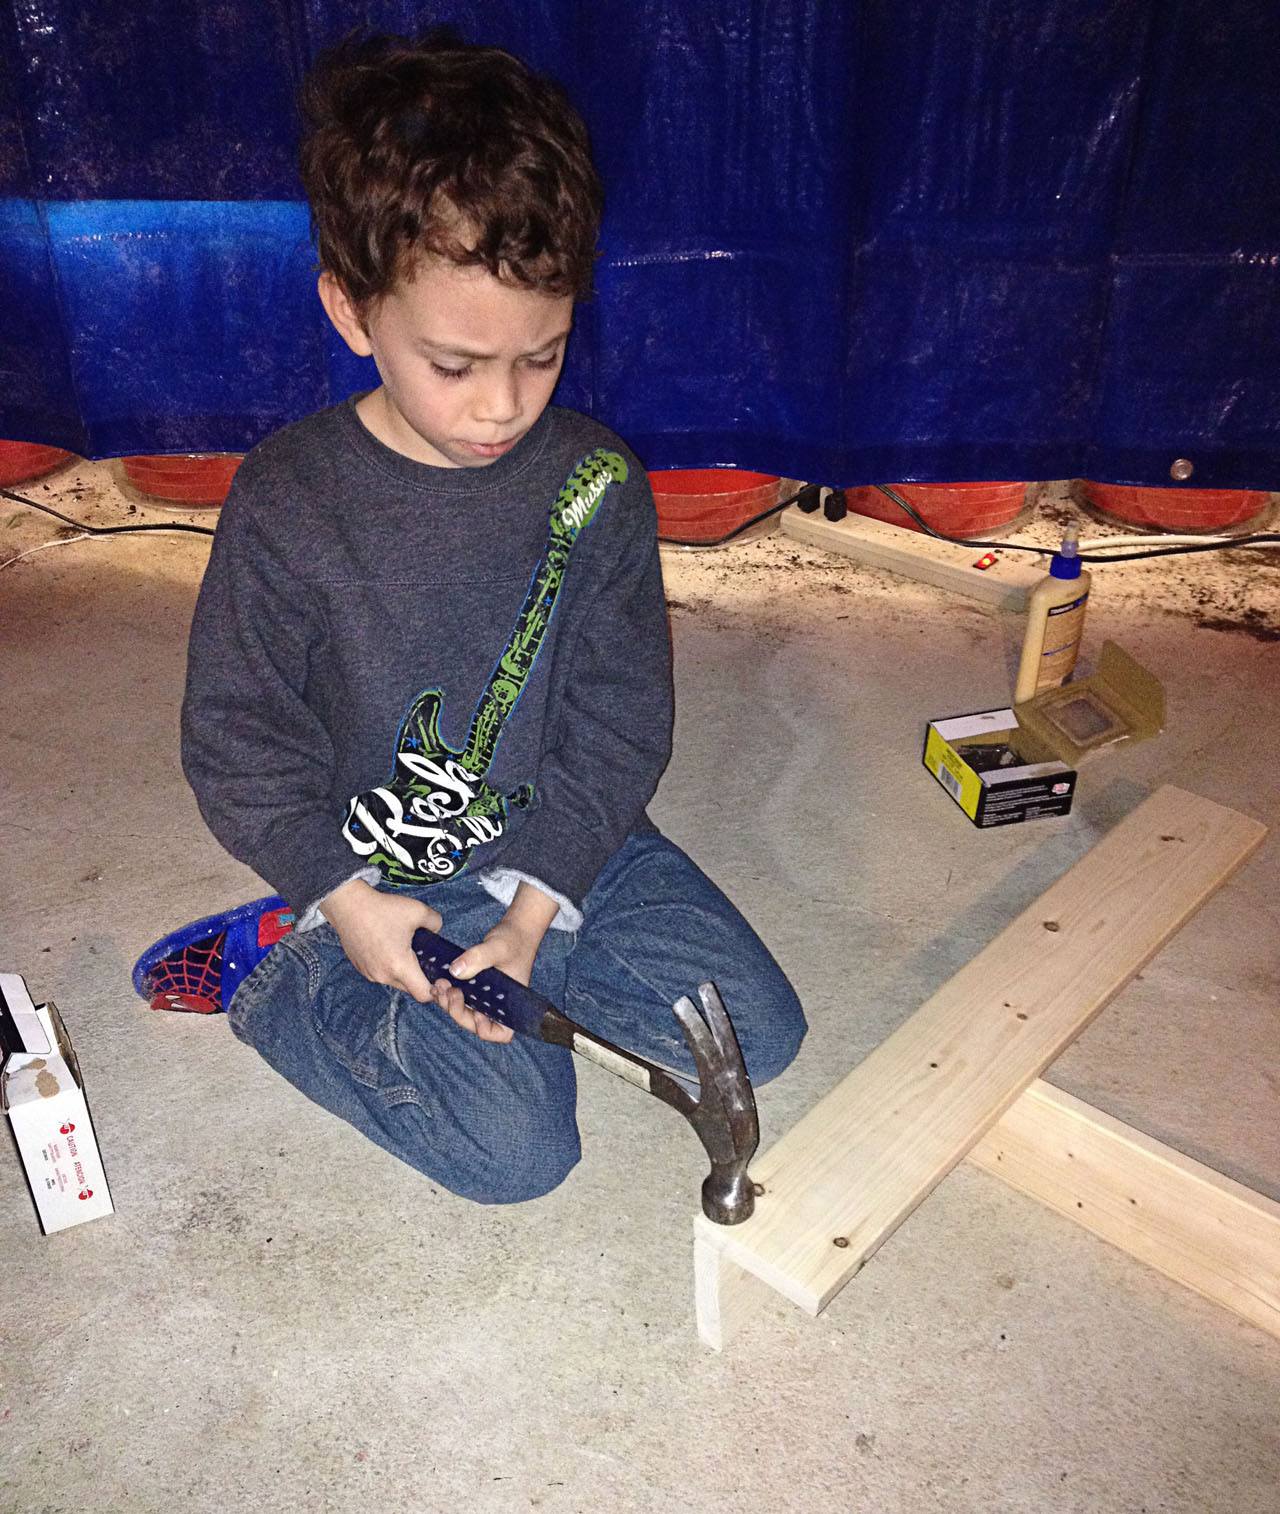
Throughout this build you can adjust for misshapen wood. Start by lining up one corner of the wood and driving in a nail. Then bend, twist, push, or pull until the other corner is lined up and drive in another nail in that corner. Repeat until the board is all lined up properly.
Building the tops
Step 1
Cut the following pieces for the tops:
Eight 4 foot 1x4s
Eight 3 foot 4 inch 1x4s
Sixteen 1 foot 10 1/2 inch 1x4s
Before cutting any of this wood, measure your top surface carefully. You may need to adjust these lengths accordingly. I found the MDF we used isn’t exactly 2×4. Read the steps below to see how the table top goes together, then figure out the proper lengths for your boards given your surface. It is important the edges of the frames line up with the edges of your surface.
Step 2
For many of these steps the boards need to be spaced the same amount from the edges of another board. You can make a simple spacer by holding one of your middle sized boards up against one of your long boards, measuring the difference in length, dividing the difference by two, subtracting 3/4 inch, and cutting a small board to that length. Once you have cut it, place one of the longest boards on the floor. Center one of the middle length boards flat on it in the middle. Hold one of the smallest boards standing up next to either end of the middle length board and confirm the remaining length on each end of the longest board is equal to the length of your spacer. It is important the spacer is the correct length.
 Attach two of the middle length boards to one of the short ones, using your spacer to place them the same distance from the edges of the short board. We used both glue and 4# finish nails. I didn’t always have someone with me to help, so I leaned the longer board against the table of my drill press and then placed the smaller board on top of it. This was easy because the table has an adjustable height. However, anything approximately the right height will work.
Step 3

Add a small board to the other end of the middle length boards, again using your spacer to place it properly.
Step 4
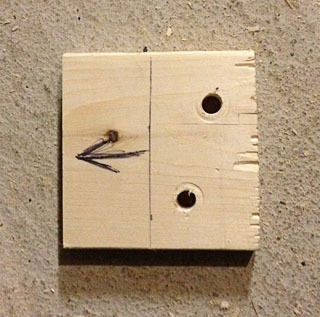 Next you need to drill the 5/16 inch holes for the leg bolts. I took a piece of scrap wood and drilled two holes through it where I thought would be appropriate and used that scrap as a template every place I needed to put holes for the legs.
Before drilling your template, read below to understand how the legs are made and hold a couple of boards in place like a leg. Think about where the holes should be to make it easy to place the bolts and nuts while still providing plenty of strength.
Once I made the template, I drew an arrow on one side of it. Then any time I used it, I oriented the template so the arrow was visible and pointing into the corner.
At this point you need to drill the holes in the long boards. You won’t be able to fit a drill into the frame to reach those spots once the frame is put together. You will be able to access the shorter boards later so you can drill them now or later. It’s up to you.
You should drill the leg bolt holes in all four corners of each section of the table top.
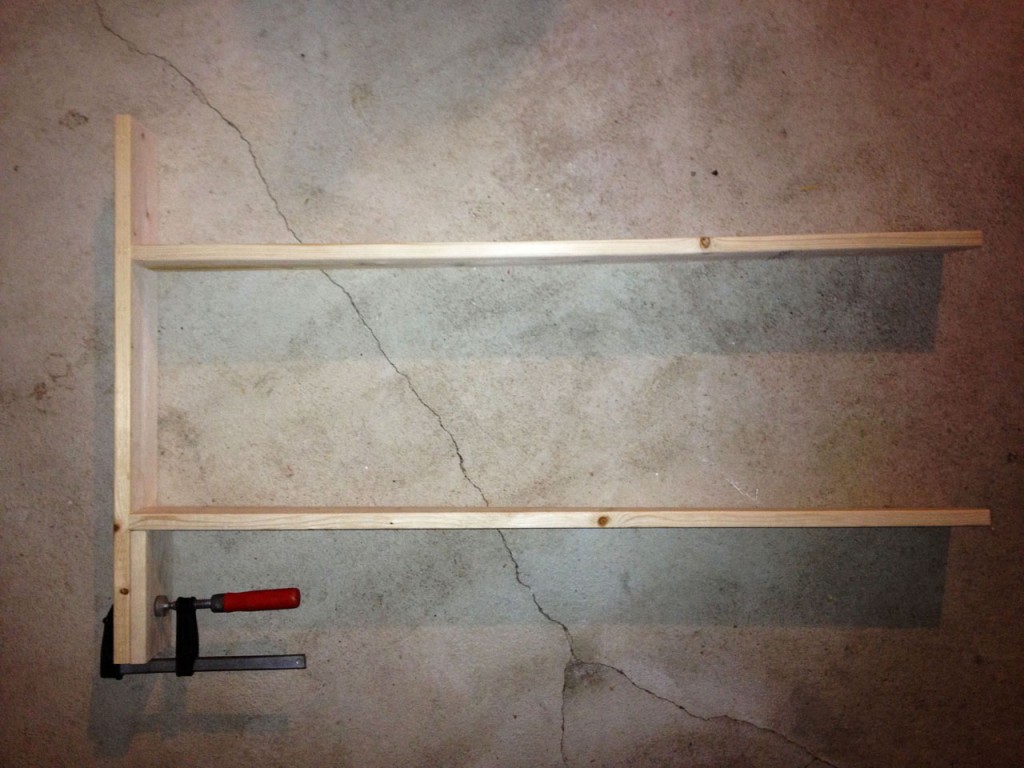
Step 5
Using your spacer to center it, attach one of the longest boards. Double check to make sure it really is centered.
Step 6
Attach two of the shortest boards. Notice the nails go through the longest board and into the ends of the shortest boards. Make sure the placement is correct so their loose end is as far from the longest board as the loose end of the already attached short boards.
Step 7
Attach one of the longest boards across the open ends of the short boards. Make sure to push and pull as needed to get the small frame centered in the middle of the big frame.
If you haven’t drilled the leg bolt holes in the short boards yet, do so now.
Step 8

It is time to attach the top surface. We used 2×4 sheets of 1/2 inch MDF for the top surface. You could probably get away with a thinner top and save some weight. You could also use plywood or any other flat surface you can think of.
Once you have put glue on the top edge of all the boards in the frame, lay down your top surface. Line up one corner of your surface exactly with one corner of the frame and drive a nail into that corner. Move to the other corner on the same short end of the surface. Line up that corner and drive another nail. Now move to one of the corners at the other end. Since you started with two corners on the same short end, you now have the entire length of the frame for leverage when twisting it to line up with these corners. You should be able to get it perfectly square with ease.
Step 9
Once you have a top assembled, place it on a flat surface with the top surface facing up and put heavy items in various places to hold the top surface against the frame while the glue dries. I used 5 gallon jugs of water.
Step 10
Repeat steps 2 through 8 to build three more tops.
Step 11
 Once you have all four table top sections built, look at their sides and figure out which ones are the closest to flat. If you are using quality wood maybe all four are great as is. If you are using strapping like I did, you probably need to do a little work. The strapping bowed out a little on some of the sides.
Figure out which of the four tops will be in which position, then number them in a logical order. I numbered them the way you’d read a book, right to left and top to bottom while looking from one end of the table. Once you have a number for each section, use a Sharpie or other writing implement to label each on the bottom. While you are at it, label each corner with a letter. Then when you make the legs you can label them with the number and letter to identify exactly where it goes the next time you assemble the table.
Once you know which section goes where, make sure the edges where they meet are flat. You need the top of each surface to meet so there won’t be a gap. If the side boards are bowed out a little, get them flat. I used 40 grit sanding disks on my rotary sander, but a plane would work as well.
Building the legs
I decided to use 23 inch tall legs. That put the surface of the table just above my son’s waist. When he leans over the table he can just reach the center and it is tall enough it will last him a while before seeming too short. Pick whatever size is appropriate for your use, just make sure you can reach the center of a four foot wide table.
Step 1
Cut eight pieces of 1×4 the length of your legs. Cut four 6″ lengths of 2×2. Drill a hole in the bottom of each 2×2 according to the instructions on a package of leveling feet.
Step 2
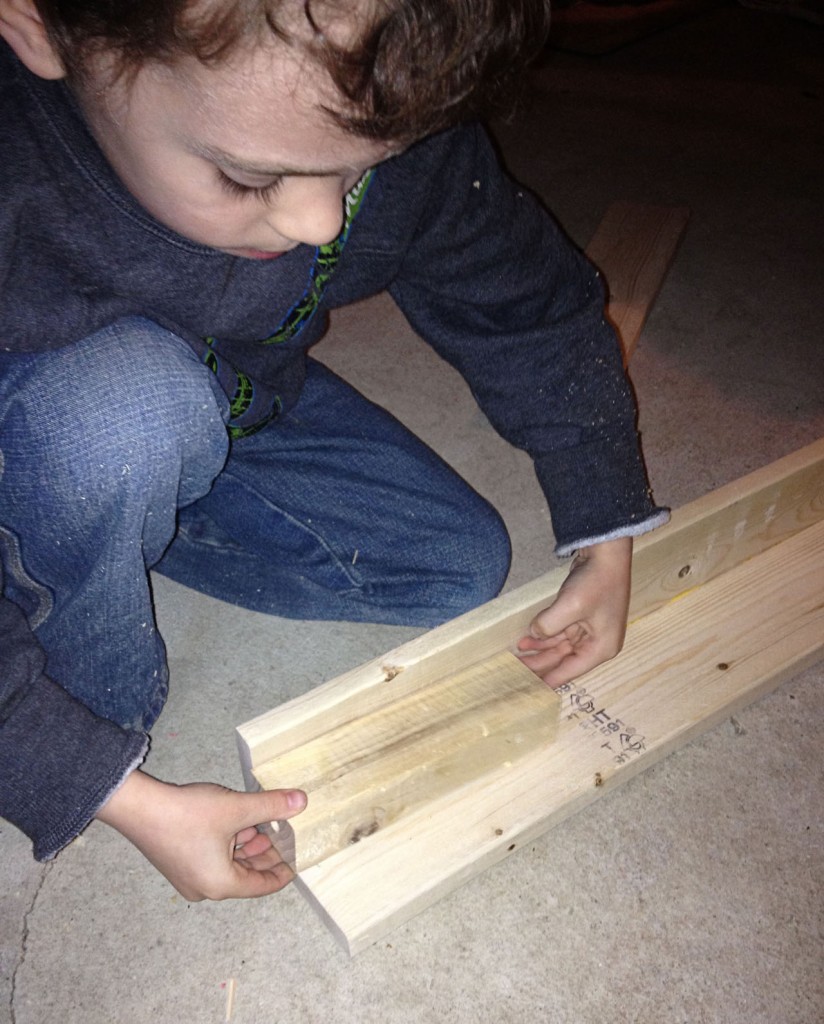
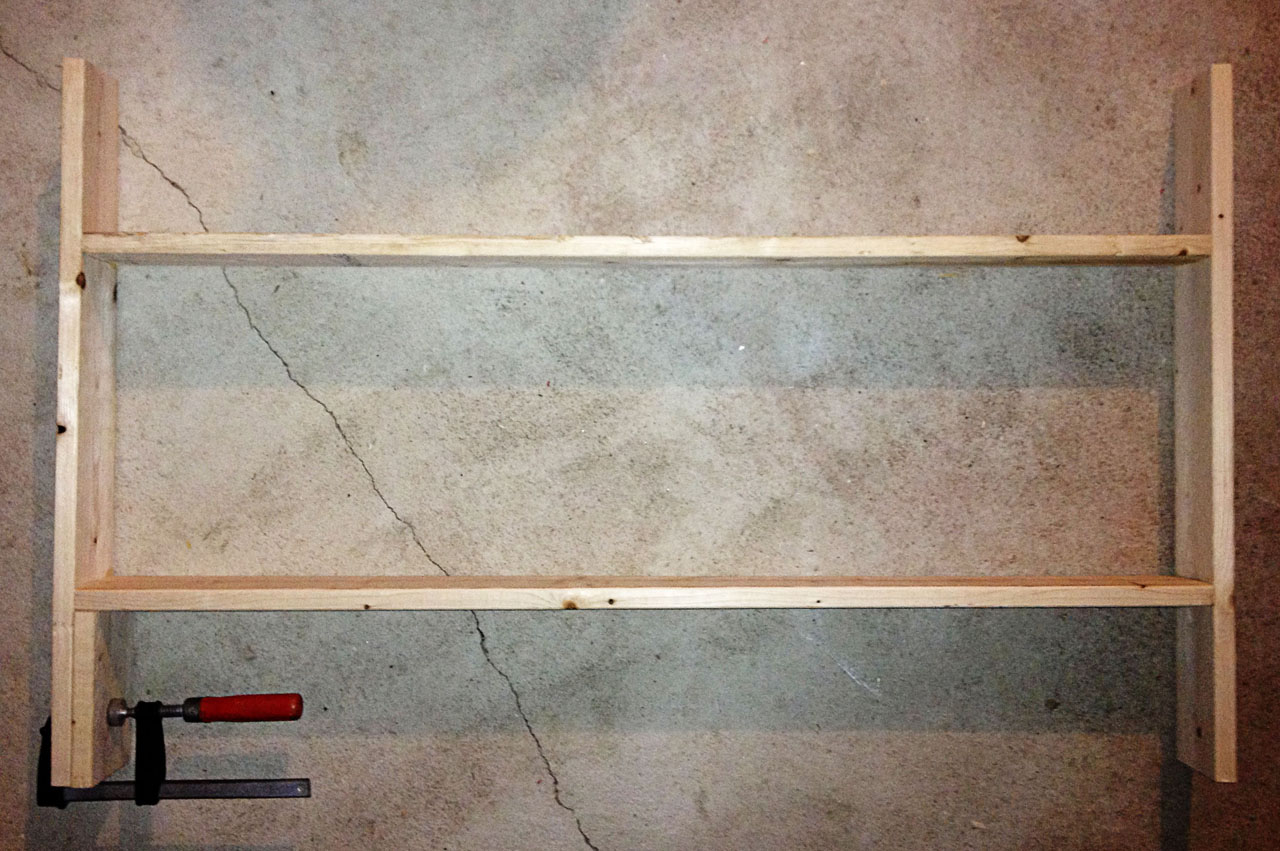
 Glue and nail two boards to each other to make a leg. We found this easiest when we placed a scrap piece of wood at a 90 degree angle to support the upper board (see the photo).
Step 3

Using glue, attach one of the 2×2’s to the inside of the leg, flush with the bottom of the leg.
After turning the leg over and placing a piece of scrap wood under the foot, nail the foot in place. We nailed from both sides of the leg so the foot was held snugly.
Step 4
Attach the leveling foot according to the instructions on the package.
Step 5
Repeat steps 2 through 4 for each of the remaining legs.
Putting the table together
The first time you put the table together you’ll need to do some cutting and drilling. This will not be needed the next time.
Step 1
Place all four table top sections upside down on a very flat surface. Clamp them together so they can’t move once you are sure they are perfectly lined up and the top surface (which is facing down at the moment) of each is at exactly the same level.
Step 2
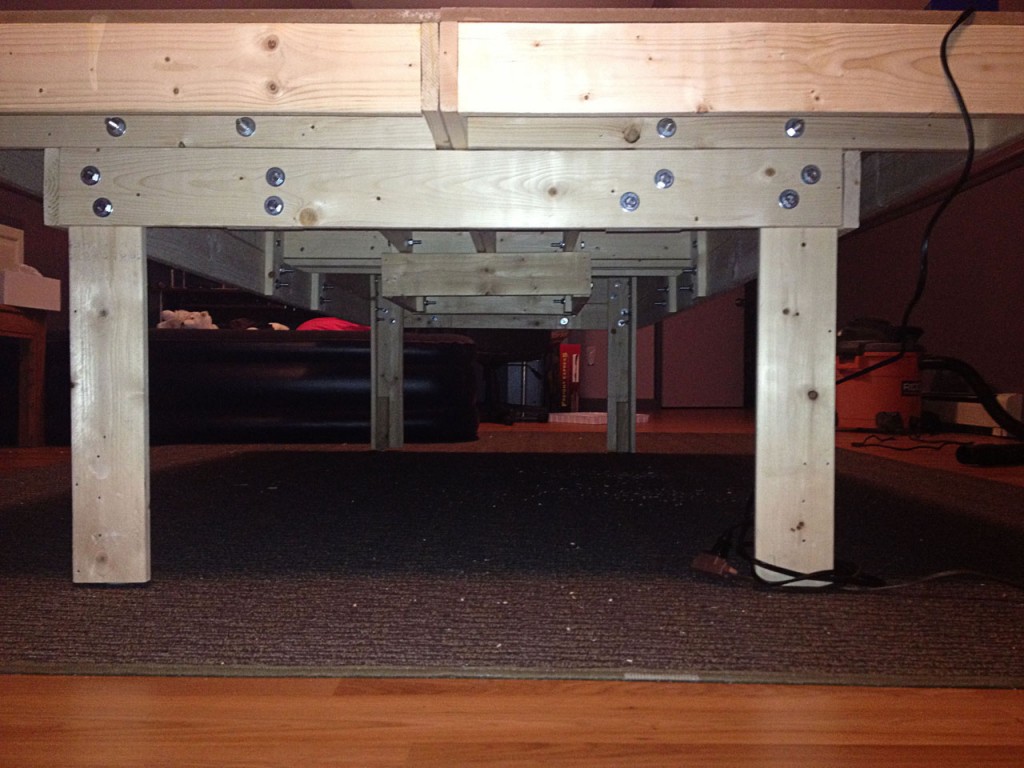
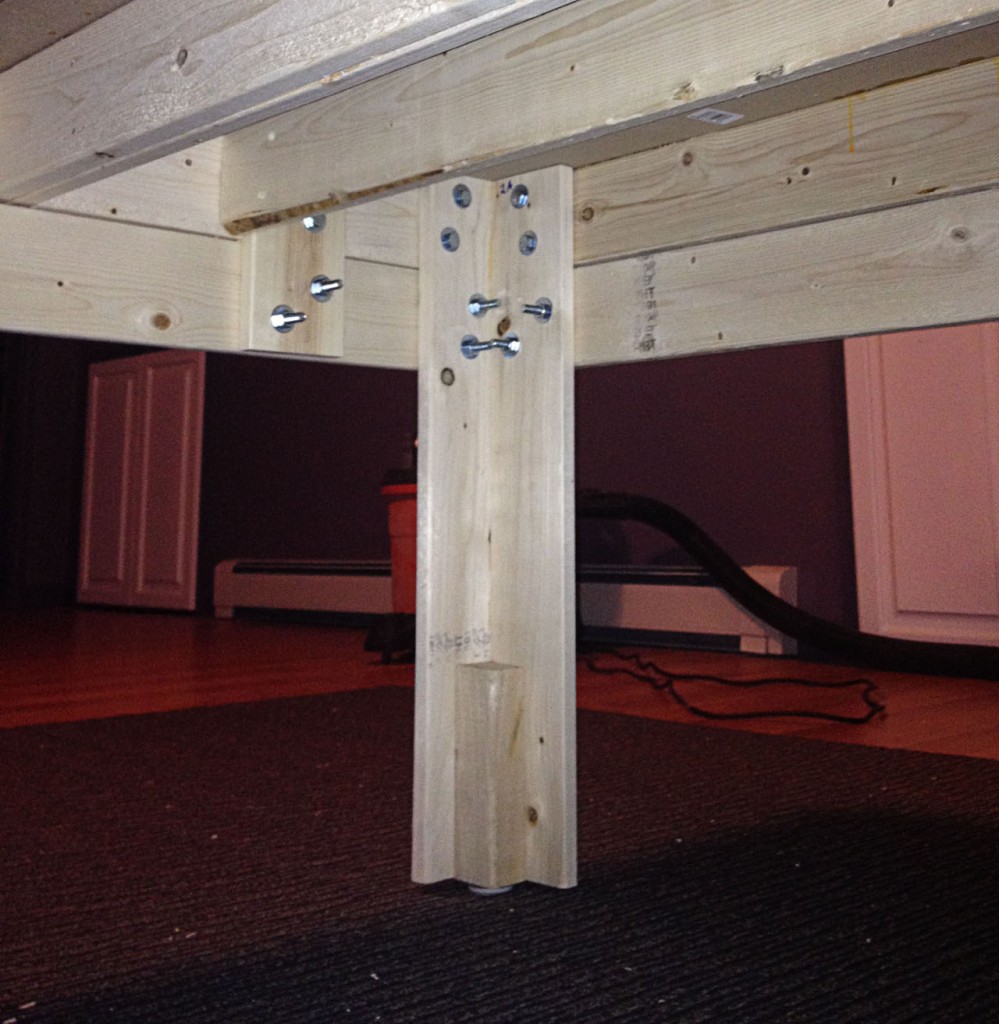
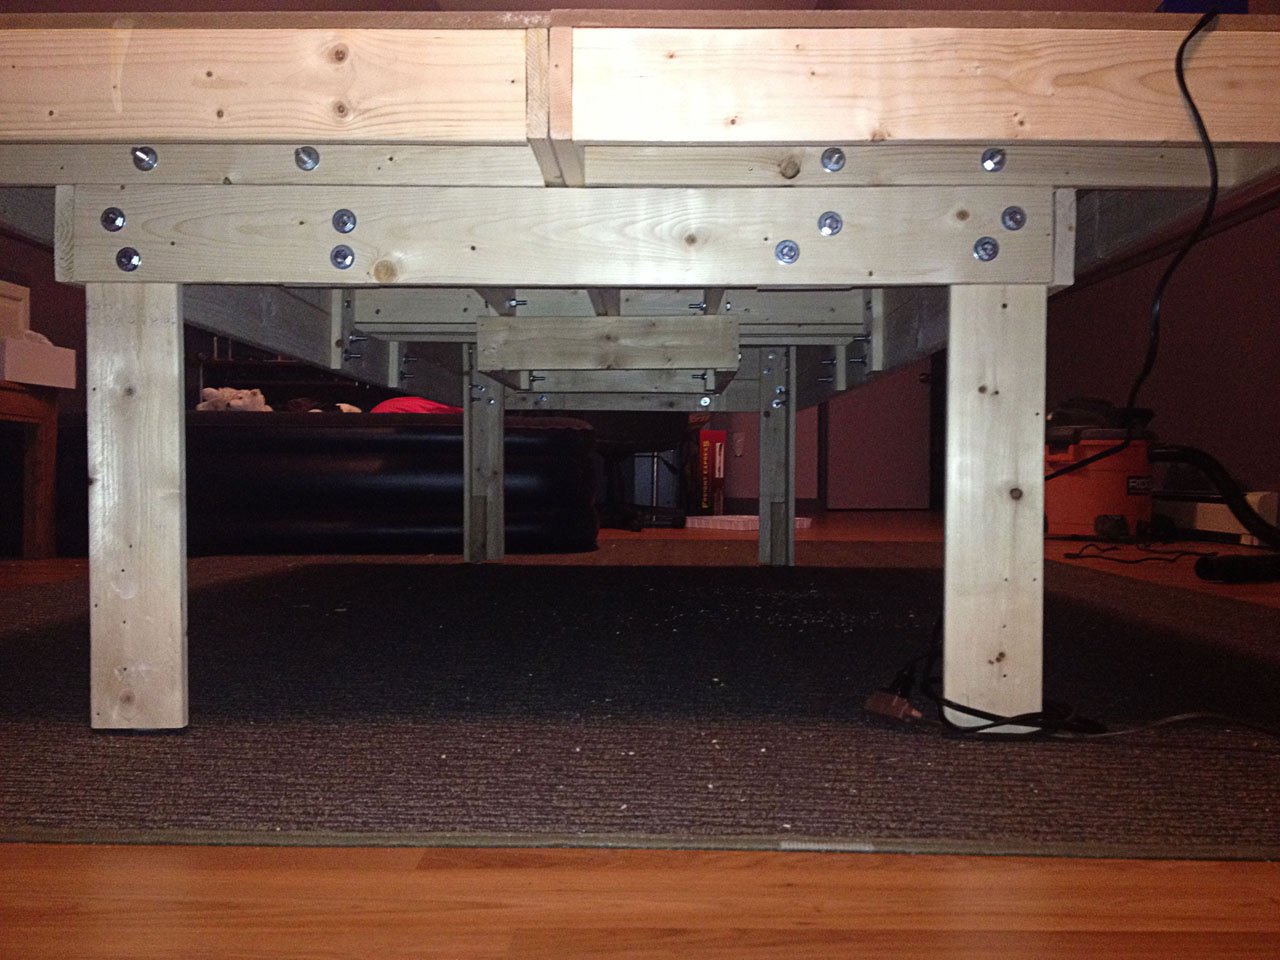
Place a leg in one of the corners and clamp it in place. Make sure it is squarely vertical. Then use a pen to mark through the drill holes on the table sections to the leg. Remove the leg and drill on the marks. Be careful to be accurate here. Attach the leg to the table top using 5/16 inch bolts. Use washers on the inside and outside to prevent the bolt top and the nut from digging into the wood.
Repeat this step for all four legs.
Step 3
Cut eight 7 inch lengths of 1×4. Looking at the table tops as they lay upside down, follow the frame between the legs. You’ll see leg spots that don’t have legs. Into each of these place one of these short boards, parallel with the outer edge of the adjacent legs, and attach it the same way you attached the legs.
Step 4
 Place a board against two of the legs on one of the short ends of the table. Make one end flush with the outer edge of one of the legs and mark it at the outer edge of the other leg. Cut it on that mark.
Step 5
 Clamp the board from step four against those two legs and the two 7 inch lengths that are bolted mid-way between the legs. At each touch point drill two 5/16 inch bolt holes and attach it using a bolt, a nut, and two washers.
Step 6
Repeat steps 4 and 5 at the other end of the table.
Step 7
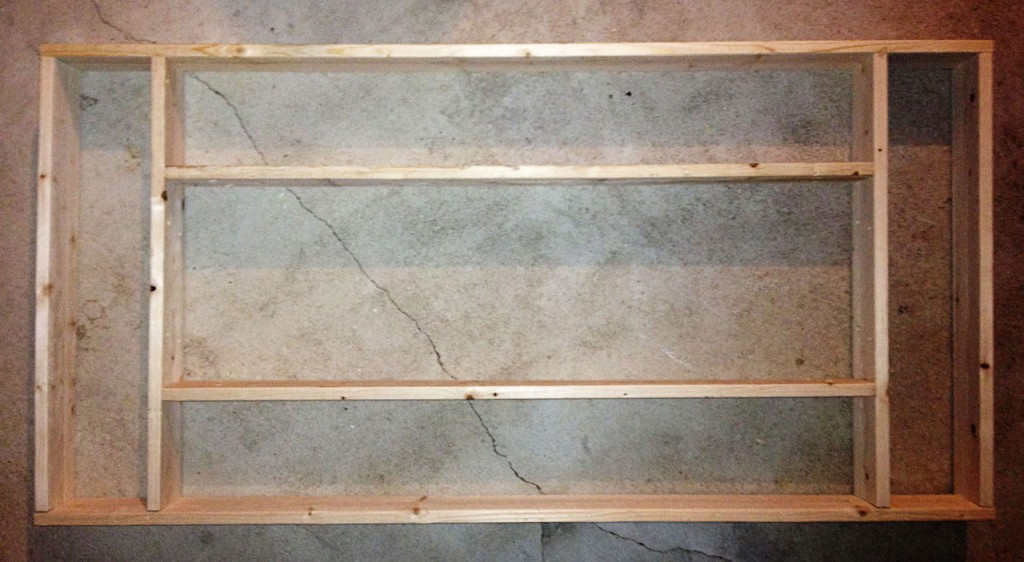
Place a board against two legs on a long side of the table. Cut, drill, and attach it just like you did on the short sides and then repeat on the other side of the table.
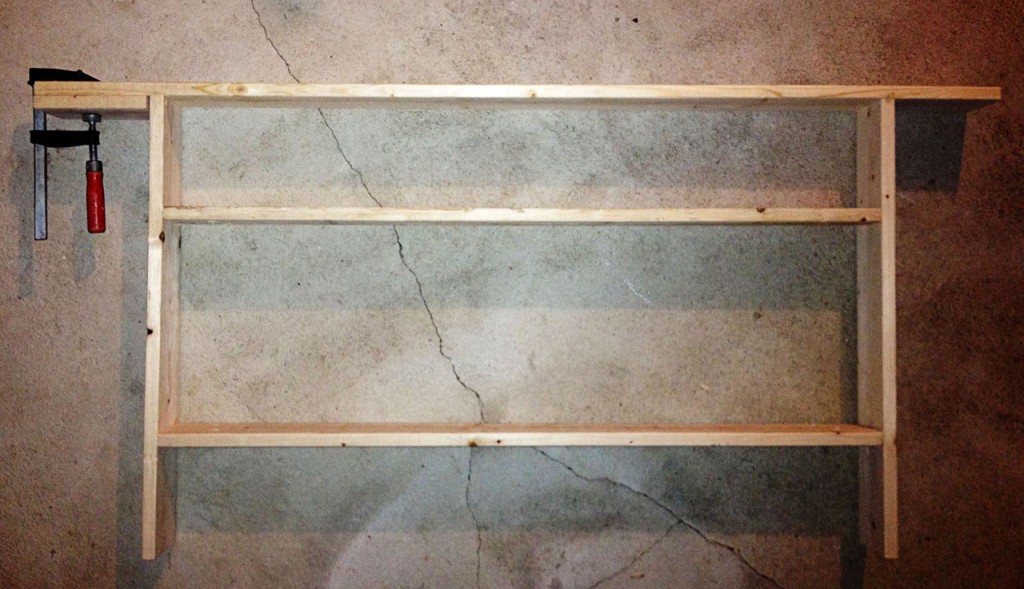
Step 8
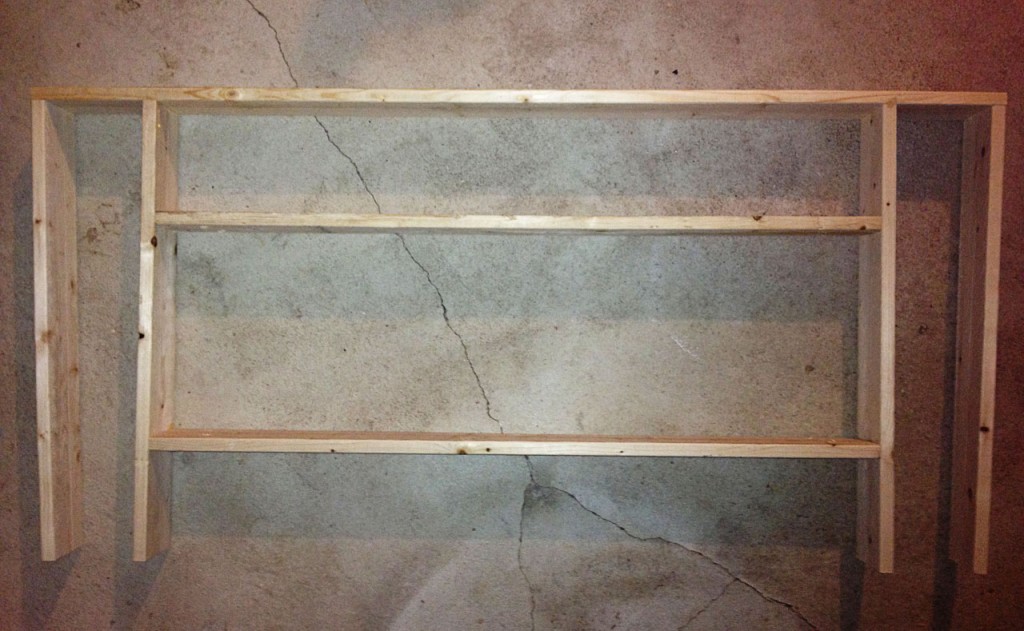
 Next is the middle frame to hold the middle of the table together. Cut, drill, and attach four more seven inch long 1x4s. These should be attached to the leg spots in the middle of the table.
Step 9
Cut, clamp, drill, and attach boards to either side of the short boards in the middle. Then cut, glue, and nail boards to the outside of the square. See the photo in step 8.
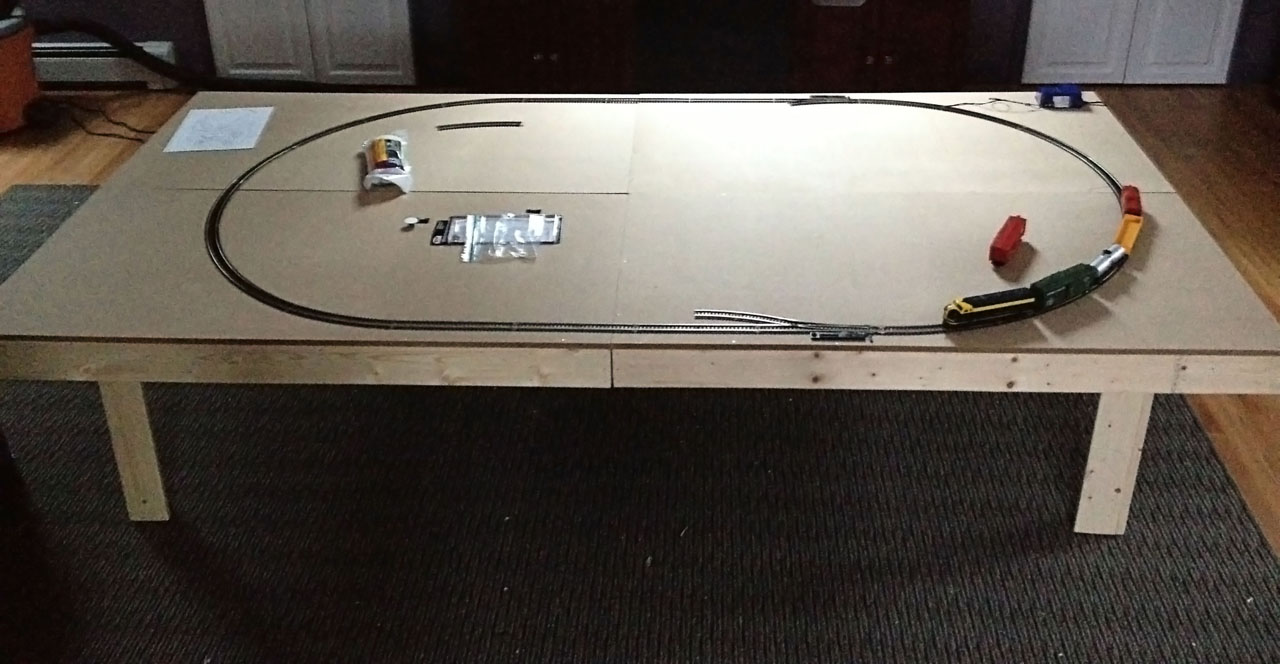
Step 10
Turn the table over and admire your work. If your surface isn’t perfectly flat you might be able to shim it some. You could also sand it if you wish. Mine came out plenty flat enough.
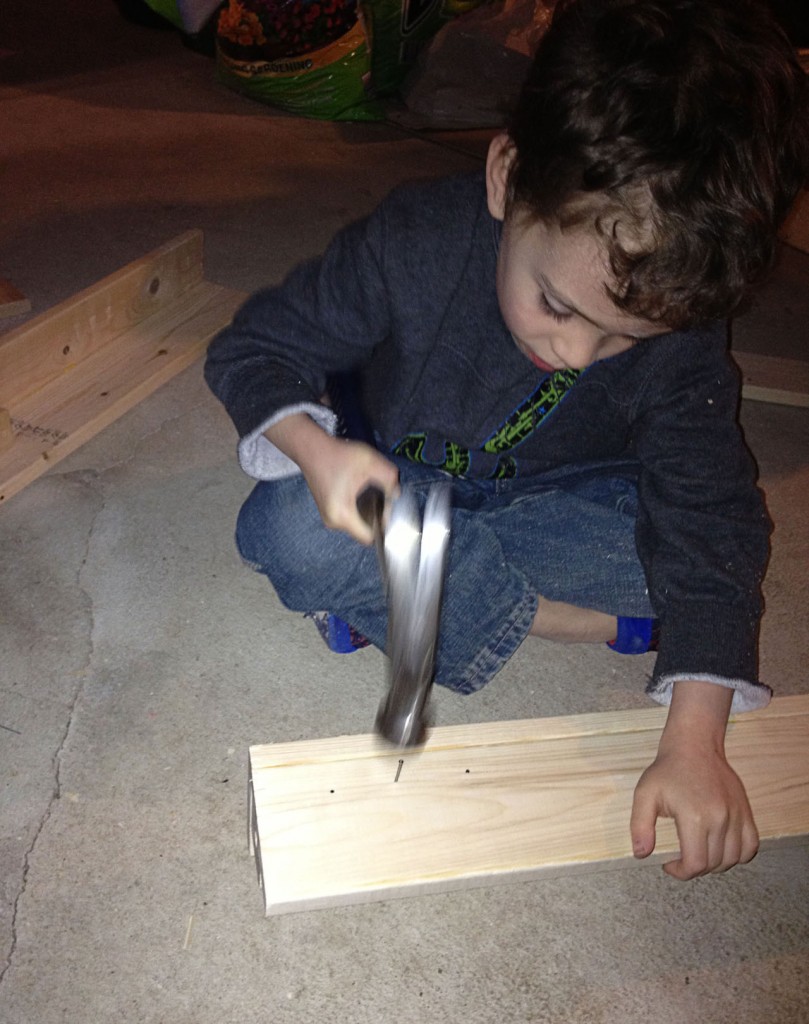
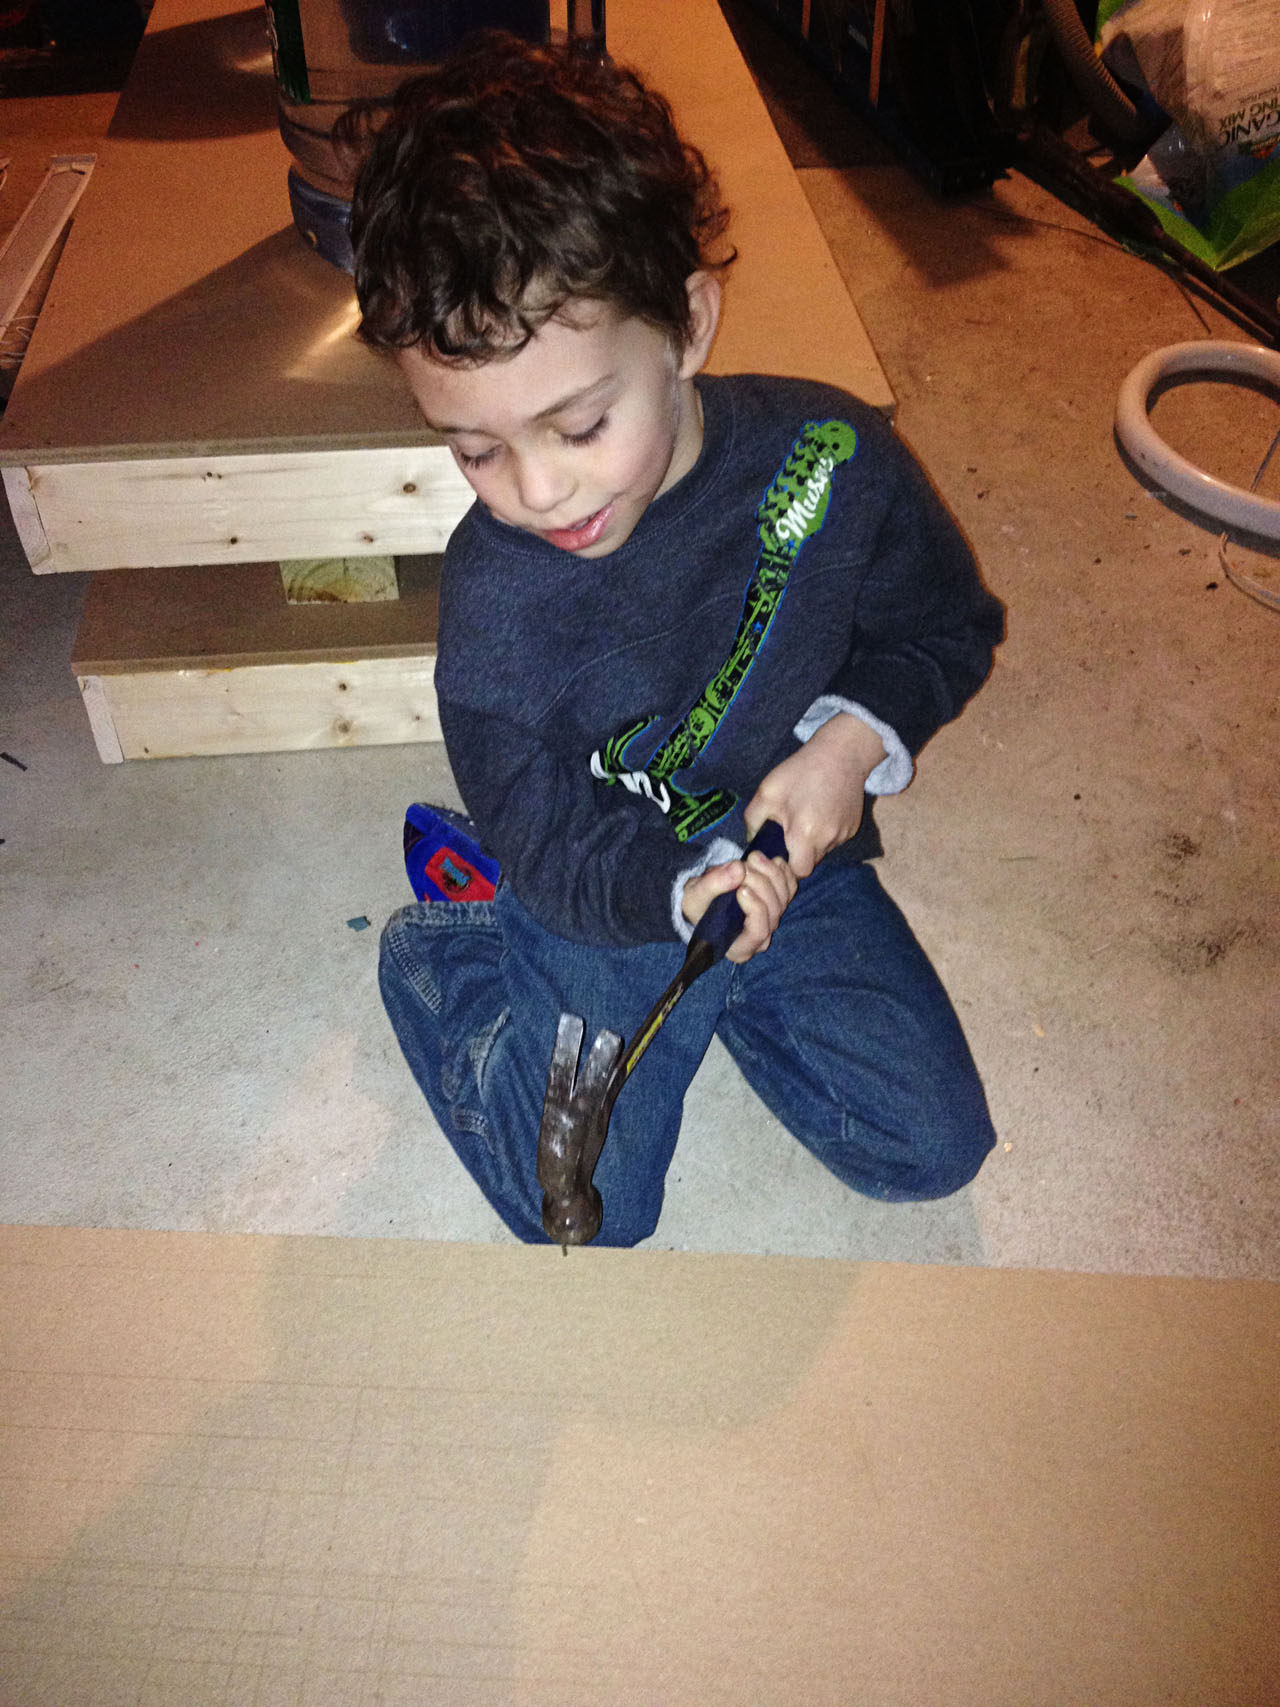
After you play with your train a little, you’ll need to get out the vacuum and pick up all the saw dust all over your rug…


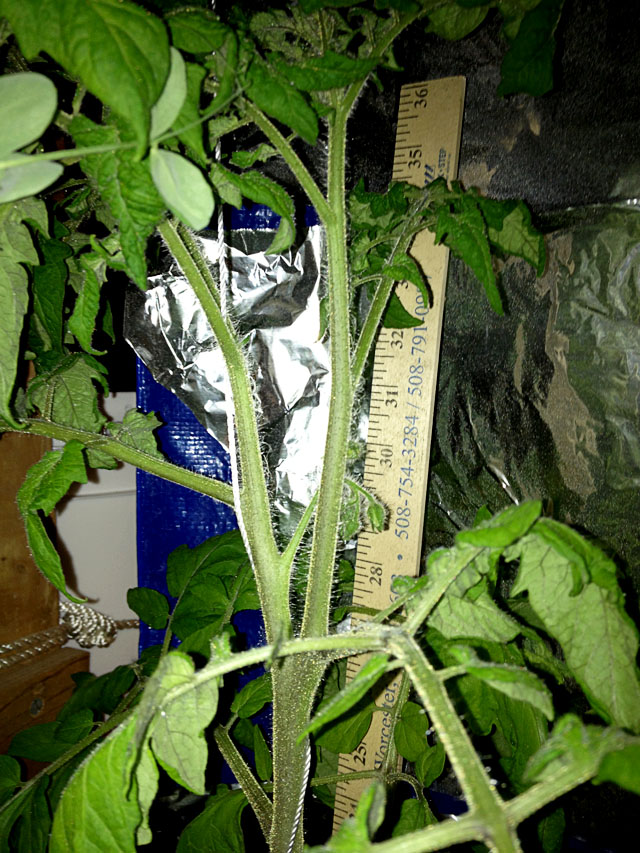


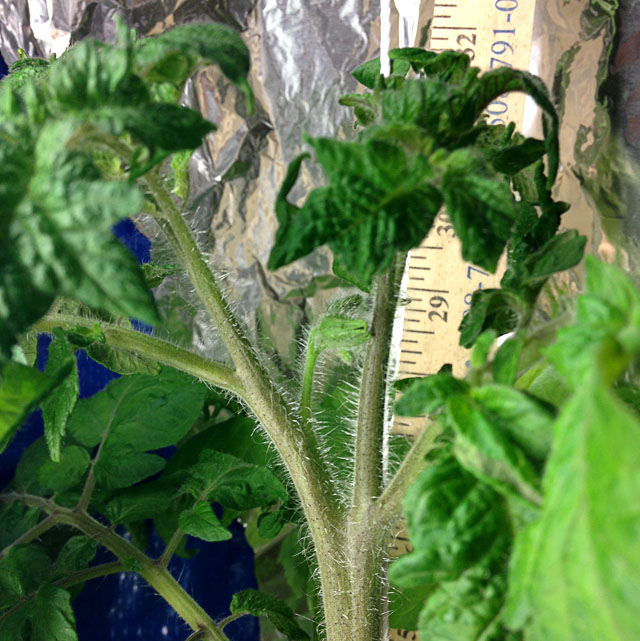 Today I saw buds on the tomato plant in pot 1. That plant is now about 28 inches tall. It is clearly the tallest of the tomatoes, but some of the others are starting to look like they’ll make it. I really should have waited to transplant them.